

How to Wire Two Sprinkler Zones to One Orbit B-hyve XR Output
- Check Combined Load
- Power Down Controller
- Splice Zone Wires
- Connect to XR Output
- Test and Label
Most users complete this in under 45 minutes
Overview
Some users need two sprinkler solenoids running from one B-hyve XR output when expanding zones without adding modules. Covers safe parallel wiring, solenoid load checks, and testing so both valves open reliably together.
What's Included
- Both valves are rated for 24VAC
- Total solenoid current within output limit
- Accessible valve box with clean wiring
- B-hyve XR firmware current
- Original wiring diagram available
- No shared neutral issues present
Got your materials ready? Here's what to check first.
Before You Start
- Solenoid load exceeds output rating
- Corroded splice connectors in valve box
- Run distance reduces voltage at solenoid
- Mixed solenoid brands draw unevenly
- Shared common wire undersized
- Program scheduling confuses grouped zones
Don't skip this step — it breaks everything if you do
Always confirm combined solenoid current is within the XR output limit. Exceeding it can damage the output driver and void warranty.
Tools & Requirements
These tools will help you complete this fix.

Multimeter
Klein Tools 80196 Digital Multimeter Kit with Case, ...
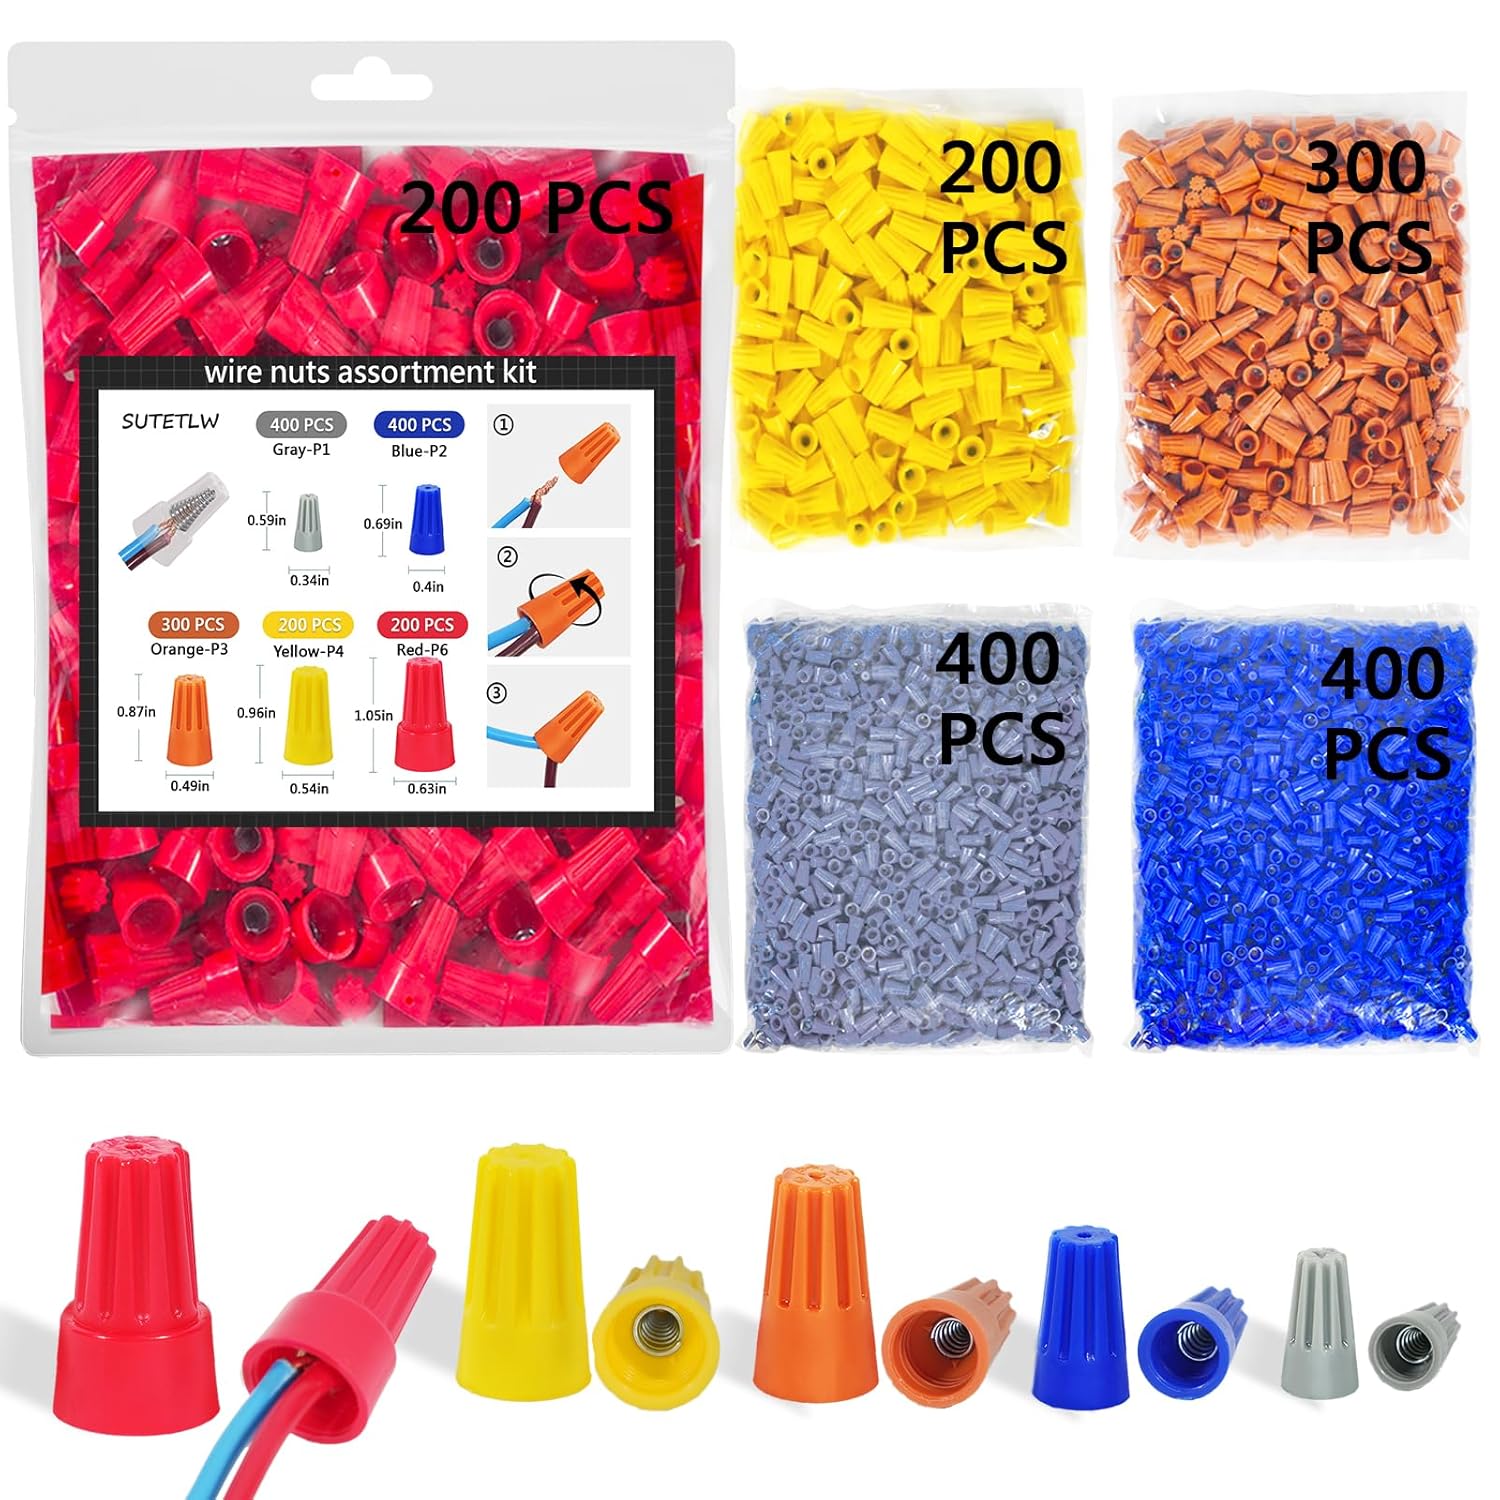
Waterproof wire nuts
Wire Nuts Assortment Kit 1500 PCS Insulating Insert ...

Wire strippers
1188-Piece Ferrule Crimping & Stripping Tool Kit, AW...

insulated screwdriver
Klein Tools 85814 14-Piece Screwdriver Set, 4 Precis...
As an Amazon Associate we earn from qualifying purchases.
Installation Steps
Check Combined Load
Read each solenoid label and confirm both fall within the B-hyve XR per-output current rating. Two standard valves in parallel are usually safe, but high-pressure or older solenoids can exceed the limit and cause the controller to fault mid-run.
Power Down Controller
Turn the B-hyve XR off at the wall switch and unplug before touching wiring. Confirm power is off at the terminal strip with a multimeter. Working on live 24VAC wiring can blow internal fuses and trip controller protection circuits unnecessarily.
Needed for this step
Klein Tools 80196 Digital Multimeter Kit with C...
This helps complete the fix you are currently reading.
$46.15Splice Zone Wires
At the valve box or controller terminal, join the two zone wires you want combined. Use waterproof twist-on wire nuts rated for direct burial. Keep connections tight and secure so moisture does not cause intermittent operation during hot summer months.
Needed for this step
Wire Nuts Assortment Kit 1500 PCS Insulating In...
This helps complete the fix you are currently reading.
$29.99Connect to XR Output
Land the combined zone wire in your chosen output on the B-hyve XR terminal. Secure the common wire as before. Power up the controller and verify no diagnostic warnings appear indicating excessive load or short circuit detection.
Needed for this step
1188-Piece Ferrule Crimping & Stripping Tool Ki...
This helps complete the fix you are currently reading.
$25.99Test and Label
Run a manual short cycle on the combined output and verify both sprinkler heads pop up at correct pressure. Rename the zone in the B-hyve app to reflect it controls both areas. Schedule cautiously since both zones will always run together now.
Installation Tips
Still stuck? This is usually the deeper cause below.
If both zones feed different plant types, consider independent modules. Grouped scheduling can overwater one area while underwatering another.
Before you go — these Orbit B-hyve guides fix most remaining issues.
Official Manufacturer Manual
Orbit B-hyve provides official product documentation through their online manual rather than downloadable PDF. Access setup guides, troubleshooting steps, and product specifications for your Orbit B-hyve XR Smart Controller.
Source: orbitonline.com
Need More Help? Orbit B-hyve Support
Note: The contact information below connects you directly to Orbit B-hyve's official customer support team, not Trunetto. They can help with warranty claims, device replacements, and advanced technical issues.
How Does Orbit B-hyve Compare?
Before replacing your Orbit B-hyve device, see how it stacks up against alternatives in our full comparison guides.
Accessories owners commonly pair with Orbit B-hyve XR Smart Controller.

As an Amazon Associate we earn from qualifying purchases.


