

How Do I Wire the Orbit B-hyve XR Controller?
- WiFi connection unstable or device too far from router
- Device firmware or app needs updating
- Device not properly set up during initial pairing
Problem Description
You are wiring the Orbit B-hyve XR smart sprinkler controller to your irrigation system. The controller has terminals for zone wires (one per sprinkler valve), a common wire shared by all valves, and optional rain sensor inputs. This guide covers identifying your existing wires, connecting them to the correct XR terminals, and testing each zone.
Symptoms
- Device shows as offline in the app
- Device does not respond to commands
- App cannot connect to device
- Features not working as expected
- Device disconnects frequently
- Automations fail to trigger
- Voice commands not recognized
Recognize these? Here's what usually causes it.
Common Causes
- WiFi connection unstable or device too far from router
- Device firmware or app needs updating
- Device not properly set up during initial pairing
- Power supply issue or loose connection
- Account not linked correctly
- Too many devices causing network congestion
- Interference from other wireless devices
Most fixes happen in the first 3 steps.
Never work on irrigation wiring while the controller is powered on. Turn off power before touching any zone or common wires. Be aware of local watering restrictions and regulations in your area. Overwatering can damage your landscape and foundation. Smart controllers help comply with water conservation requirements.
Tools & Requirements
These tools will help you complete this fix.

Screwdriver
STREBITO 155 in 1 Electric Screwdriver Set, Small El...
Wire labels
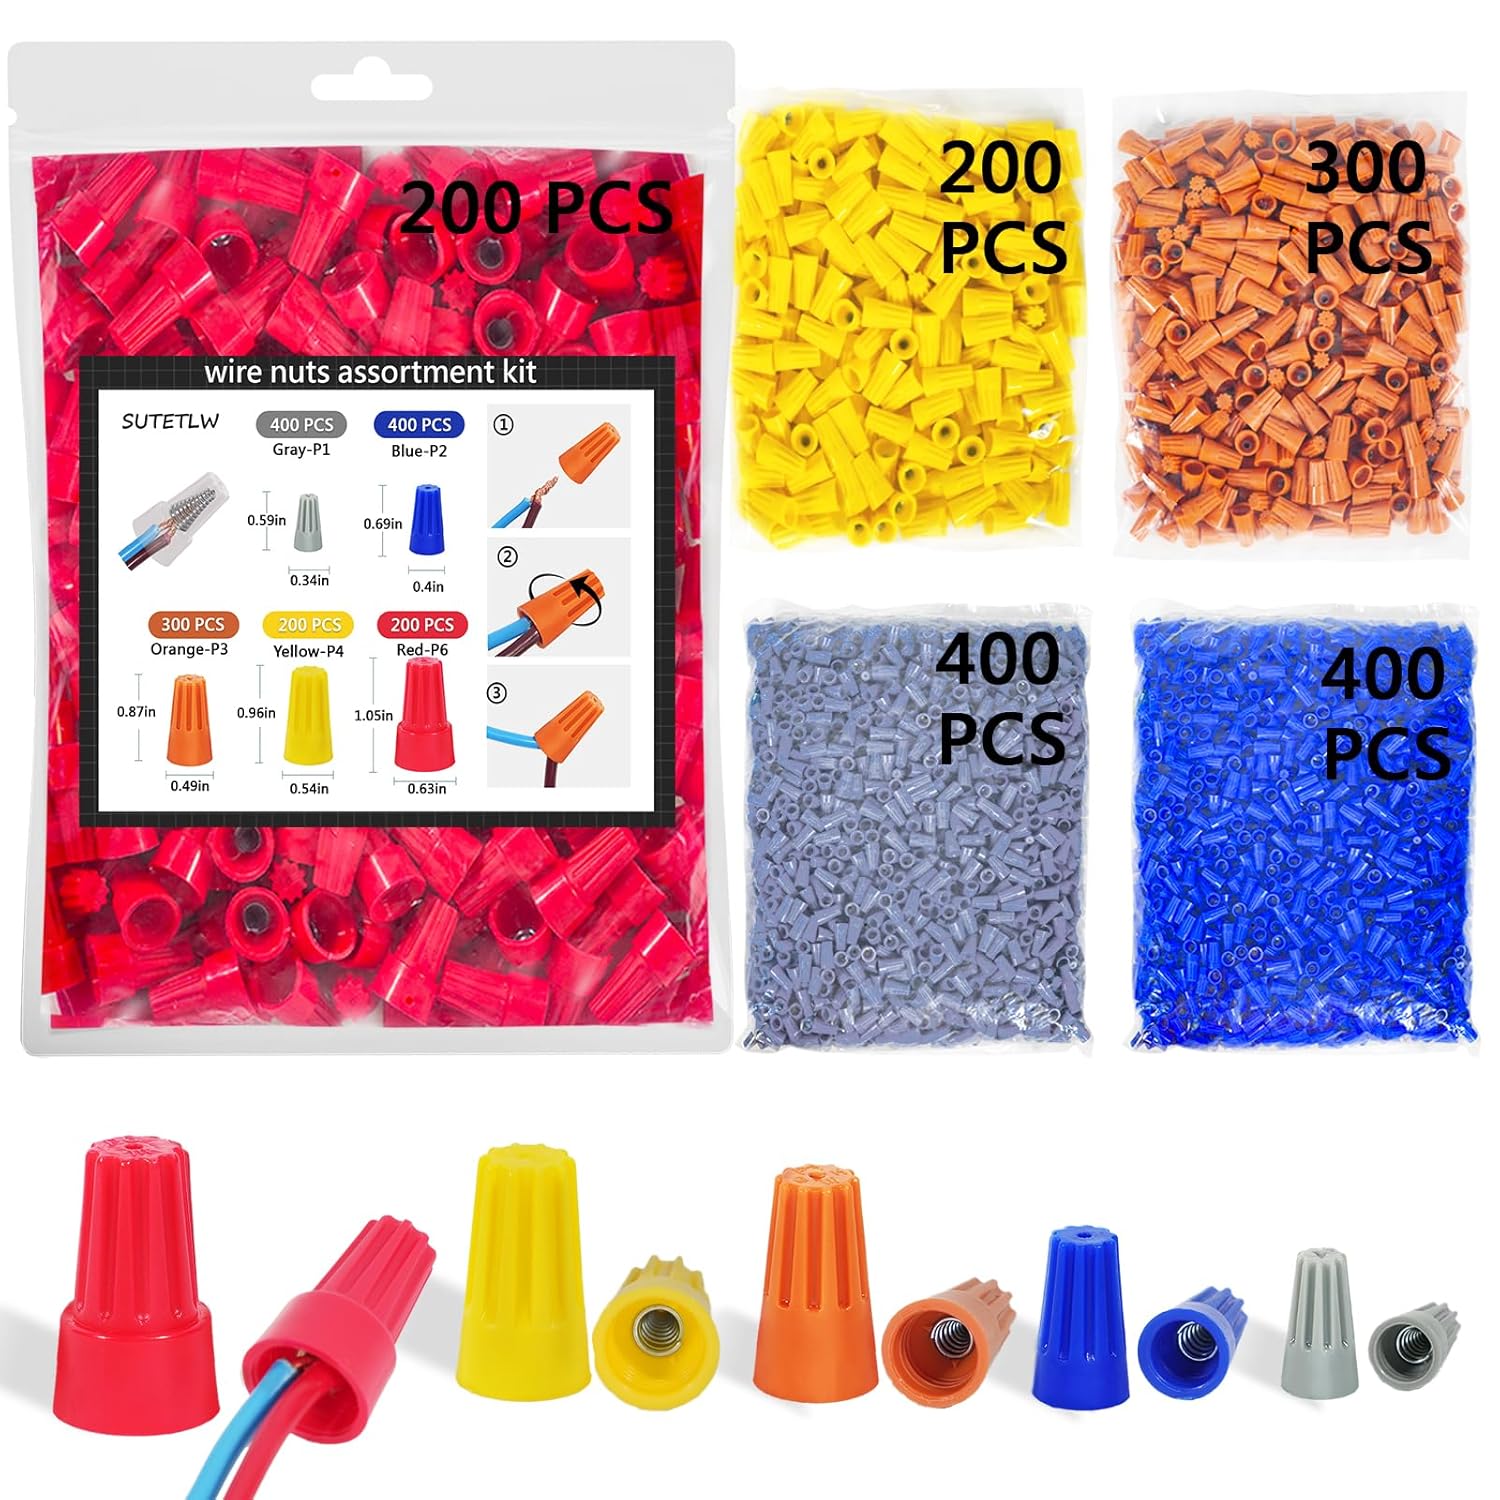
Wire Nuts Assortment Kit 1500 PCS Insulating Insert ...

B-hyve app
Orbit B-hyve Smart Hub, Wi-Fi & Bluetooth Indoor Irr...
As an Amazon Associate we earn from qualifying purchases.
Step-by-Step Solution
Understand the wiring layout
The Orbit B-hyve XR controller is a smart sprinkler controller that replaces your existing sprinkler timer. It supports 8 or 16 zones (depending on model). Each zone controls one valve in your sprinkler system. The controller connects to each zone valve via low-voltage wire (24V AC). There is also a common wire (C) shared by all valves and a rain sensor connection.
Needed for this step
Wire Nuts Assortment Kit 1500 PCS Insulating In...
This helps complete the fix you are currently reading.
$29.99Label existing wires before disconnecting
Before removing the old controller: take a photo of the current wiring. Label each wire with the zone number it connects to (use tape and a marker). The common wire is typically white. Zone wires are various colors. If wires are not color-coded, trace each wire to the terminal label on the old controller. Having accurate labels prevents confusion during the new installation.
Connect wires to the B-hyve XR
Mount the B-hyve XR on the wall near a power outlet. Connect the common wire to the C terminal. Connect each zone wire to its corresponding zone terminal (1, 2, 3, etc.). The terminals are screw-type or push-in — push each wire firmly until it holds. Do not cross wires between zones — Zone 1 wire goes to terminal 1, Zone 2 to terminal 2, etc. Connect the power transformer to the AC terminals.
Needed for this step
Orbit B-hyve Smart Hub, Wi-Fi & Bluetooth Indoo...
This helps complete the fix you are currently reading.
Set up zones in the B-hyve app
After wiring, plug in the controller. Download the B-hyve app and add the controller (scans via WiFi). For each wired zone, configure: zone name ('Front Lawn,' 'Side Garden'), plant type (grass, shrubs, flowers), soil type (clay, loam, sand), slope (flat, moderate, steep), and sun exposure (full sun, partial shade, full shade). These settings feed into the Smart Watering algorithm for optimized watering duration.
Test each zone
In the B-hyve app, manually run each zone for 2 minutes. Walk the yard and verify each zone activates the correct sprinkler heads. If a zone does not activate: check the wire connection at the controller terminal (loose wire = no signal to valve). If the wrong zone activates: two wires are swapped — swap them at the controller terminals. Check for stuck or clogged sprinkler heads while testing.
Quick Solutions
Still having issues? This is usually the deeper cause below.
If this comes back after following these steps, check whether a recent app or firmware update reset a default setting — the fix works, but the setting gets reverted silently.
["Take photo of old wiring first", "Common wire usually white", "Test zones one at a time"]
This issue almost always looks more complex than it is — the majority of cases trace back to a single setting, a stale credential, or a default that shipped wrong.
- WiFi connection unstable or device too far from router
- Device firmware or app needs updating
- Device not properly set up during initial pairing
- Power supply issue or loose connection
- Account not linked correctly
Before you go — try one of these (they fix most cases).
Official Manufacturer Manual
Orbit B-hyve provides official product documentation through their online manual rather than downloadable PDF. Access setup guides, troubleshooting steps, and product specifications for your Orbit B-hyve XR.
Source: orbitonline.com
Need More Help? Orbit B-hyve Support
Note: The contact information below connects you directly to Orbit B-hyve's official customer support team, not Trunetto. They can help with warranty claims, device replacements, and advanced technical issues.
How Does Orbit B-hyve Compare?
Before replacing your Orbit B-hyve device, see how it stacks up against alternatives in our full comparison guides.


