Why Is My Arlo Camera Night Vision Not Working Properly?
- Color night vision needs ambient light
- Auto night vision disabled
- Camera lens dirty
Problem Description
Your Arlo camera night vision is not working properly — the image is too dark, washed out, or the IR LEDs are not activating. Night vision uses infrared LEDs around the camera lens to illuminate the scene in the dark. Dirty lens, disabled night vision setting, or IR reflection from nearby surfaces cause poor quality.
Why This Happens in Real Homes
Arlo cameras use 850nm infrared LEDs for night vision, which gives a black-and-white image in total darkness. The Pro 4 and Ultra 2 also have a color night vision mode that uses an integrated spotlight to illuminate the scene. When night vision fails, the most common cause is the IR LEDs reflecting off a nearby surface — a wall, window frame, or eave that is too close to the camera. The reflection washes out the image and creates a bright white glare. Mount the camera at least 6 inches from any surface. If color night vision is dim, the spotlight might be set to low brightness in the Arlo app. Crank it to max, but know that the spotlight draws significant power and can cut battery life in half on cameras that trigger frequently at night.
Symptoms
- Night video stuck in black and white
- Color night vision not working
- Night vision doesn't turn on
- Very dark night footage
- IR lights not illuminating
Recognize these? Here's what usually causes it.
Common Causes
- Color night vision needs ambient light
- Auto night vision disabled
- Camera lens dirty
- IR LEDs failing
- Incorrect settings
Most fixes happen in the first 3 steps.
IR night vision illuminates up to 25 feet. Beyond that distance, subjects will be dark.
Tools & Requirements
These tools will help you complete this fix.
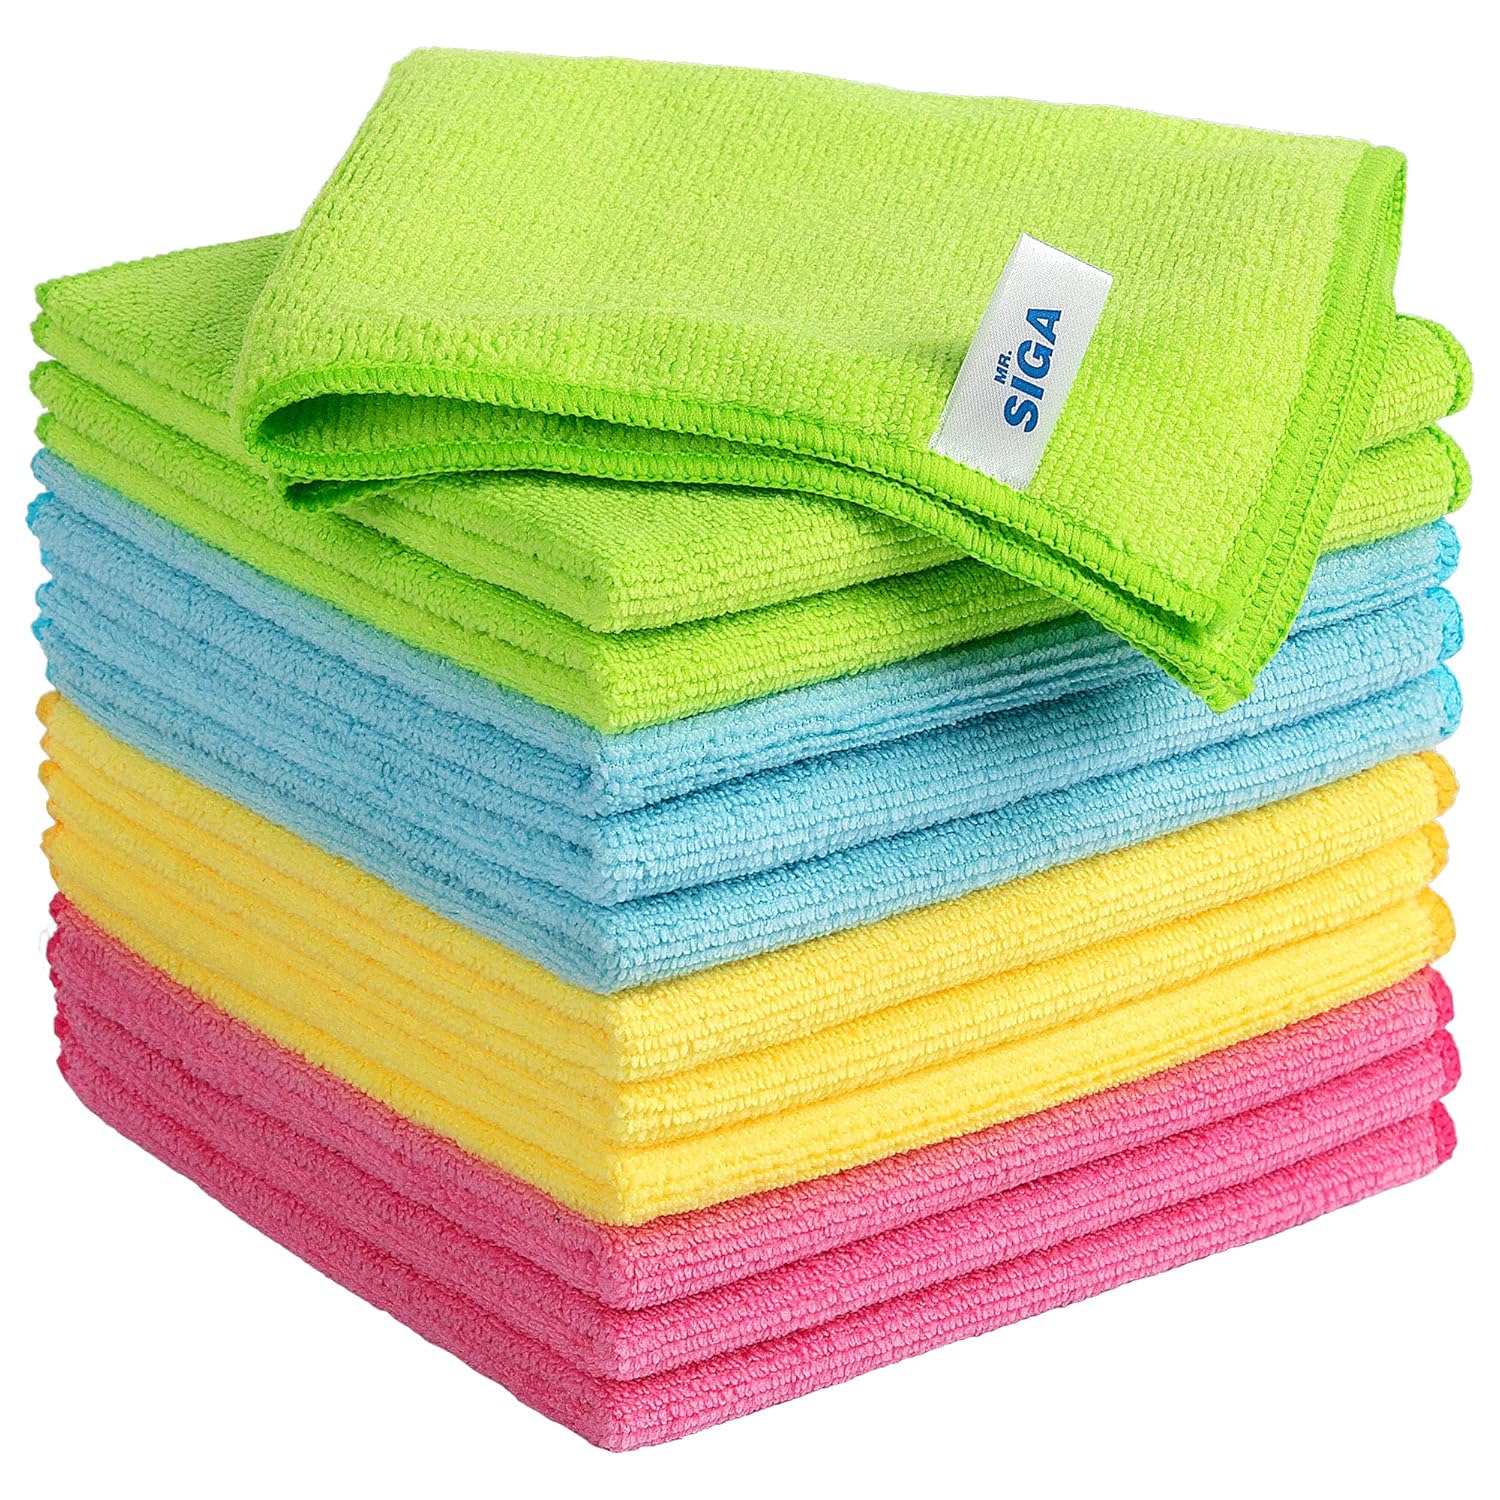
Clean microfiber cloth
MR.SIGA Microfiber Cleaning Cloth,Pack of 12,Size:12...

Ethernet cable
Jadaol Cat 6 Ethernet Cable 25 ft, 10Gbps Support Ca...

Level
9 Inch Torpedo Level Magnetic, Shock-Proof Small Lev...

Power adapter
JcBlaon Outlet Extender Surge Protector - 6 Outlet S...

Replacement batteries
Duracell Coppertop Double AA Batteries with Power Bo...
As an Amazon Associate we earn from qualifying purchases.
Step-by-Step Solution
Check if night vision is enabled
In the Arlo app, go to the camera settings and look for Night Vision. It should be set to Auto (turns on when ambient light drops) or On (always active). If set to Off, the camera produces a dark or black image at night. Auto is the best setting for most situations — it allows the camera to switch between day and night modes based on light levels.
Clean the IR LEDs and lens
The infrared LEDs surround the camera lens. If they are covered in dust, cobwebs, or grime, the IR illumination is weakened and night video appears dark or grainy. Clean the entire front face of the camera with a soft dry cloth. Spider webs are a common culprit — spiders are attracted to the warmth of the IR LEDs and build webs that glow bright white in the image, washing out the scene.
Needed for this step
MR.SIGA Microfiber Cleaning Cloth,Pack of 12,Si...
This helps complete the fix you are currently reading.
$13.99Avoid reflective surfaces in front of the camera
If the night vision image is washed out with a bright white haze, the IR light is bouncing back into the lens from a nearby surface. This happens when the camera is mounted behind a window, inside a plastic dome, or pointed at a close white wall. IR light reflects off glass and shiny surfaces. Do not use Arlo cameras behind windows for night vision — the reflection makes the image unusable.
Check IR LED range versus your monitoring distance
Each Arlo camera model has a specific IR night vision range — typically 15-25 feet. Objects beyond that range will be dark. If you need to monitor a larger area at night, consider adding an external IR illuminator (sold separately) that floods a wider area with infrared light. These are inexpensive and mount near the camera, extending night vision range to 50-100 feet.
Try color night vision if your model supports it
Arlo Pro 4, Ultra 2, and some newer models support color night vision using the camera spotlight. In settings, enable Color Night Vision. The camera uses its built-in spotlight to illuminate the scene with visible light, producing a color image instead of the typical black-and-white IR image. The tradeoff is that the spotlight is visible to people and uses more battery. It provides better detail for identifying people, vehicles, and clothing colors.
Quick Solutions
Still having issues? This is usually the deeper cause below.
Camera issues that start suddenly almost always trace back to an upload bandwidth drop — run a speed test before assuming hardware failure.
Arlo's spotlight uses battery power. If you want frequent color night vision, consider wired power.
Live view problems that start suddenly usually trace back to an upload speed drop — the camera itself is fine, the bandwidth path to the cloud isn't.
- Color night vision needs ambient light
- Auto night vision disabled
- Camera lens dirty
- IR LEDs failing
- Incorrect settings
Before you go — try one of these (they fix most cases).
Most popular upgrades chosen by Arlo Pro Camera owners.

Arlo Pro 5S Spotlight Security Camera 2K HDR | Outdoor | ...

Arlo Pro 5S Spotlight Security Camera 2K HDR | Outdoor | ...

Arlo Pro 5S 2K Spotlight Camera VMC4060B (Renewed)
As an Amazon Associate we earn from qualifying purchases.
Official Manufacturer Manual
Arlo provides official product documentation through their online manual rather than downloadable PDF. Access setup guides, troubleshooting steps, and product specifications for your Arlo Pro Camera.
Source: arlo.com
Need More Help? Arlo Support
Note: The contact information below connects you directly to Arlo's official customer support team, not Trunetto. They can help with warranty claims, device replacements, and advanced technical issues.
How Does Arlo Compare?
Before replacing your Arlo device, see how it stacks up against alternatives in our full comparison guides.
Accessories owners commonly pair with Arlo Pro Camera.

As an Amazon Associate we earn from qualifying purchases.