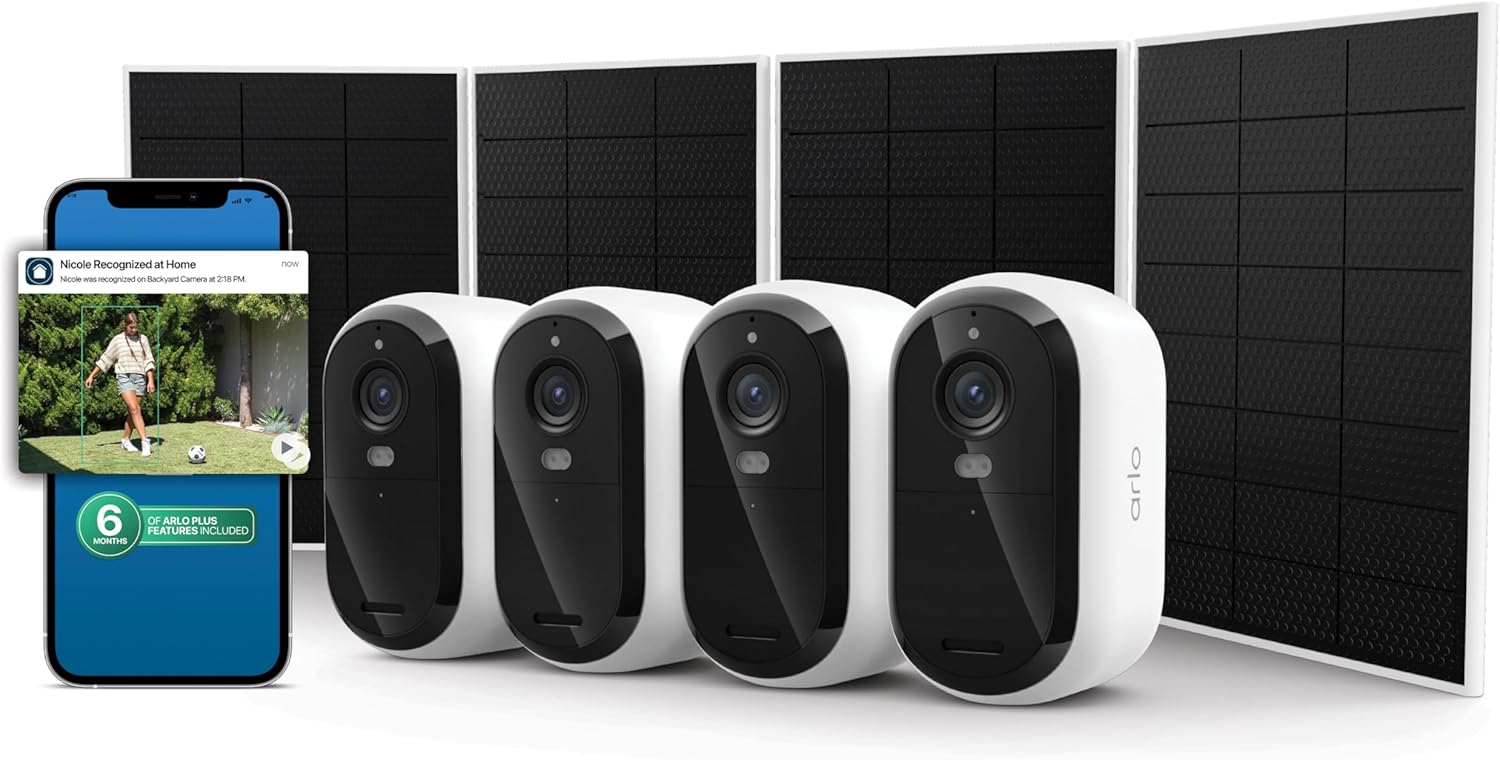
How to Install Arlo Essential Outdoor Camera
- Download the Arlo app and create an account
- Scan the QR code and connect the camera to WiFi
- Position and mount the camera outdoors
- Configure motion detection zones and sensitivity
- Test the camera and verify recordings
- Set up the Arlo Solar Panel for maintenance-free power (optional)
Most users complete this in under 30 minutes
Overview
You are setting up a new Arlo Essential Outdoor Camera (wired or wireless model) and need step-by-step installation guidance. The Arlo Essential connects directly to your 2.4GHz WiFi — no SmartHub required. Setup involves downloading the Arlo app, creating an account, scanning the camera QR code, connecting to WiFi, and mounting the camera outdoors. The Essential series includes the Essential Spotlight Camera, Essential XL (extended battery), and Essential Outdoor Camera (2nd Gen with 2K resolution). This guide covers the complete installation process from unboxing to the first motion recording.
Why This Happens in Real Homes
The Arlo Essential is the most popular Arlo camera because it does not require a hub and has a relatively low price point. Setup is generally straightforward but the most common failure point is the QR code scan — the camera built-in scanner struggles in low light or with phone screens at low brightness. The second most common issue is WiFi range: the camera is mounted outdoors but the router is inside, and the signal at the mount location is too weak. Testing the WiFi signal at the mount point before drilling holes saves a lot of frustration.
What's Included
- Budget outdoor camera setup
- Essential security features
- Direct Wi-Fi connection
- 1080p HD monitoring
Got your materials ready? Here's what to check first.
Before You Start
- Affordable outdoor security
- Essential monitoring features
- Simple Wi-Fi setup
- Cost-effective surveillance
Don't skip this step — it breaks everything if you do
The Arlo Essential Outdoor Camera is rated IP65 weather-resistant but the USB charging port must remain covered when the charging cable is not connected. Prolonged water exposure to an uncovered USB port can damage the camera. If you use the wired power option outdoors, make sure the USB connection is protected from rain by the camera mount or a weatherproof cover.
Tools & Requirements
These tools will help you complete this fix.

Drill optional
DEWALT 20V MAX Cordless Drill and Impact Driver, Pow...

Level
9 Inch Torpedo Level Magnetic, Shock-Proof Small Lev...

Screwdriver
STREBITO 155 in 1 Electric Screwdriver Set, Small El...
As an Amazon Associate we earn from qualifying purchases.
Installation Steps
Download the Arlo app and create an account
Install the Arlo Secure app from the App Store or Google Play. Create an Arlo account with your email address, or sign in if you already have one. The app will prompt you to start a free trial of Arlo Secure — this is optional but gives you cloud recording and smart notifications. Without a plan, you get live view and basic motion alerts only. Make sure your phone is connected to your 2.4GHz WiFi network before starting setup — the camera will use the same network.
Needed for this step
DEWALT 20V MAX Cordless Drill and Impact Driver...
This helps complete the fix you are currently reading.
$139.00Scan the QR code and connect the camera to WiFi
In the Arlo app, tap Add New Device and select Arlo Essential Camera. The app shows a QR code on your phone screen — hold the camera about 6 inches from your phone screen to let the camera scan the code. You will hear a chime when the camera reads the code successfully. The app then asks for your WiFi network and password. Enter your 2.4GHz WiFi credentials. The camera connects to WiFi — this takes 30-60 seconds. The LED on the camera blinks blue during connection and goes solid blue when connected. If the camera does not scan the QR code, increase your phone screen brightness to maximum.
Position and mount the camera outdoors
Choose a mounting location 7-10 feet high, angled slightly downward. The camera has a 130-degree field of view, so one camera can cover a wide area like a driveway or porch. Avoid pointing directly into the setting or rising sun — glare causes washed-out video. Use the included magnetic mount for quick attachment to metal surfaces, or the screw mount for permanent installation on wood, siding, or brick. For the screw mount: mark and drill pilot holes, insert wall anchors, and screw the mount plate into the wall. Attach the camera to the mount — it attaches magnetically and adjusts in any direction. For wired models, route the USB power cable along the wall using cable clips (not included) and connect to an outdoor-rated outlet or through a window to an indoor outlet.
Configure motion detection zones and sensitivity
In the Arlo app, go to the camera settings and set up Activity Zones. Draw zones around the areas you want to monitor (walkway, driveway, door) and exclude areas with constant motion (busy street, tree branches). This prevents false alerts. Set motion sensitivity to 70-80% as a starting point — adjust up if you are missing events, down if you get too many false alerts. For the Essential with Spotlight, enable the motion-activated spotlight in settings and set the brightness level. The spotlight serves as both illumination for color night video and a deterrent.
Needed for this step
9 Inch Torpedo Level Magnetic, Shock-Proof Smal...
This helps complete the fix you are currently reading.
$6.99Test the camera and verify recordings
Walk through the detection zones and verify you receive a push notification within 10 seconds. Open the Arlo app and check that the motion clip was recorded and saved. Test live view by tapping the camera feed — it should load within 3-5 seconds. Test two-way audio by tapping the microphone icon and speaking. For night testing, verify the spotlight activates on motion and night vision provides a clear image. If you have an Arlo Secure plan, verify smart notifications are working — the app should tell you if a person, package, vehicle, or animal triggered the alert.
Set up the Arlo Solar Panel for maintenance-free power (optional)
If you purchased the Arlo Solar Panel, mount it in a location that receives 3-4 hours of direct sunlight daily. The panel attaches to the camera via a magnetic charging cable — route the cable from the panel to the camera. The panel provides a continuous trickle charge that keeps the battery above 80% in most conditions. Position the panel facing south (in the Northern Hemisphere) for maximum sun exposure. After connecting, the Arlo app will show a solar panel icon on the camera and track charging status. In winter or heavily shaded locations, the panel may not fully offset the battery drain — you may still need to charge manually once or twice during low-sun months.
Installation Tips
Still stuck? This is usually the deeper cause below.
Mount the Arlo Essential at a slight downward angle rather than straight ahead. A downward angle captures faces of people approaching your door, while a straight-ahead angle often captures only the tops of heads. The magnetic mount makes it easy to adjust the angle after installation — just twist the camera on its mount until the live view in the app shows the framing you want.
Before you go — these Arlo guides fix most remaining issues.
Most popular upgrades chosen by Arlo Essential Outdoor Camera owners.

Arlo Pro 5S Spotlight Security Camera 2K HDR | Outdoor | ...

Arlo Pro 5S Spotlight Security Camera 2K HDR | Outdoor | ...

Arlo Pro 5S 2K Spotlight Camera VMC4060B (Renewed)
As an Amazon Associate we earn from qualifying purchases.
Official Manufacturer Manual
If you need the complete manufacturer documentation for advanced setup, wiring diagrams, or detailed specifications, you can download the official manual below. The manual includes full technical instructions directly from the manufacturer and may help if your issue requires deeper troubleshooting.
Download the Official Arlo Essential Outdoor Camera ManualSource: arlo.com
Need More Help? Arlo Support
Note: The contact information below connects you directly to Arlo's official customer support team, not Trunetto. They can help with warranty claims, device replacements, and advanced technical issues.
How Does Arlo Compare?
Before replacing your Arlo device, see how it stacks up against alternatives in our full comparison guides.
Accessories owners commonly pair with Arlo Essential Outdoor Camera.

As an Amazon Associate we earn from qualifying purchases.
Guide Improvements
- Updated June 18, 2026
Rewrote with Essential-specific setup steps (direct WiFi, no hub required), differentiated from hub-based camera setup
Source: SEO cannibalization fix