
How to Install LIFX Z LED Strip on Desk or TV
- Check the Surface
- Position the Controller
- Apply the LED Strip
- Connect Power and Verify
- Pair with LIFX App
Most users complete this in under 20 minutes
Overview
You want to install a LIFX Z LED strip behind your desk, under cabinets, or behind your TV for accent lighting. The LIFX Z connects directly to your WiFi with no hub needed and supports multi-zone color control so each section of the strip can display a different color. This guide covers surface prep, adhesive application, and WiFi pairing.
What's Included
- LIFX Z LED strip reel with adhesive backing
- Controller unit with built-in WiFi and power input
- Power adapter for controller unit
- Extension strips available in 1-meter lengths
- Multi-zone support for different colors per section
- Quick start guide with LIFX app download QR code
Got your materials ready? Here's what to check first.
Before You Start
- Measure your mounting surface before peeling adhesive
- Clean mounting surface with isopropyl alcohol first
- Controller must be near a power outlet for adapter
- WiFi must be 2.4GHz for LIFX connection
- Strip can be extended but not shortened by cutting
- Download LIFX app before starting installation
Don't skip this step — it breaks everything if you do
The LIFX Z strip cannot be cut to a shorter length. Unlike some competitors cutting the strip will permanently damage the circuit and void your warranty. Only use the full reel length or add extensions.
Tools & Requirements
These tools will help you complete this fix.

Lint-free cloth
WHOOSH! Pro 16.9 fl oz Refillable TV Screen Cleaner ...

Tape measure
10 Pack Bulk Tape Measure 25 FT with Fractions 1/8, ...

Isopropyl alcohol
ForPro Professional Collection 99% Isopropyl Alcohol...
As an Amazon Associate we earn from qualifying purchases.
Installation Steps
Prepare the Surface
Measure the surface where you want to mount the strip and confirm the two-meter starter length is sufficient or if you need extensions. Clean the entire mounting surface with isopropyl alcohol and a lint-free cloth. Remove all dust and grease. Let the surface dry for two minutes. For behind-desk mounting clean the back edge of the desk. For behind-TV mounting clean the TV bezel perimeter. For under-cabinet mounting clean the cabinet bottom edge.
Needed for this step
WHOOSH! Pro 16.9 fl oz Refillable TV Screen Cle...
This helps complete the fix you are currently reading.
$19.99Position the Controller
The controller unit connects to one end of the LED strip and plugs into a wall outlet via the power adapter. Choose which end of your mounting surface is closest to an outlet and position the controller there. The controller can sit on a desk surface behind furniture or be attached to the back of a TV with adhesive tape. Make sure the controller WiFi antenna has clear space and is not enclosed inside a metal cabinet.
Needed for this step
10 Pack Bulk Tape Measure 25 FT with Fractions ...
This helps complete the fix you are currently reading.
$35.99Apply the LED Strip
Starting from the controller end peel back about six inches of adhesive backing and press the strip against your surface. Hold firmly for ten seconds. Continue peeling and pressing along the entire length. At corners fold the strip gently at 90 degrees without creasing the circuit board. Unlike some other brands the LIFX Z strip cannot be cut to a shorter length. Use the full reel or add extensions as needed.
Connect Power and Verify
Plug the power adapter into the controller unit and then into a wall outlet. The strip should illuminate in a default white or rainbow pattern confirming the connection is working. Each zone section of the strip should light up. If any section stays dark check that the strip connector is fully seated in the controller port and that no section of the strip has been creased or kinked during application.
Pair with LIFX App
Open the LIFX app and tap add a new light. The app will search for the LIFX Z on your network. Select it when it appears and enter your 2.4GHz WiFi password to connect the strip directly to your router. Once paired tap the strip in your light list to access the multi-zone color picker. You can set a different color for each zone section of the strip or use the Effects tab for animated gradients and color cycles.
Installation Tips
Still stuck? This is usually the deeper cause below.
For the best multi-zone effect behind a TV set adjacent zones to complementary colors rather than the same color. For example alternate warm amber and deep purple zones for a cinematic ambient look that enhances your viewing experience.
Before you go — these LIFX guides fix most remaining issues.
Most popular upgrades chosen by LIFX Z LED Strip owners.
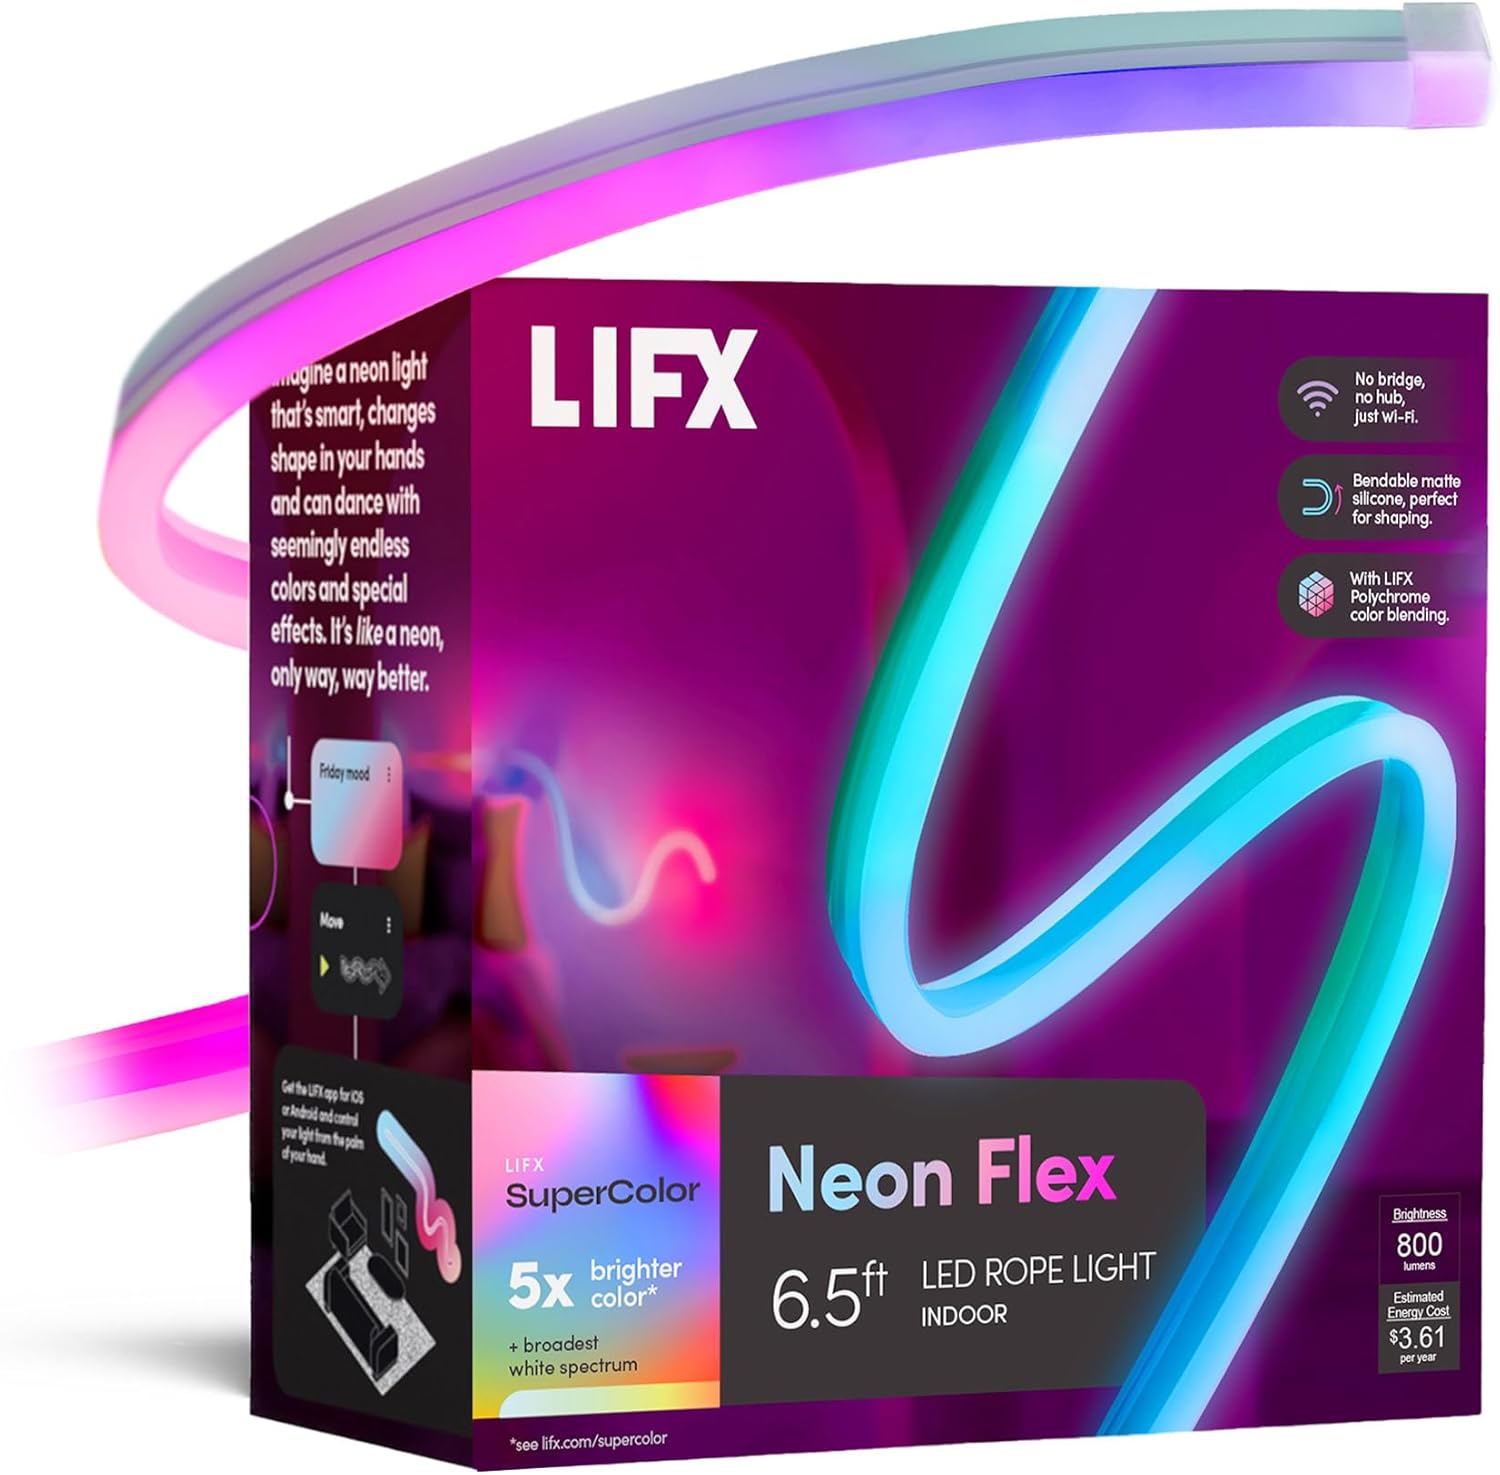
LIFX Neon Flex SuperColor LED Strip Light, 6.5ft Bendable...

LIFX Bedroom Bundle – with 2 Color 800 Lumen Smart Bulb a...

LIFX Supercolor Neon Flex Light Strip, 16ft Bendable RGBW...
As an Amazon Associate we earn from qualifying purchases.
Official Manufacturer Manual
LIFX provides official product documentation through their online manual rather than downloadable PDF. Access setup guides, troubleshooting steps, and product specifications for your LIFX Z LED Strip.
Source: lifx.com
Need More Help? LIFX Support
Note: The contact information below connects you directly to LIFX's official customer support team, not Trunetto. They can help with warranty claims, device replacements, and advanced technical issues.
Accessories owners commonly pair with LIFX Z LED Strip.

Amazon Smart Plug, Works with Alexa, Simple Setup, Endles...

Ring Rechargeable Quick Release Battery Pack

Kasa Smart Plug HS103P2, Smart Home Wi-Fi Outlet Works wi...
As an Amazon Associate we earn from qualifying purchases.


