

How Do I Set Up LIFX Beam Lights?
- A corner piece connected first, directly to the controller
- More than 8 straight segments or 2 corners on one controller
- Magnetic pin connectors not fully seated or dirty
Problem Description
You are setting up LIFX Beam modular light bars for the first time. LIFX Beams connect magnetically and plug into a controller that connects to your WiFi. Assemble all sections before powering on, and always start with a straight beam connected to the controller — corner pieces cannot be the first segment.
Why This Happens in Real Homes
LIFX Beam is a modular system: straight bars and corner pieces snap together with magnetic pin connectors and plug into a single controller that carries the WiFi radio and power. The number-one setup mistake is putting a corner piece first - a corner cannot be the segment that attaches directly to the controller, so it (and everything after it) stays dark. Always lead with a straight beam, then branch with corners. Each controller also has hard limits: up to 8 straight segments and 2 corners; go past that and the extra pieces simply won't be recognized.
Assemble the whole layout before powering it up, because the controller counts segments at boot; adding pieces live often needs a power-cycle and a firmware update to re-detect. Physically, seat every magnetic connector until it clicks and keep the pins clean - a wobbly joint is the usual reason a mid-chain beam is dark while its neighbors work. Setup-side, the controller joins 2.4GHz WiFi only with no hub, so the same 2.4GHz/band-steering rules as any LIFX device apply. Once online, map the beams into zones in the app to paint colors and animations across the run.
Symptoms
- Assembling the beam segments and corner pieces
- First segment won't light when connected to the controller
- Some beams light while others stay dark
- Controller won't join WiFi during setup
- Magnetic connectors feel loose or wobbly
- Corner piece not recognized in the chain
- Exceeding the segment or corner limit
- Setting up zones and effects across the beams
Recognize these? Here's what usually causes it.
Common Causes
- A corner piece connected first, directly to the controller
- More than 8 straight segments or 2 corners on one controller
- Magnetic pin connectors not fully seated or dirty
- Controller placed too far from the router on 5GHz-only reach
- Phone on 5GHz while the controller needs 2.4GHz
- Power adapter under-seated or on an overloaded run
- Segments assembled after powering on instead of before
- New segments added without a firmware re-count
Most fixes happen in the first 3 steps.
Do not attempt to open or modify the light hardware. Smart lights contain electronic components that can be damaged by moisture or physical tampering. Always power off at the wall switch before removing or repositioning a smart light.
Step-by-Step Solution
Assemble the beams before plugging in power
Unplug the Beam power adapter from the wall. Connect your beam sections to the controller while unpowered — the beams click into the controller and each other magnetically. Each beam only connects one way. If a beam resists connecting, flip it around and try the other side. You can connect up to 8 beam segments and 2 corner pieces per controller.
Do not use a corner piece as the first connection
The corner kit pieces cannot be connected directly to the controller as the first piece. You must connect at least one straight beam to the controller first, then add corner pieces after that. This is a hardware limitation — the corner connector pins are arranged differently from the controller output.
Power on and put in pairing mode
Plug in the power adapter. Press the button on the beam controller for 1 second. The beams will flash and run a chase animation from the controller down to the end, confirming all segments are recognized. Open the LIFX app and tap + to add a new device. The beam controller connects over 2.4GHz WiFi like any LIFX product — no hub needed.
Mount the beams on the wall
Plan your layout before mounting. Use the included mounting brackets and screws for permanent installation, or the adhesive strips for a renter-friendly option. The beams can be arranged in straight lines, L-shapes, or custom patterns using corner pieces. Leave access to the controller end for potential future segment additions.
Set up multi-zone effects
Once connected, the Beam appears in the LIFX app as a multi-zone light — each segment can show a different color simultaneously. Use the LIFX app to create gradient effects across the entire beam length or set each segment to an individual color. Effects like Move, which flows colors along the beam like a wave, are built into the app.
Quick Solutions
Still having issues? This is usually the deeper cause below.
If flickering only happens on dimming, the issue is almost always the dimmer's minimum-load setting, not the bulb — it's drawing less current than the dimmer expects.
Group your smart lights by room in the app and assign clear names like Kitchen Ceiling and Bedroom Lamp. This makes voice commands more reliable and lets you create scenes that control multiple lights at once with a single command.
This issue almost always looks more complex than it is — the majority of cases trace back to a single setting, a stale credential, or a default that shipped wrong.
- A corner piece connected first, directly to the controller
- More than 8 straight segments or 2 corners on
- Magnetic pin connectors not fully seated or dirty
- Controller placed too far from the router on 5GHz-only
- Phone on 5GHz while the controller needs 2.4GHz
Before you go — try one of these (they fix most cases).
Most popular upgrades chosen by LIFX Beam owners.
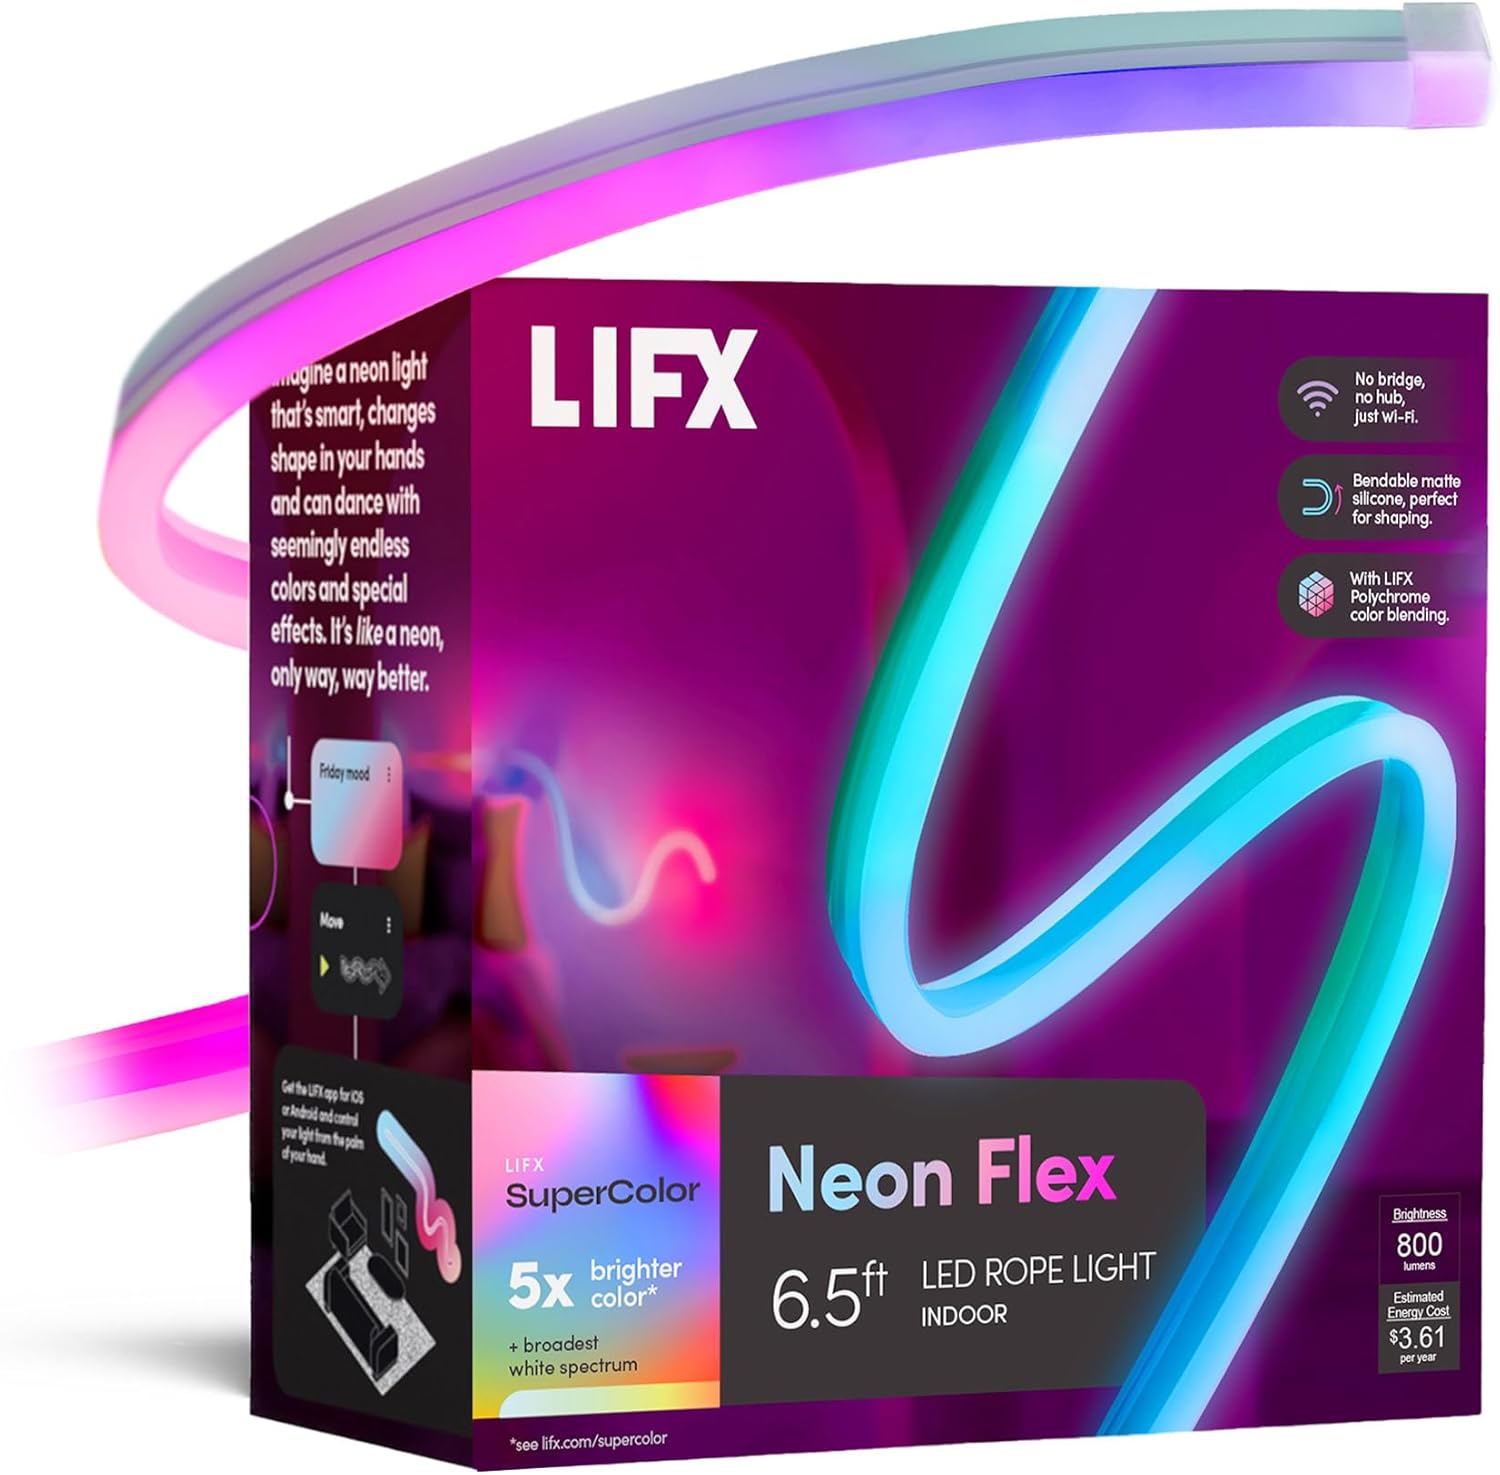
LIFX Neon Flex SuperColor LED Strip Light, 6.5ft Bendable...

LIFX Bedroom Bundle – with 2 Color 800 Lumen Smart Bulb a...

LIFX Supercolor Neon Flex Light Strip, 16ft Bendable RGBW...
As an Amazon Associate we earn from qualifying purchases.
Official Manufacturer Manual
LIFX provides official product documentation through their online manual rather than downloadable PDF. Access setup guides, troubleshooting steps, and product specifications for your LIFX Beam.
Source: support.lifx.com
Need More Help? LIFX Support
Note: The contact information below connects you directly to LIFX's official customer support team, not Trunetto. They can help with warranty claims, device replacements, and advanced technical issues.
Accessories owners commonly pair with LIFX Beam.

As an Amazon Associate we earn from qualifying purchases.

