How to Install Philips Hue Bridge and Add Your First Three Bulbs
- Check Bridge Location
- Connect Ethernet and Power
- Open Hue App
- Install Bulbs
- Name and Group Bulbs
Most users complete this in under 30 minutes
Overview
Installing the Philips Hue Bridge and adding your first bulbs is the foundation for the rest of your Hue ecosystem. This guide walks through physical placement, network prep, the Hue app onboarding flow, and adding three bulbs reliably on the first try.
Why This Happens in Real Homes
Installing the Philips Hue Bridge and adding your first bulbs is the foundation for the rest of your Hue ecosystem. This guide walks through physical placement, network prep, the Hue app onboarding flow, and adding three bulbs reliably on the first try. In day-to-day use, this usually looks like Brand new Hue Bridge in hand; Three Hue bulbs ready to install; Home router with open Ethernet port.
Most cases trace back to Bridge placed too far from router; Ethernet cable damaged or loose; Router blocks Bridge discovery. The fix works best when you go step by step instead of changing multiple settings at once.
A practical order for this issue is: Prepare Bridge Location -> Connect Ethernet and Power -> Open Hue App -> Install Bulbs. After each step, test the exact behavior that was failing so you can confirm what actually solved it.
What's Included
- Brand new Hue Bridge in hand
- Three Hue bulbs ready to install
- Home router with open Ethernet port
- Phone with Philips Hue app
- Same WiFi network as Bridge
- Bulbs not yet powered on
Got your materials ready? Here's what to check first.
Before You Start
- Bridge placed too far from router
- Ethernet cable damaged or loose
- Router blocks Bridge discovery
- Bulbs paired to another controller previously
- First-time app onboarding rushed
- Phone network isolates IoT from main SSID
Don't skip this step — it breaks everything if you do
Do not plug the Bridge into a PoE port without a compatible adapter. PoE voltage can damage the Bridge and void warranty immediately.
Tools & Requirements
Installation Steps
Prepare Bridge Location
Place the Bridge near the router in open air, not inside a closed cabinet. Physical placement impacts both network and Zigbee performance. Leave at least 6 inches of clearance around the Bridge. Heat buildup in enclosed spaces shortens Bridge lifespan over time.
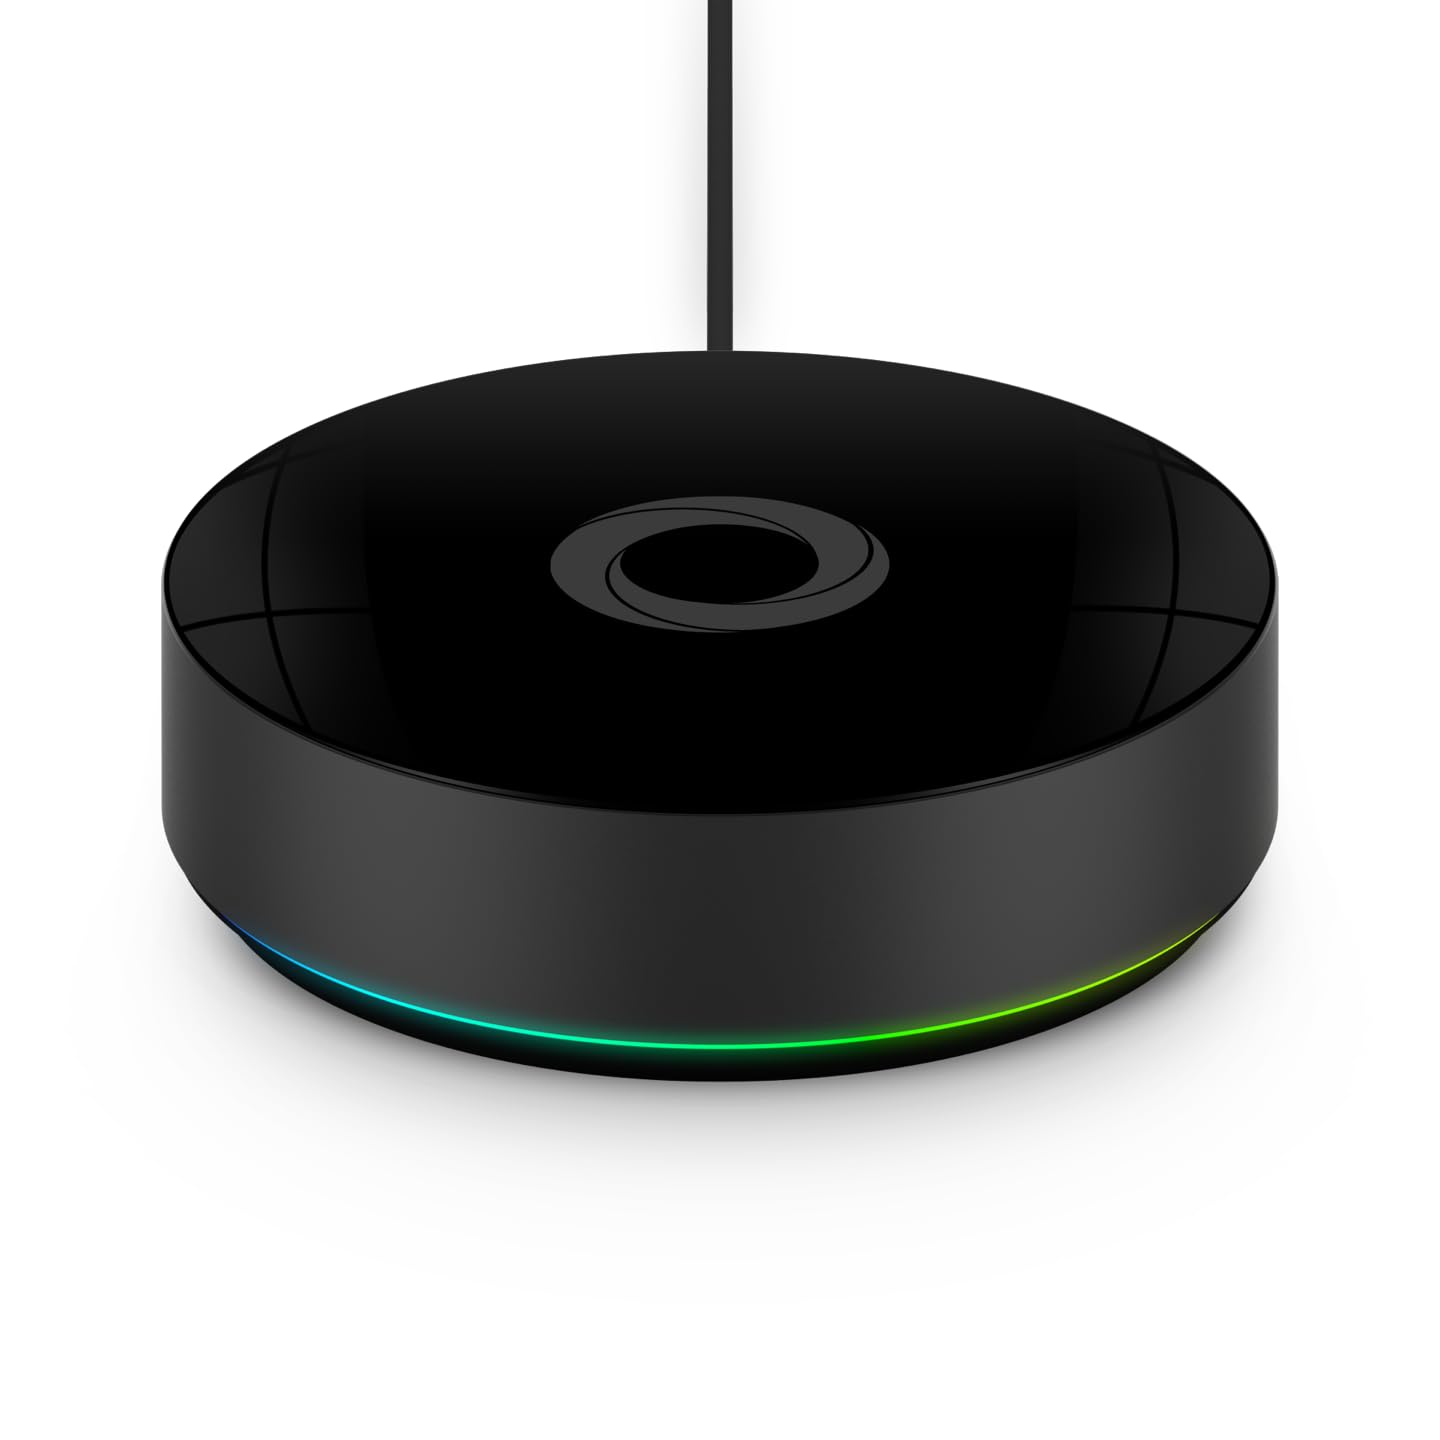
Connect Ethernet and Power
Plug the Ethernet cable into the Bridge and your router. Connect the power adapter. Wait for all four Bridge LEDs to light steady. If an LED is missing, power cycle the router and Bridge together. A clean LED state indicates network, internet, and cloud are reachable.
Open Hue App
Install and open the Philips Hue app on your phone. Sign in to your Hue account or create one. Tap Add Bridge and let the app discover the Bridge automatically. Press the round button on the top of the Bridge when prompted to complete the pairing.
Install Bulbs
Screw each Hue bulb into its fixture with the wall switch in the off position. When the app prompts, turn on the wall switch for all three bulbs. Keep the Bridge within 10 feet during first pairing to improve Zigbee signal reliability on initial discovery.
Name and Group Bulbs
In the app, name each bulb clearly such as Kitchen Pendant 1 or Office Desk. Add them to a room. Run a test brightness and color change to confirm each bulb responds. Rename bulbs later as you build scenes, but consistent naming now avoids future confusion.
Installation Tips
Still stuck? This is usually the deeper cause below.
Bookmark your Bridge local IP in the app settings. Having the IP ready speeds up router setup changes and advanced integrations later.
Before you go — these Philips Hue guides fix most remaining issues.
Most popular upgrades chosen by Philips Hue Bridge owners.

Philips Hue (1) White Tap Dial Switch with (1) Smart Slim...

Philips Hue (1) Black Tap Dial Switch with (1) Smart Slim...

Philips Hue White & Color Ambiance Play Light Bar 2 Pack,...
As an Amazon Associate we earn from qualifying purchases.
Official Manufacturer Manual
If you need the complete manufacturer documentation for advanced setup, wiring diagrams, or detailed specifications, you can download the official manual below. The manual includes full technical instructions directly from the manufacturer and may help if your issue requires deeper troubleshooting.
Download the Official Philips Hue Bridge ManualSource: philips-hue.com
Need More Help? Philips Hue Support
Note: The contact information below connects you directly to Philips Hue's official customer support team, not Trunetto. They can help with warranty claims, device replacements, and advanced technical issues.
How Does Philips Hue Compare?
Before replacing your Philips Hue device, see how it stacks up against alternatives in our full comparison guides.