How to Set Up Philips Hue Bridge and Your First Bulbs
- Connect the Bridge to Power
- Connect Bridge to Router
- Install the Hue App
- Add Your First Bulbs
- Configure Rooms and Scenes
Most users complete this in under 15 minutes
Overview
You just unboxed your Philips Hue Starter Kit or purchased a Hue Bridge separately and want to get it connected to your home network and pair your first smart bulbs. This guide covers plugging in the bridge, connecting it to your router via Ethernet, installing the Hue app, and adding bulbs to your setup.
Why This Happens in Real Homes
The one non-obvious rule of Hue setup is that the Bridge connects to your router by Ethernet, not WiFi — so you need a free LAN port on the router. Once it's cabled and powered, the app finds it on your network and you press the Bridge's link button to authorize.
Add your first bulbs with them powered on nearby; the app searches over Zigbee and adds them. If bulbs aren't found, they may need a reset or to be closer to the Bridge for the initial add. After setup you can spread them out, since mains bulbs repeat the Zigbee mesh.
What's Included
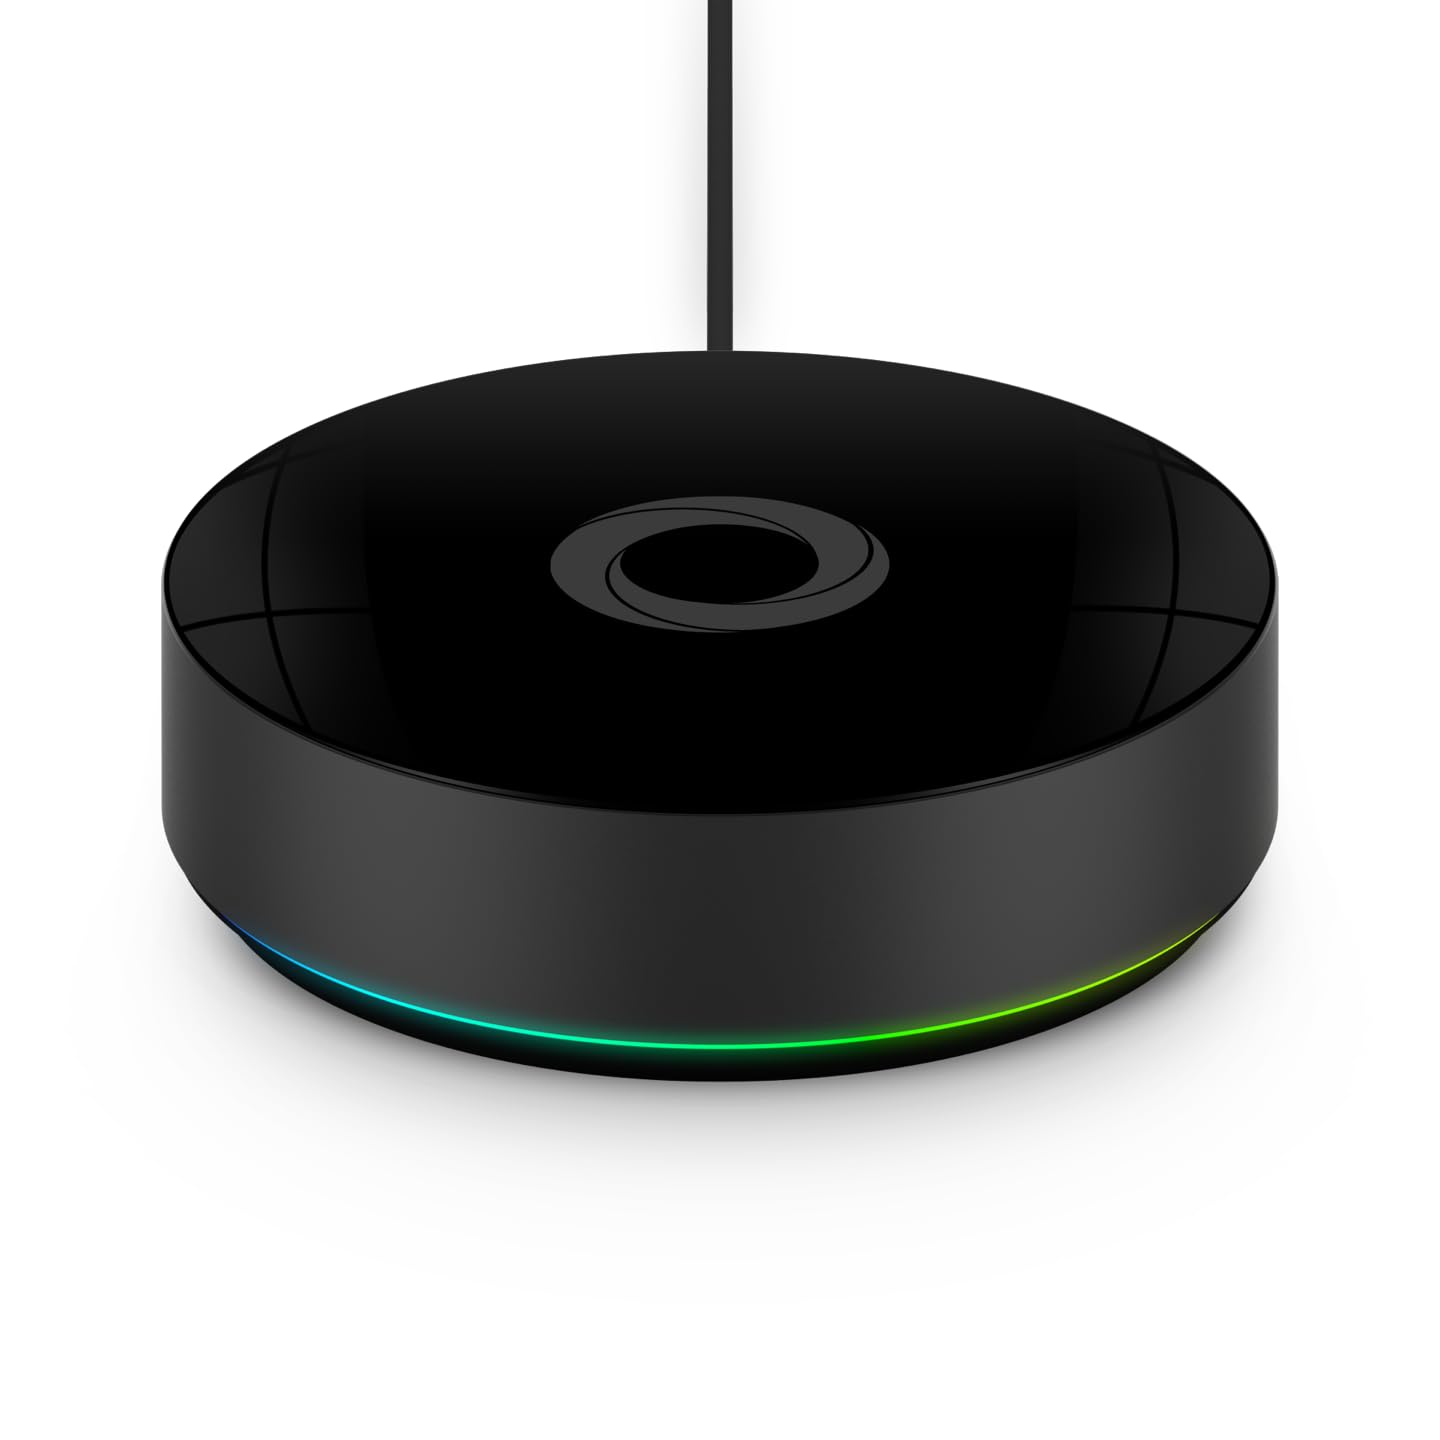
- Philips Hue Bridge unit with flat round design
- Ethernet cable for router connection
- Power adapter with micro-USB or USB-C connector
- Quick start card with QR code for Hue app download
- Hue smart bulbs if purchased as a starter kit
- Wall mount plate for optional bridge wall mounting
Got your materials ready? Here's what to check first.
Before You Start
- Bridge must connect to router via Ethernet not WiFi
- Router needs a free LAN port for the Ethernet cable
- Phone and bridge must be on the same home network
- Download the Philips Hue app before starting setup
- Screw bulbs into fixtures and turn power on first
- Bridge supports up to 50 Hue lights and accessories
Don't skip this step — it breaks everything if you do
Never perform a firmware update on the bridge during a thunderstorm or unstable power situation. A failed firmware update can brick the bridge requiring a factory reset or replacement.
Tools & Requirements
Installation Steps
Connect the Bridge to Power
Remove the Hue Bridge from its packaging. Connect the included power adapter to the port on the back of the bridge and plug it into a wall outlet near your WiFi router. The three LED indicators on top of the bridge will begin blinking as it boots up. Wait approximately 60 seconds until all three lights stop blinking and glow solid blue indicating the bridge is powered on and ready for network connection.
Connect Bridge to Router
Take the included Ethernet cable and plug one end into the Ethernet port on the back of the Hue Bridge. Plug the other end into any available LAN port on your WiFi router or network switch. Do not use the WAN or Internet port on your router. Once connected the middle LED on the bridge will change to indicate network connectivity. The bridge does not have WiFi and must always remain connected to your router via this cable.
Install the Hue App
On your smartphone download the Philips Hue app from the App Store or Google Play. Open the app and tap Set up. The app will automatically search for your Hue Bridge on the network. When it finds the bridge it will display the bridge serial number. Tap the bridge to select it. The app will then prompt you to walk to your bridge and press the large round button on top of the unit to confirm the pairing.
Add Your First Bulbs
Screw your Hue bulbs into standard E26 or E12 fixtures and turn the light switch on. The bulbs will glow a default warm white when powered. In the Hue app go to Settings then Light setup then Add light. The app will search for nearby Hue bulbs using Zigbee. When your bulbs appear tap each one to add it. Assign each bulb to a room like Living Room or Bedroom for organized control through the app.
Configure Rooms and Scenes
In the Hue app tap the Home tab then tap Add room or zone. Name your room and select the bulbs that belong in it. Once rooms are set up you can apply preset scenes like Energize Relax or Concentrate that adjust color temperature and brightness. You can also create custom scenes with specific colors for each bulb. Optionally connect your Hue account to Alexa Google Home or Apple HomeKit for voice control.
Installation Tips
Still stuck? This is usually the deeper cause below.
Place the Hue Bridge in a central location in your home rather than hidden in a closet. The Zigbee signal to your bulbs has a range of about 30 feet and each bulb acts as a repeater extending the mesh network to distant rooms.
Before you go — these Philips Hue guides fix most remaining issues.
Most popular upgrades chosen by Philips Hue Bridge owners.

Philips Hue (1) White Tap Dial Switch with (1) Smart Slim...

Philips Hue (1) Black Tap Dial Switch with (1) Smart Slim...

Philips Hue White & Color Ambiance Play Light Bar 2 Pack,...
As an Amazon Associate we earn from qualifying purchases.
Official Manufacturer Manual
If you need the complete manufacturer documentation for advanced setup, wiring diagrams, or detailed specifications, you can download the official manual below. The manual includes full technical instructions directly from the manufacturer and may help if your issue requires deeper troubleshooting.
Download the Official Philips Hue Bridge ManualSource: philips-hue.com
Need More Help? Philips Hue Support
Note: The contact information below connects you directly to Philips Hue's official customer support team, not Trunetto. They can help with warranty claims, device replacements, and advanced technical issues.
How Does Philips Hue Compare?
Before replacing your Philips Hue device, see how it stacks up against alternatives in our full comparison guides.