
How to Install a Kasa KS200M 3-Way Smart Switch
- Kill and Test
- Identify Line Side
- Wire Primary
- Wire Add-On
- Commission Matter
Most users complete this in under 60 minutes
Overview
The KS200M is a Matter-capable 3-way smart switch kit. This guide replaces your existing 3-way pair with a primary plus add-on and commissions the switch over Matter.
Why This Happens in Real Homes
The KS200M is a Matter-capable 3-way smart switch kit. This guide replaces your existing 3-way pair with a primary plus add-on and commissions the switch over Matter. In day-to-day use, this usually looks like Existing 3-way switched circuit; Two switch boxes accessible; Neutral in each box.
Most cases trace back to Line and load swapped; No neutral in old box; Add-on in wrong position. The fix works best when you go step by step instead of changing multiple settings at once.
A practical order for this issue is: Kill and Test -> Identify Line Side -> Wire Primary -> Wire Add-On. After each step, test the exact behavior that was failing so you can confirm what actually solved it.
What's Included
- Existing 3-way switched circuit
- Two switch boxes accessible
- Neutral in each box
- Kasa app installed
- Matter hub active
- Voltage tester
Got your materials ready? Here's what to check first.
Before You Start
- Line and load swapped
- No neutral in old box
- Add-on in wrong position
- Kids box crowded
- Matter pair misses
- Traveler landed on wrong terminal
Don't skip this step — it breaks everything if you do
Do not trust an old switch as a neutral reference. Verify neutral with a multimeter to be safe before installation.
Tools & Requirements
These tools will help you complete this fix.

Non-contact voltage tester
Neoteck Non-Contact AC Voltage Tester Pen, AC 12-100...

Phillips screwdriver
Klein Tools 85076 Screwdriver Set, Made in USA, Slot...
Wire connectors
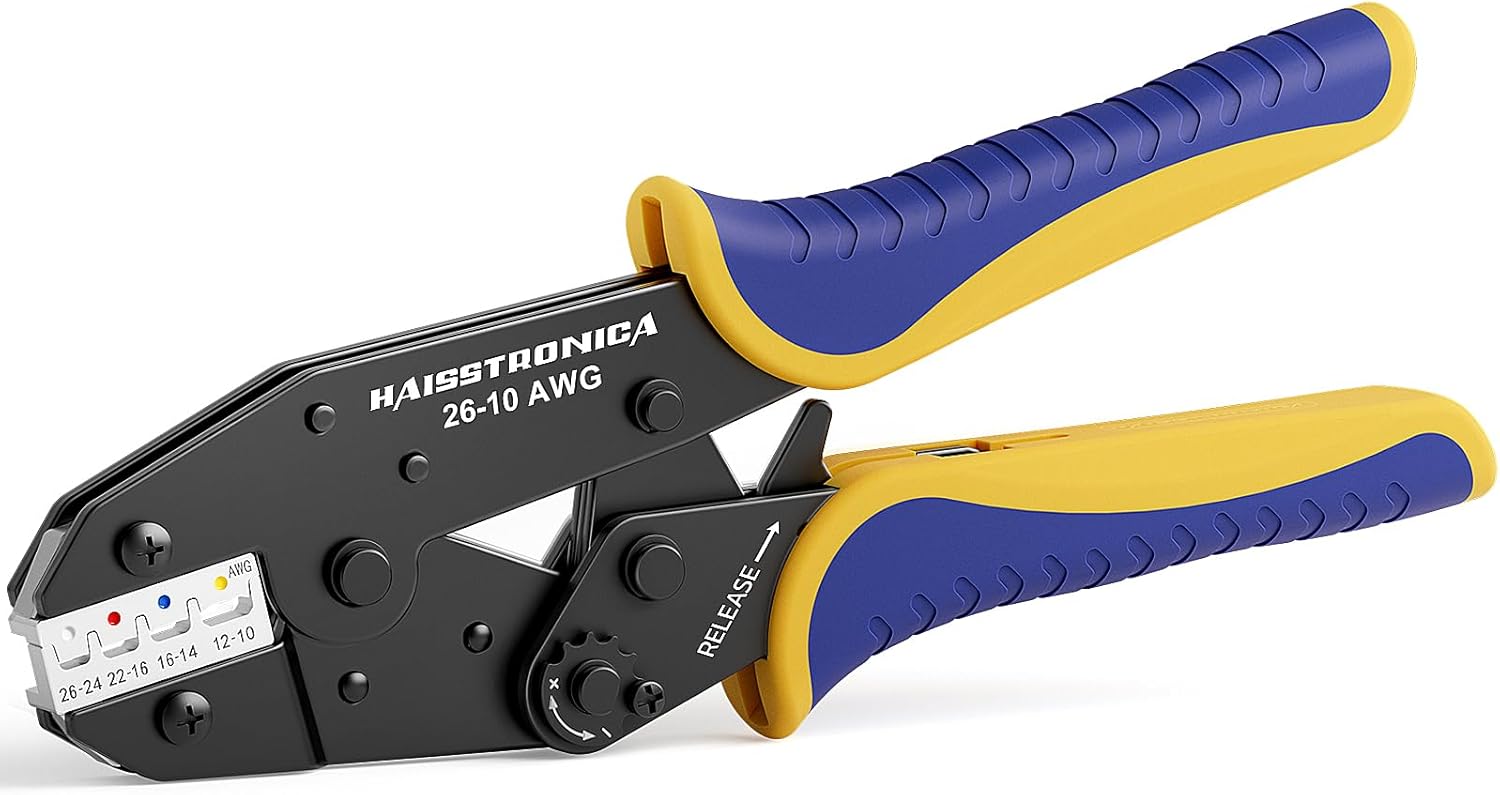
haisstronica Crimping Tool For Heat Shrink Connector...

Wire strippers
1188-Piece Ferrule Crimping & Stripping Tool Kit, AW...
As an Amazon Associate we earn from qualifying purchases.
Installation Steps
Kill and Test
Turn off the breaker and test with a non-contact tester at both boxes. Tape wires before touching any terminals. Good labels save time later.
Needed for this step
Neoteck Non-Contact AC Voltage Tester Pen, AC 1...
This helps complete the fix you are currently reading.
$9.59Identify Line Side
Locate the box with incoming line voltage. Install the primary KS200M here. The other box holds the add-on that talks back to the primary via traveler.
Wire Primary
Connect line, load, neutral, ground, and traveler to the primary per the KS200M diagram. Tighten terminals. Fold wires into the box carefully.
Needed for this step
haisstronica Crimping Tool For Heat Shrink Conn...
This helps complete the fix you are currently reading.
$24.99Wire Add-On
Wire the add-on with common, traveler, neutral, and ground on correct terminals. A misplaced common prevents the switch from powering on reliably.
Needed for this step
1188-Piece Ferrule Crimping & Stripping Tool Ki...
This helps complete the fix you are currently reading.
$25.99Commission Matter
Restore power. Scan the Matter QR in Kasa or your ecosystem app. Commission and confirm control from both switch locations before installing wall plates.
Installation Tips
Still stuck? This is usually the deeper cause below.
Keep the Matter QR sticker taped inside the primary cover plate. Future ecosystem changes will need that code again.
Before you go — these TP-Link Kasa guides fix most remaining issues.
Official Manufacturer Manual
TP-Link Kasa provides official product documentation through their online manual rather than downloadable PDF. Access setup guides, troubleshooting steps, and product specifications for your TP-Link Kasa KS200M.
Source: tp-link.com
How Does TP-Link Kasa Compare?
Before replacing your TP-Link Kasa device, see how it stacks up against alternatives in our full comparison guides.

