Genie Wall Console Not Working? Wiring and Button Fixes
- Loose wire at the console or the powerhead terminals
- Console wire broken, stapled through, or shorted in the wall
- Reversed or crossed low-voltage wires
Problem Description
Your Genie wall console (the button panel mounted on the wall inside the garage) no longer opens the door, its light or lock buttons do nothing, or the backlight is dead, while the remotes may still work. The wall console is wired to two low-voltage terminals on the powerhead, so a dead console usually means a wiring fault at one of those connections, a shorted or broken wire, or a failed console.
Why This Happens in Real Homes
A dead Genie wall console while the remotes still work almost always points to the two thin low-voltage wires that run from the console up to the powerhead, not to the opener itself. Those wires terminate under small screws at both ends, and a single loose strand, a staple driven through the insulation, or a corroded terminal is enough to kill the console. The fastest diagnostic is a jumper: touch a short wire across the two wall-button terminals on the powerhead, and if the door runs, you have proven the opener and terminals are fine and narrowed the fault to the console or its wire run. From there it is a matter of re-seating and cleaning the connections, checking the run for damage, and, if the console still will not work after a good jumper test, replacing the console itself. On multi-function consoles, a dead backlight with a working button is usually just the console's coin battery.
Symptoms
- Wall console button does nothing when pressed
- Remotes work but the wall console does not
- Console backlight or light button is dead
- Lock or program buttons on the console do not respond
- Door runs only when you jiggle the console wires
- Console worked until a wall was painted or a nail was driven
- Console clicks but the door does not move
- All console functions dead at once
Recognize these? Here's what usually causes it.
Common Causes
- Loose wire at the console or the powerhead terminals
- Console wire broken, stapled through, or shorted in the wall
- Reversed or crossed low-voltage wires
- Failed wall console unit
- Corrosion on the terminal connections
- Console backlight battery dead on models that use one
- Wrong console model for the opener
- Powerhead terminal block damaged
Most fixes happen in the first 3 steps.
The wall-button wires are low voltage and safe to handle, but the door will move when the circuit closes, so keep the door path clear while you jumper-test the terminals.
Tools & Requirements
These tools will help you complete this fix.

Screwdriver
STREBITO 155 in 1 Electric Screwdriver Set, Small El...

Wire stripper
1188-Piece Ferrule Crimping & Stripping Tool Kit, AW...

Fine sandpaper
Fine Sandpaper Assortment, 9 x 11 Inch Wet Dry Sand ...
As an Amazon Associate we earn from qualifying purchases.
Step-by-Step Solution
Confirm the Opener Itself Works
Press a remote. If the door opens by remote but not from the wall console, the opener and motor are fine and the problem is the console or its wiring. If nothing works at all, treat it as a power/opener issue instead.
Needed for this step
Fine Sandpaper Assortment, 9 x 11 Inch Wet Dry ...
This helps complete the fix you are currently reading.
$8.59Check the Wires at the Wall Console
Remove the console from the wall (it usually unclips or is held by two screws). On the back are two small terminal screws with a pair of thin low-voltage wires. Make sure both wires are stripped clean, seated under their screws, and tight. A single loose strand here is the most common cause.
Check the Terminals on the Powerhead
Follow the same two wires up to the motor unit. On the powerhead there is a terminal block (often a pair of screw terminals or push-in terminals labeled for the wall button). Re-seat both wires there too, and clean any corrosion with fine sandpaper.
Test With a Jumper to Isolate the Fault
With the opener powered, briefly touch a short piece of wire across the two wall-button terminals on the powerhead. If the door operates, the opener and terminals are good and the fault is in the console or the wire run to it. If it does not, the issue is at the powerhead.
Needed for this step
1188-Piece Ferrule Crimping & Stripping Tool Ki...
This helps complete the fix you are currently reading.
$25.99Inspect the Wire Run
Look along the wire from console to powerhead for staples driven through the insulation, nicks, pinches, or a spot where a nail or screw went into the wall. A shorted or broken run behaves like a dead console; re-run new low-voltage wire if the existing run is damaged.
Replace the Backlight Battery if Applicable
Some Genie multi-function consoles use a small coin battery for the backlight and extra features. If only the light is dead but the button still works, open the console and replace that coin cell.
Swap in a Compatible Console
If the wiring and terminals are good and the jumper test operates the door but the console still will not, the console has failed. Replace it with a Genie console compatible with your opener, wiring the two leads to the same terminals.
Re-Test All Functions
Mount the console, then test the open/close button, the light button, and the lock button. Confirm the door responds and the backlight is on.
Quick Solutions
Still having issues? This is usually the deeper cause below.
If this comes back after following these steps, check whether a recent app or firmware update reset a default setting — the fix works, but the setting gets reverted silently.
When re-running console wire, use proper low-voltage doorbell wire and keep it away from house wiring. Leave a little slack at each end so a future re-strip is easy.
Battery-related failures are almost always flagged too late — the device degrades silently for days before the app catches up to what's actually happening.
- Loose wire at the console or the powerhead terminals
- Console wire broken, stapled through, or shorted in the
- Reversed or crossed low-voltage wires
- Failed wall console unit
- Corrosion on the terminal connections
Before you go — try one of these (they fix most cases).
Most popular upgrades chosen by Genie Garage Door Opener owners.

Genie QuietLift Connect Smart Garage Door Opener Bundle w...

Genie StealthDrive 7155 Connect Smartphone-Controlled Bel...

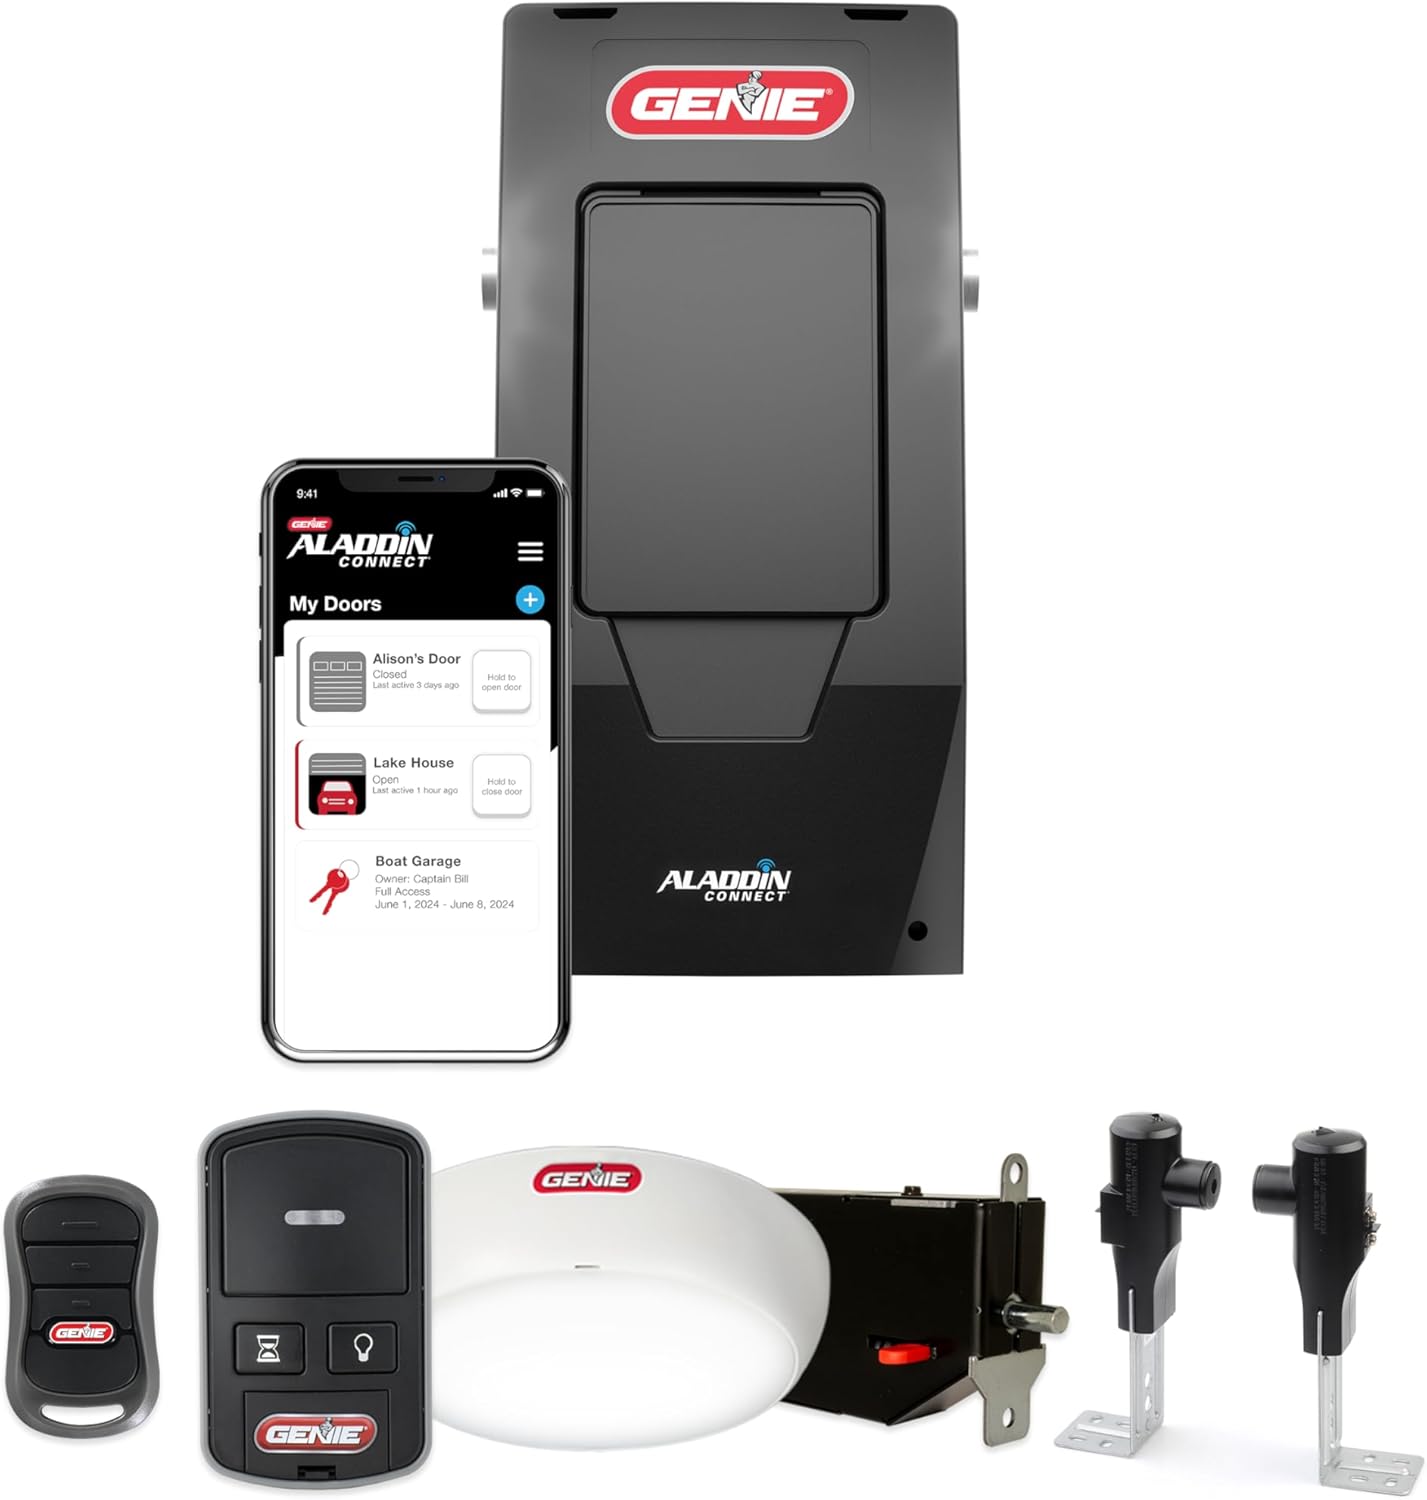
Genie Aladdin Connect Smartphone Garage Door Opener – Mon...
As an Amazon Associate we earn from qualifying purchases.
Official Manufacturer Manual
Genie provides official product documentation through their online manual rather than downloadable PDF. Access setup guides, troubleshooting steps, and product specifications for your Genie Garage Door Opener.
Source: geniecompany.com
Need More Help? Genie Support
Note: The contact information below connects you directly to Genie's official customer support team, not Trunetto. They can help with warranty claims, device replacements, and advanced technical issues.
Accessories owners commonly pair with Genie Garage Door Opener.

As an Amazon Associate we earn from qualifying purchases.