
How to Connect and Install Your Ring Floodlight Cam
- Shut Off Power and Prep
- Mount the Bracket
- Connect Electrical Wiring
- Mount and Finalize
Most users complete this in under 90 minutes
Overview
This guide explains how to install the Ring Floodlight Cam, replacing an existing outdoor floodlight. It covers the necessary electrical wiring, mounting to a junction box, and connecting the camera to your Wi-Fi network for live viewing and motion alerts.
Why This Happens in Real Homes
The wired Floodlight Cam replaces an existing hardwired floodlight, so this is real electrical work: you need a 4-inch round weatherproof box and 100-240 VAC at the location, and the power must be off at the breaker before you touch the wires. Match hot to hot, neutral to neutral, and ground to ground.
Once mounted and powered, setup is the usual Ring flow — connect to 2.4GHz WiFi via the app near the unit. Because it's up high outdoors, confirm the signal reaches the mounting spot before you button it up, and aim the floodlights and camera before final tightening.
What's Included
- Ring Floodlight Cam unit
- Mounting bracket and hardware
- Installation tools and screws
- Wire nuts for electrical connections
- User manual for reference
- Your smartphone with the Ring app
Got your materials ready? Here's what to check first.
Before You Start
- A 4-inch round weatherproof electrical box
- A power source of 100-240 VAC
- Professional installation is recommended
- A stable Wi-Fi signal at the install location
- Power turned off at the circuit breaker
- Correct wiring of ground, neutral, and hot
Don't skip this step — it breaks everything if you do
This installation involves working with high-voltage electrical wiring. If you are not experienced with electrical work, hire a licensed electrician.
Tools & Requirements
These tools will help you complete this fix.

Power drill
DEWALT 20V MAX Cordless Drill and Impact Driver, Pow...

Screwdriver
STREBITO 155 in 1 Electric Screwdriver Set, Small El...
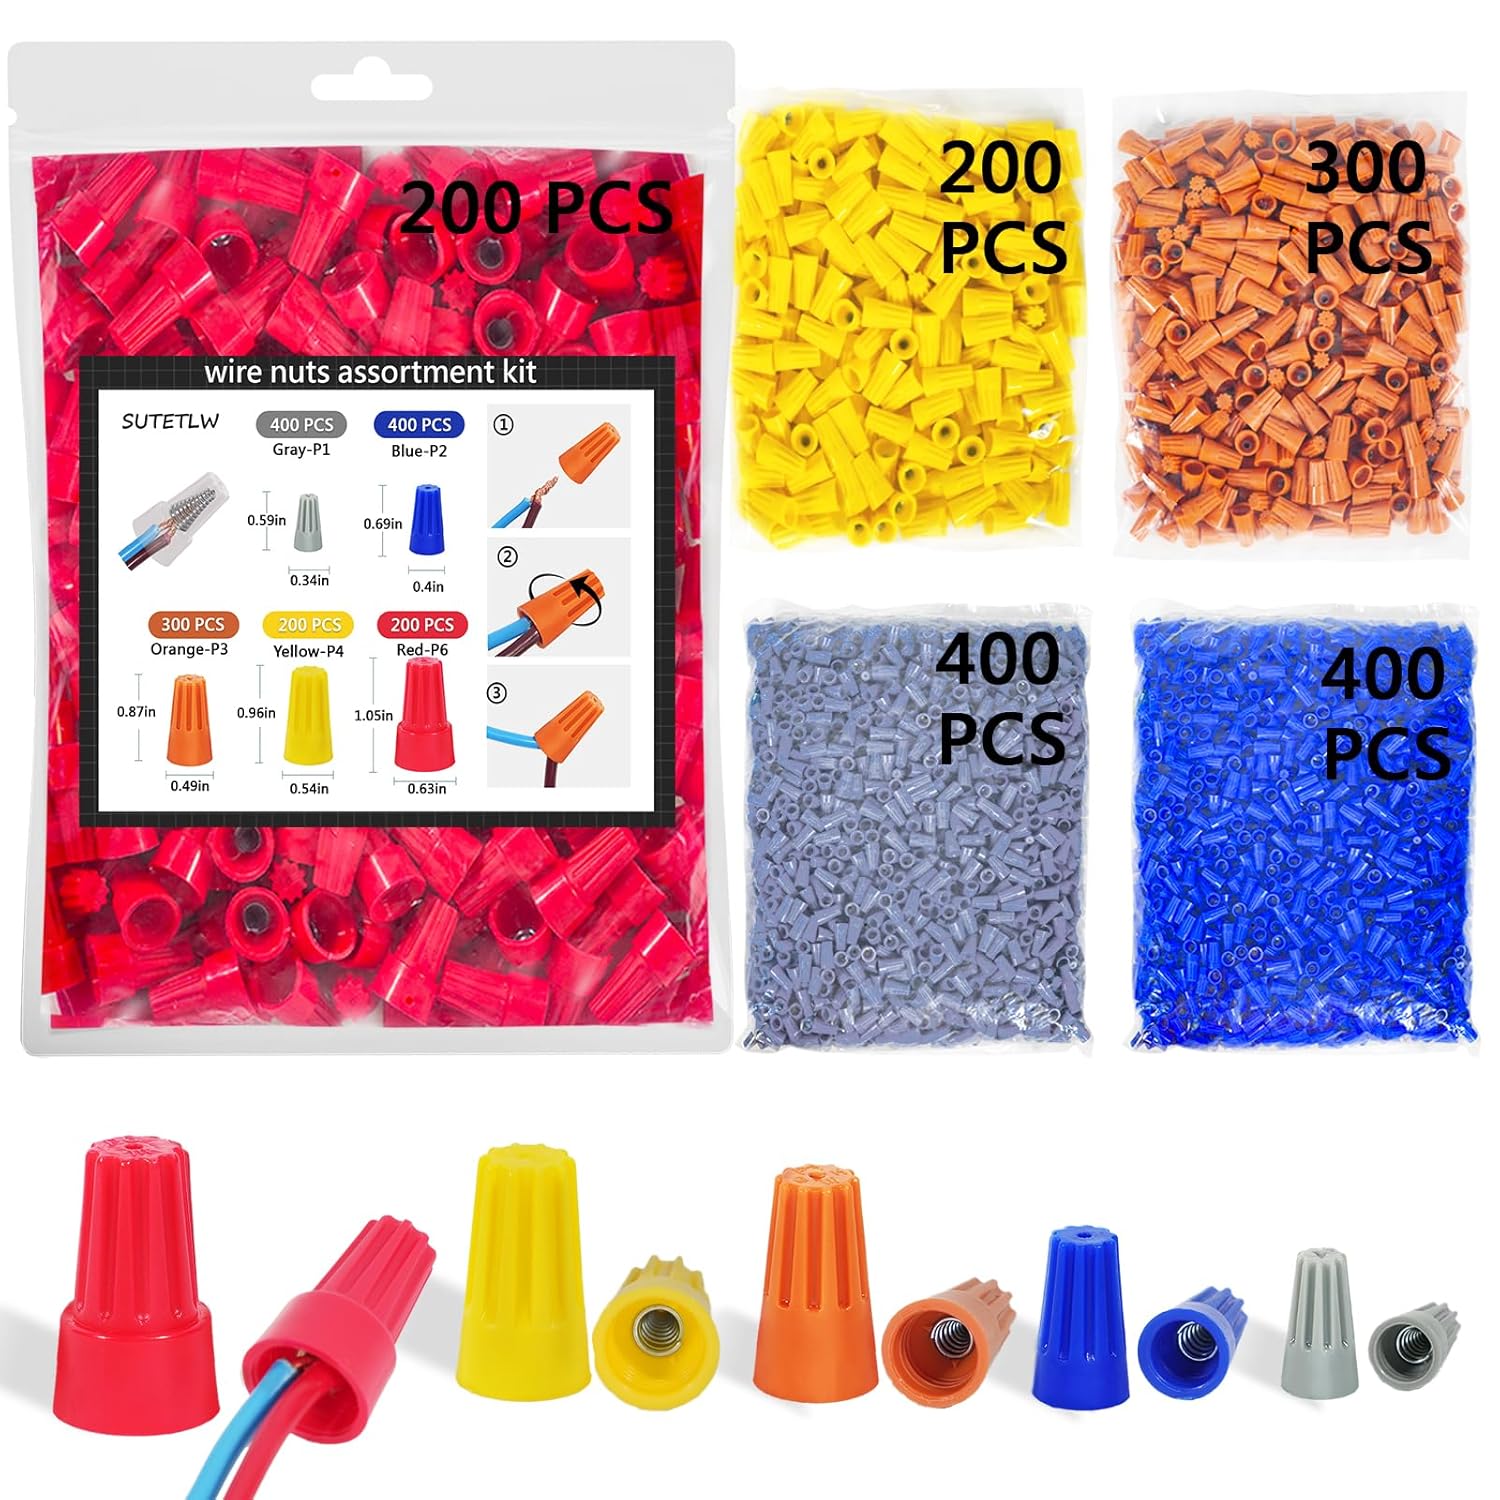
Wire nuts
Wire Nuts Assortment Kit 1500 PCS Insulating Insert ...

Wire strippers
1188-Piece Ferrule Crimping & Stripping Tool Kit, AW...
As an Amazon Associate we earn from qualifying purchases.
Installation Steps
Shut Off Power and Prep
For your safety, shut off power to your existing floodlight at the circuit breaker. Carefully remove the old fixture and disconnect its wires. Prepare your new Ring Floodlight Cam by adjusting the lights and camera to their approximate final positions before mounting.
Needed for this step
DEWALT 20V MAX Cordless Drill and Impact Driver...
This helps complete the fix you are currently reading.
$139.00Mount the Bracket
Attach the new Ring mounting bracket to the weatherproof electrical box using the provided screws. Install the plastic mounting plate onto the bracket. For added convenience, hang the Floodlight Cam from the bracket using the included nylon strap while you work.
Connect Electrical Wiring
Connect the ground (copper), neutral (white), and hot (black) wires from your home's wiring to the corresponding wires on the Floodlight Cam using the provided wire nuts. Make sure the connections are secure before tucking the wires into the junction box.
Needed for this step
Wire Nuts Assortment Kit 1500 PCS Insulating In...
This helps complete the fix you are currently reading.
$29.99Mount and Finalize
Mount the Floodlight Cam fixture onto the mounting plate and secure it firmly with the hex cap nuts. Restore power at the circuit breaker. The floodlights will turn on, and the camera will enter setup mode. Complete the final setup steps within the Ring app.
Installation Tips
Still stuck? This is usually the deeper cause below.
For optimal motion detection, install the Floodlight Cam at a height of 9 feet.
Before you go — these Ring guides fix most remaining issues.
Official Manufacturer Manual
Ring provides official product documentation through their online manual rather than downloadable PDF. Access setup guides, troubleshooting steps, and product specifications for your Ring Floodlight Cam Wired Plus/Pro.
Source: support.ring.com
Need More Help? Ring Support
Note: The contact information below connects you directly to Ring's official customer support team, not Trunetto. They can help with warranty claims, device replacements, and advanced technical issues.
How Does Ring Compare?
Before replacing your Ring device, see how it stacks up against alternatives in our full comparison guides.


