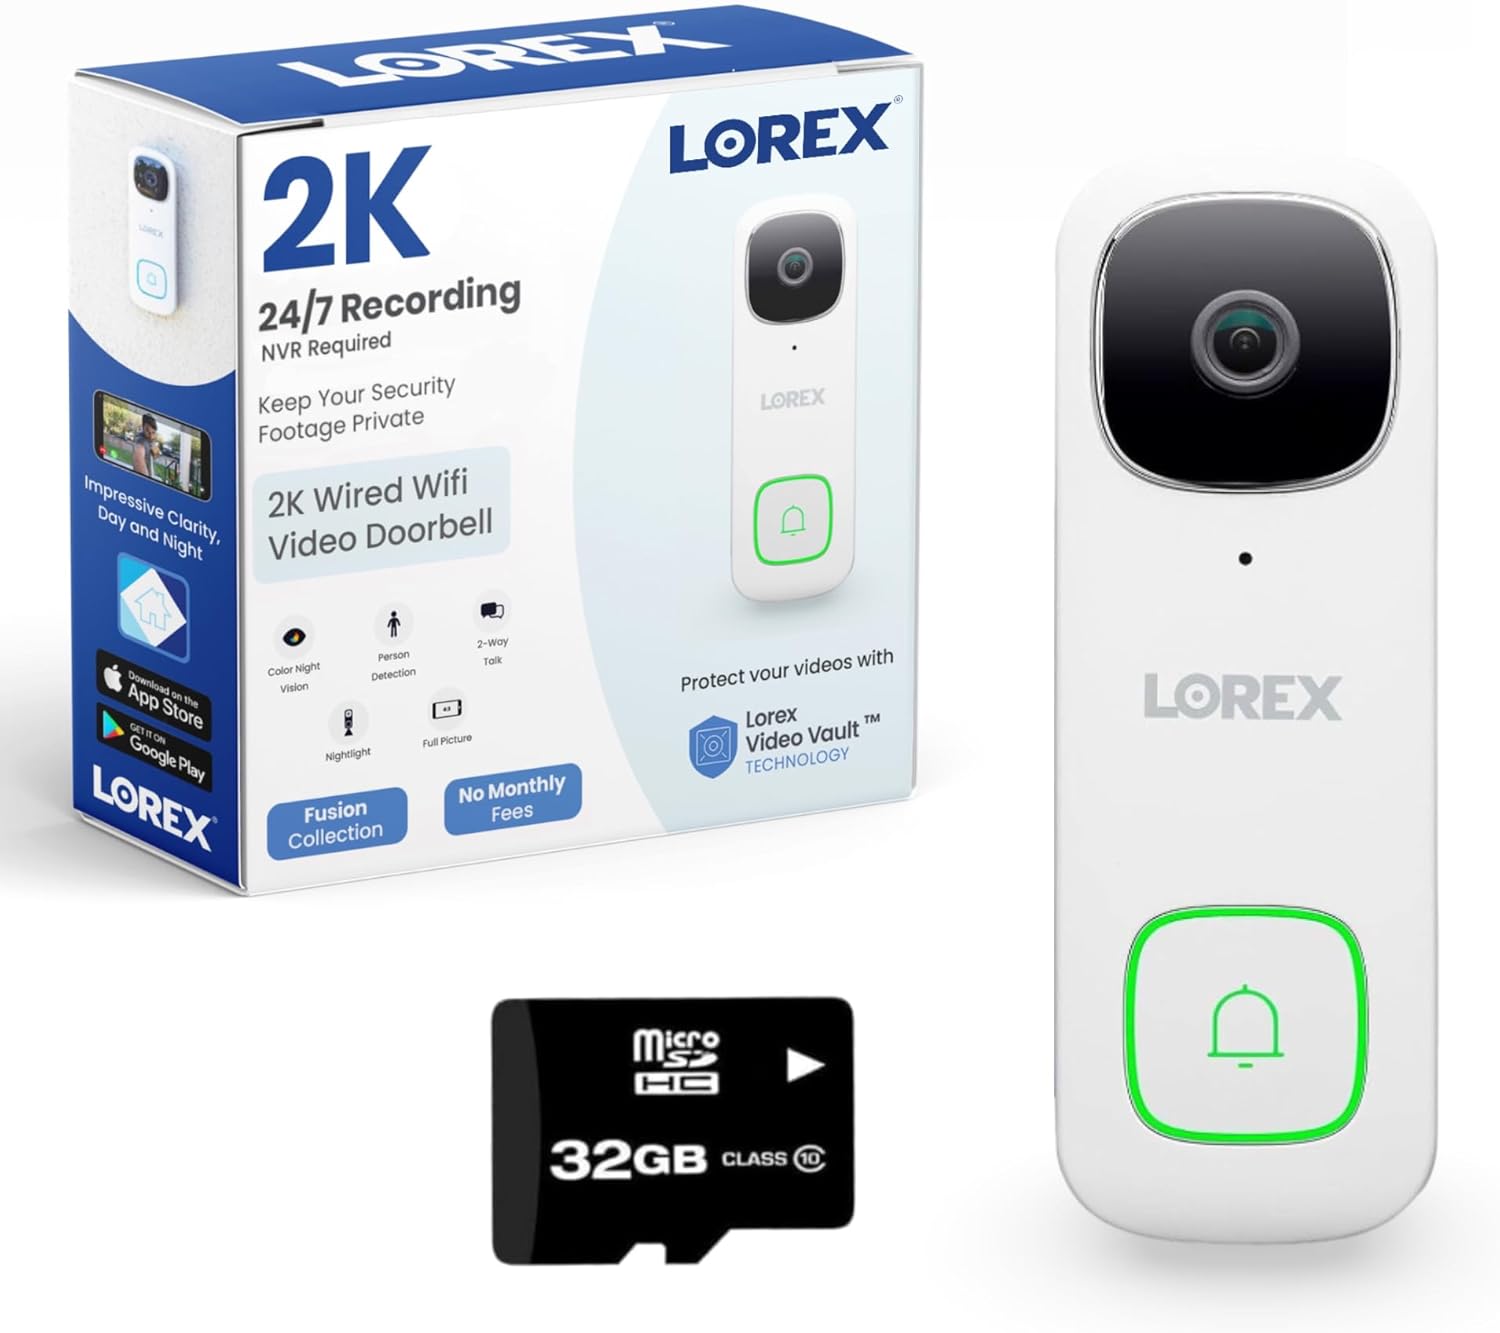
Lorex Camera Night Vision Blurry or Black and White During the Day
- IR-cut filter stuck in night mode (stays B&W in daylight)
- IR reflecting off a nearby wall/eave
- Lens condensation from temperature swings
Problem Description
Your Lorex security camera shows blurry or grainy night vision footage, stays in black-and-white mode during daylight hours, or the IR LEDs produce a washed-out overexposed image at night. The most common cause of daytime black-and-white is a stuck IR cut filter — the mechanical filter that switches between color and night modes failed to flip back to the day position. A power cycle resets the filter in most cases.
Why This Happens in Real Homes
Two distinct problems get lumped together here, and they have different fixes. Staying black-and-white during the day is almost always a stuck IR-cut filter - the tiny mechanical filter that flips in front of the sensor for night mode and back out for day. When it jams in the night position, the camera keeps showing monochrome (and often applies IR) in broad daylight. A power cycle resets the filter in most cases; if the camera is forced to 'night' or 'black and white' in its day/night settings, switch it back to Auto. A blocked light sensor (the little photocell that detects darkness) can also confuse the day/night switching, so clean it.
Blurry or washed-out night video is the other issue, and it's about IR and optics. IR bouncing off a nearby wall, eave, or reflective surface produces the bright, hazy, overexposed look, so re-aiming or moving the camera away from close surfaces cuts the glare. Lens condensation from temperature swings fogs the image at night and points to a housing that's lost its seal or desiccant. Color night vision, if your model has it, needs a minimum of ambient light to produce color - in true darkness it falls back to IR black-and-white, which is normal. Clean the lens, check focus, and address any reflections, and the night image sharpens up.
Symptoms
- Night footage blurry or out of focus
- Camera stays black-and-white in daylight
- IR LEDs create bright white glare/haze
- Close objects overexposed at night
- Color night vision won't activate
- Pink or purple tint at dusk
- Stuck in night mode after dark cleared
- Image soft only at night
Recognize these? Here's what usually causes it.
Common Causes
- IR-cut filter stuck in night mode (stays B&W in daylight)
- IR reflecting off a nearby wall/eave
- Lens condensation from temperature swings
- Camera mounted too close to a reflective surface
- Light sensor (photocell) obstructed by dirt/webs
- Color night vision needs minimum ambient light
- Day/night mode manually set to B&W/night
- Focus knocked off or lens dirty
Most fixes happen in the first 3 steps.
{"Never point IR cameras directly at window glass","Do not disassemble camera to fix IR cut filter unless experienced"}
Tools & Requirements
These tools will help you complete this fix.

microfiber cloth
BELLEMOND「Samurai Cloth」Japanese Microfiber Cleaning...
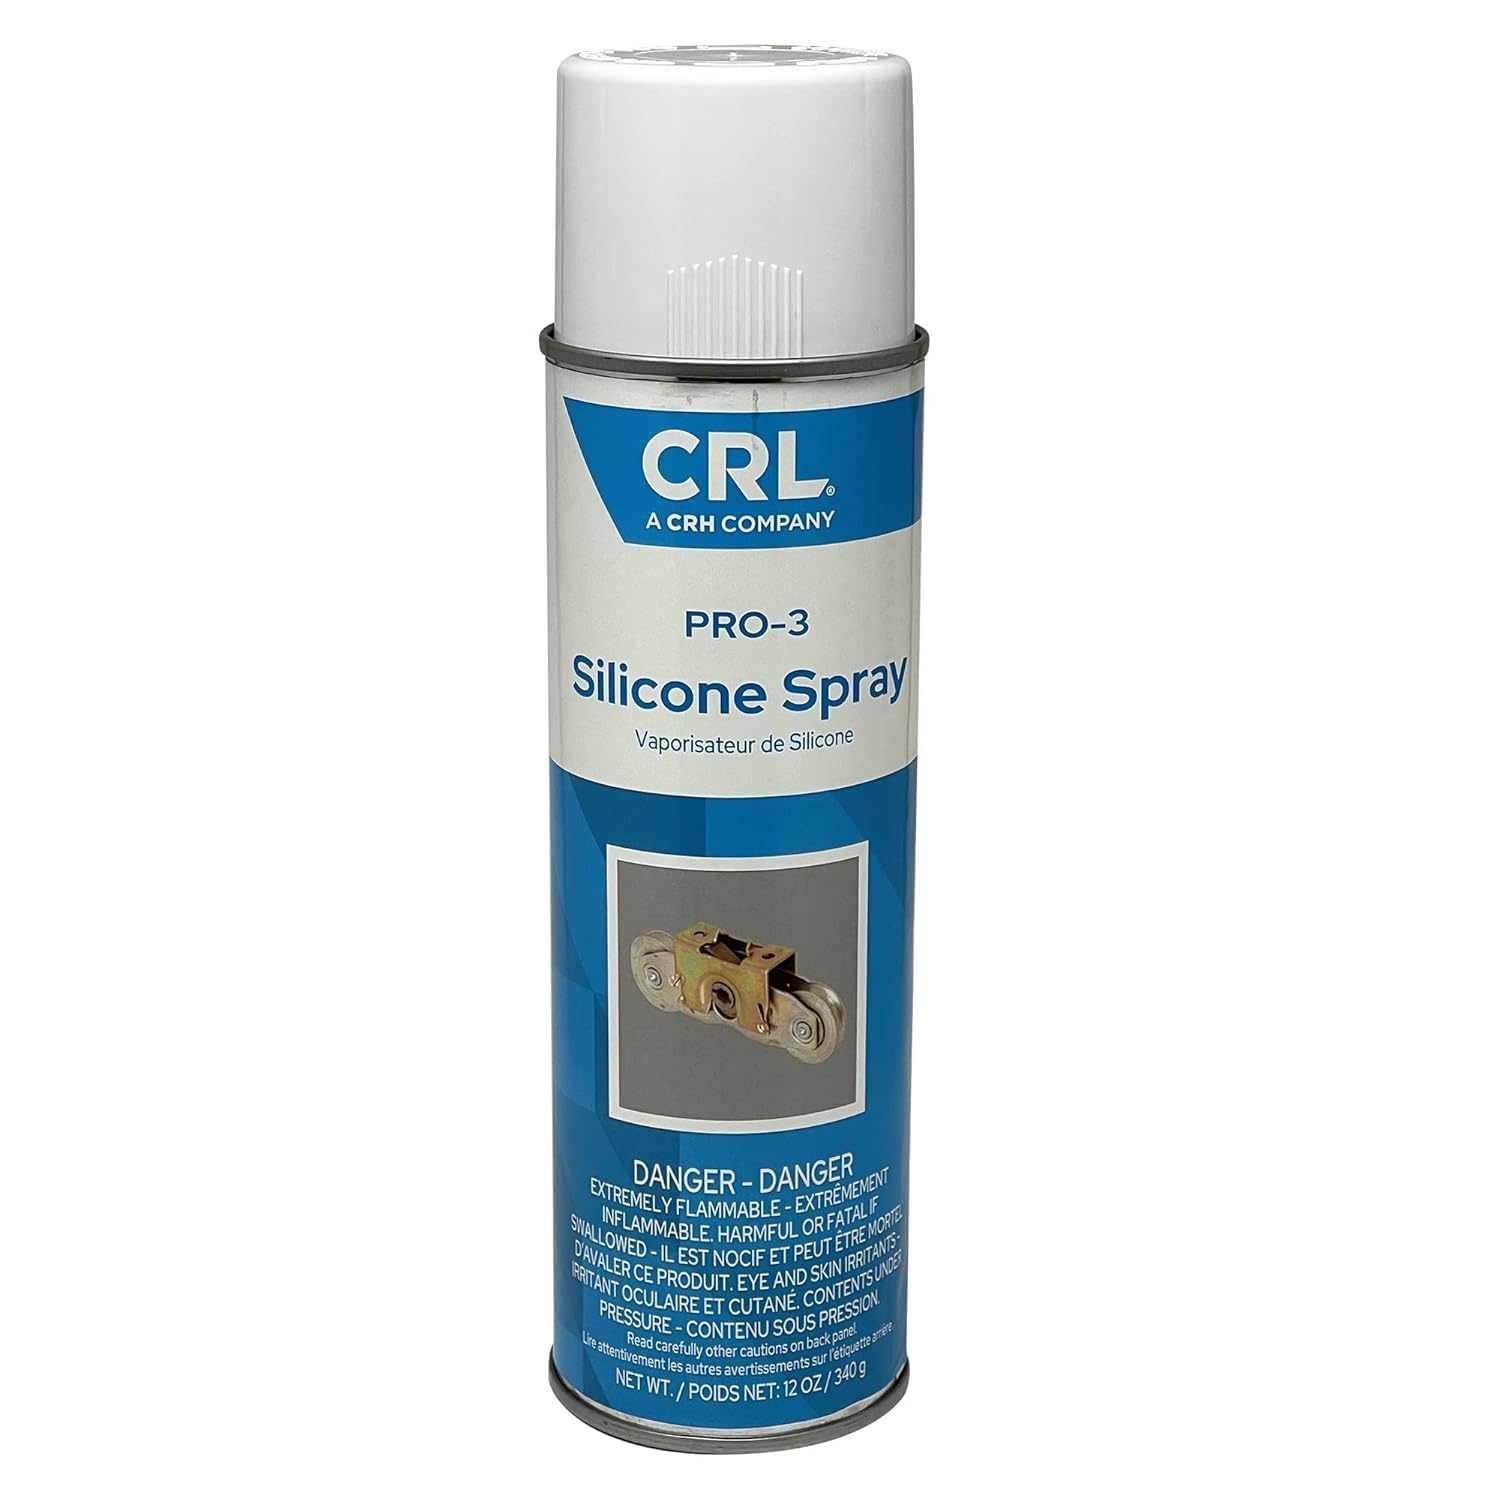
Silicone spray
CRL PR03 Silicone Spray
As an Amazon Associate we earn from qualifying purchases.
Step-by-Step Solution
Power Cycle the Camera to Reset IR Cut Filter
A black-and-white image during daylight hours almost always means the IR cut filter is stuck in night mode. The IR cut filter is a mechanical component that flips between color and black-and-white modes. Disconnect the camera from power for 30 seconds then reconnect. The power cycle resets the filter actuator. After restart, point the camera toward a bright light source — the filter should flip and restore color within 1 to 2 minutes.
Check IR LED Control Settings in the Lorex App
In the Lorex Home app or NVR interface, go to the camera's image settings and check the IR LED mode. If IR is set to Manual On, the LEDs stay active during daylight and wash out the color image. Set IR to Auto so the camera controls the LEDs based on ambient light level. Also check the Smart IR or WDR settings — wide dynamic range helps with mixed lighting but can affect color rendition.
Remove Reflective Objects Near the Camera
IR LEDs reflect off nearby surfaces — walls, window glass, white trim, or light-colored objects within 3 feet of the lens. These reflections create a washed-out overexposed image at night and can confuse the day/night light sensor during the day. Reposition the camera so the IR field does not hit any surface within 2 feet. For cameras mounted near windows, make sure the lens is not pointed toward or through glass which creates severe IR reflection.
Clean the Camera Lens and Dome
A smudged lens or dirty dome housing significantly reduces image clarity and causes the camera to misread light levels. Clean the outer lens or dome with a dry microfiber cloth using a circular motion. For dome cameras clean the interior of the dome cover as well — dust inside the dome scatters IR light creating a foggy white haze at night. Do not use window cleaner which leaves a film that worsens IR scatter.
Needed for this step
BELLEMOND「Samurai Cloth」Japanese Microfiber Cle...
This helps complete the fix you are currently reading.
$18.99Adjust Image Settings for Night Vision Clarity
In the Lorex app or NVR interface go to the camera's image settings. Reduce sharpness and noise reduction to their middle positions as extreme settings degrade night vision clarity. Confirm brightness and contrast are at default values. If night vision is blurry at distances beyond 15 feet, check the camera's IR range specification — most Lorex cameras have a nominal range of 30 to 100 feet, but this assumes clear air with no fog, dust, or insects near the lens.
Quick Solutions
Still having issues? This is usually the deeper cause below.
Camera issues that start suddenly almost always trace back to an upload bandwidth drop — run a speed test before assuming hardware failure.
{"Mount cameras at 8 to 10 feet height angled slightly downward for best night vision","Apply petroleum jelly around the lens housing to deter spider webs","Check night vision quality monthly as new landscaping can introduce reflective surfaces"}
Live view problems that start suddenly usually trace back to an upload speed drop — the camera itself is fine, the bandwidth path to the cloud isn't.
- IR-cut filter stuck in night mode (stays B&W in
- IR reflecting off a nearby wall/eave
- Lens condensation from temperature swings
- Camera mounted too close to a reflective surface
- Light sensor (photocell) obstructed by dirt/webs
Before you go — try one of these (they fix most cases).
Most popular upgrades chosen by Lorex Security Camera owners.

Lorex Indoor/Outdoor 4K Ultra HD Smart Deterrence CVI Wir...

Lorex Outdoor 4K IP Add-On Metal Bullet Security Camera |...

Lorex Outdoor 4K IP Add-On Metal Dome Security Camera | N...
As an Amazon Associate we earn from qualifying purchases.
Official Manufacturer Manual
Lorex provides official product documentation through their online manual rather than downloadable PDF. Access setup guides, troubleshooting steps, and product specifications for your Lorex Security Camera.
Source: lorex.com
Need More Help? Lorex Support
Note: The contact information below connects you directly to Lorex's official customer support team, not Trunetto. They can help with warranty claims, device replacements, and advanced technical issues.