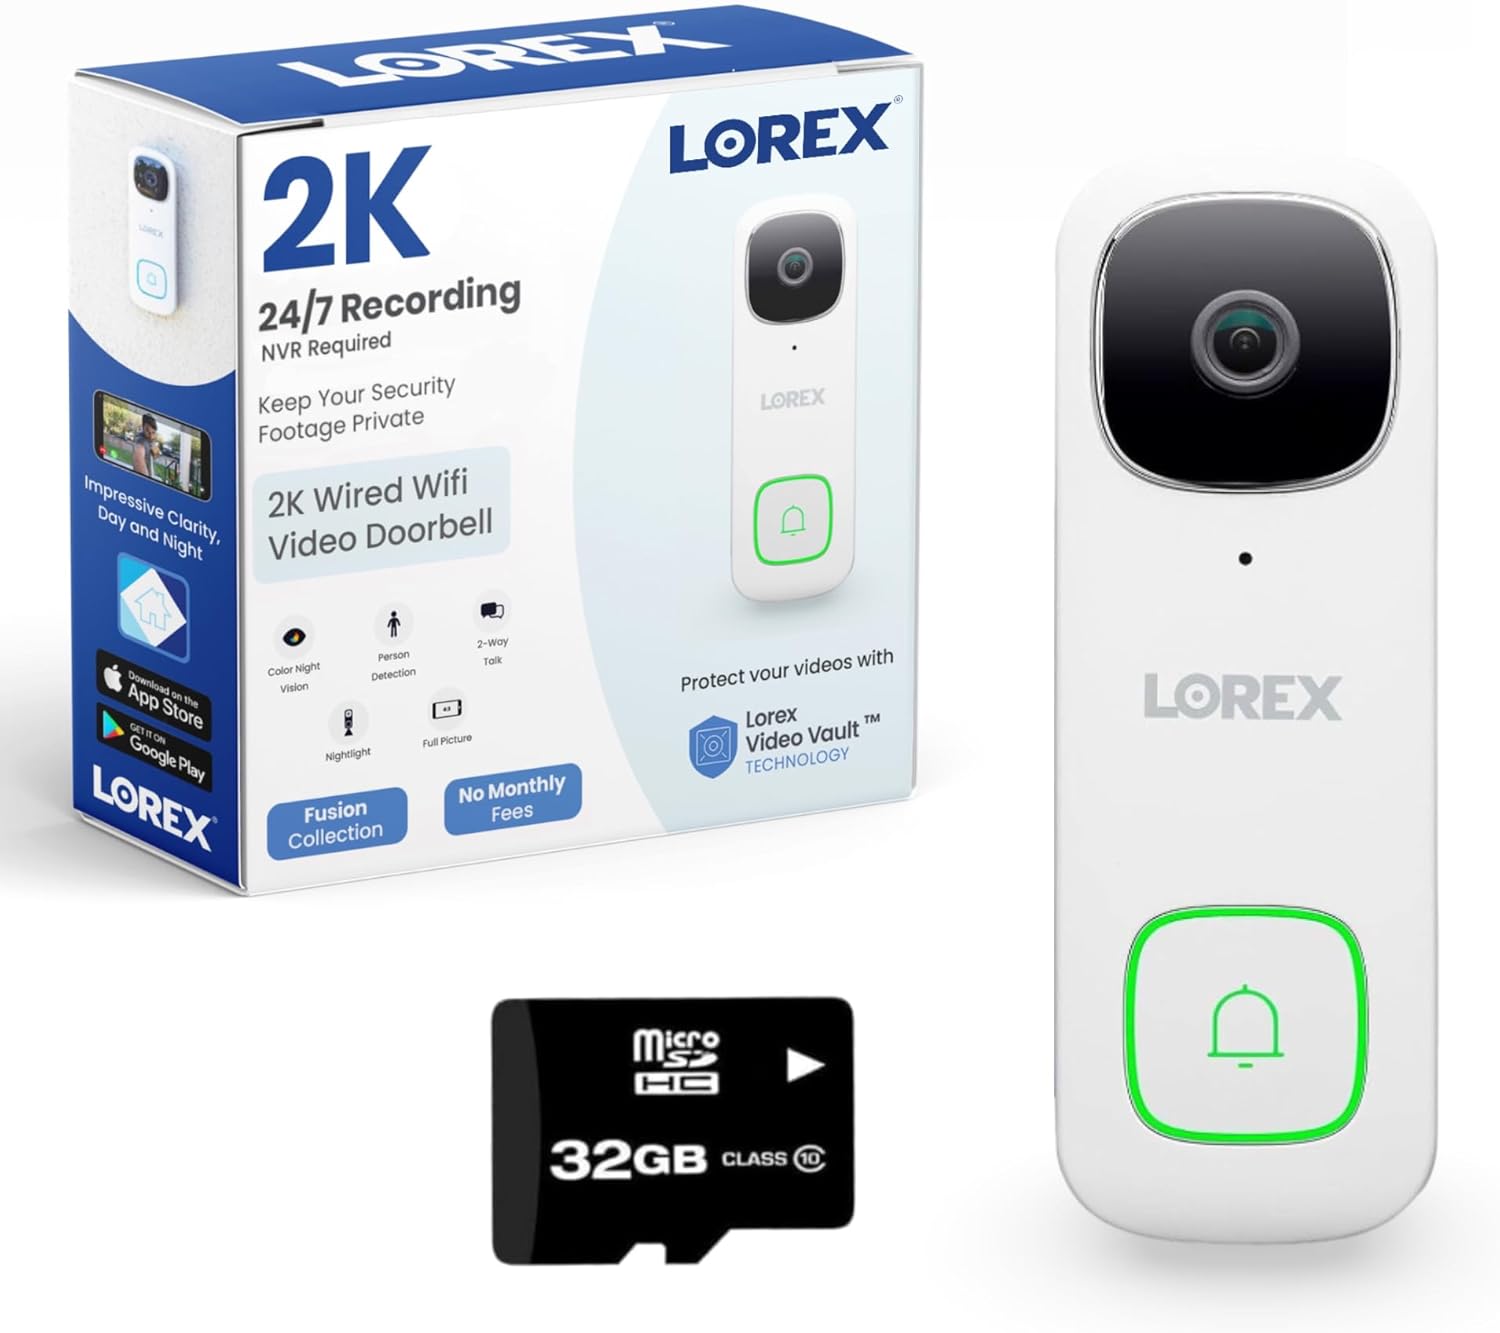
How Do I Set Up the Lorex WiFi Camera?
- Battery not fully charged before setup (battery models)
- Phone/camera on 5GHz - camera needs 2.4GHz
- Band-steered SSID hiding the 2.4GHz band
Problem Description
You are setting up a Lorex WiFi camera for the first time. WiFi cameras connect to your network wirelessly instead of through an NVR Ethernet port. Battery-powered models need a full charge before mounting. This guide covers charging, WiFi pairing through the Lorex Home app, and mounting.
Why This Happens in Real Homes
Lorex WiFi cameras skip the NVR and connect straight to your network, set up through the Lorex Home app. For battery models, the first step is easy to overlook: fully charge the camera before you try to pair and mount it, because a low battery causes setup failures and you don't want to discover a weak charge after it's up on a wall. Then it's the standard wireless-camera flow, with the usual 2.4GHz caveat - these cameras use the 2.4GHz band, so a phone or setup pointed at 5GHz, or a router band-steering both bands under one SSID, causes the WiFi step to fail. Getting the camera onto a clean 2.4GHz network is the key.
Signal strength at the mounting location is the other big factor, and it's especially important for cameras since they're often placed at the far edges of the house or outdoors. A camera that pairs fine near the router but drops offline once mounted is telling you the WiFi doesn't reach that spot well - a mesh node or better placement fixes it. WPA3-only security blocks many cameras, so use WPA2 or mixed mode for pairing, enter the WiFi password carefully, and make sure the camera is actually in pairing mode when you scan or add it. Keep the app and firmware current. Battery models will also drain faster if they're straining on a weak signal, so good coverage helps battery life too.
Symptoms
- Charging a battery model before mounting
- Camera won't pair in the Lorex Home app
- Setup fails at the WiFi step
- Camera pairs then shows offline
- App can't find the camera
- Camera far from router won't connect
- QR/scan step won't proceed
- Battery drains fast after setup
Recognize these? Here's what usually causes it.
Common Causes
- Battery not fully charged before setup (battery models)
- Phone/camera on 5GHz - camera needs 2.4GHz
- Band-steered SSID hiding the 2.4GHz band
- Weak WiFi signal at the camera location
- Camera not in pairing mode
- Wrong WiFi password entered
- Router security (WPA3-only) incompatible
- Firmware/app out of date
Most fixes happen in the first 3 steps.
Security cameras should be installed at least 8 feet high to prevent tampering. Check local laws regarding recording audio and video. Never aim cameras at neighboring private property. Outdoor cameras should be rated IP65 or higher for weather resistance.
Tools & Requirements
Step-by-Step Solution
Charge the camera if battery-powered
Lorex wire-free WiFi cameras have built-in rechargeable batteries. Charge fully using the included USB cable before installation — charge time is approximately 6-8 hours. The camera LED turns solid green when fully charged. Wired WiFi cameras (with a power adapter) skip this step — just plug them in.
Add the camera in the Lorex Home app
Open the Lorex Home app. Tap + > Add Device. Select your camera model. The app prompts you to scan the QR code on the camera body or its packaging. Complete the setup prompts — the app generates a WiFi QR code that the camera scans with its lens (hold the phone screen about 6-8 inches from the camera). The camera beeps when it reads the code and connects to your 2.4GHz WiFi network.
Connect to 2.4GHz WiFi only
Lorex WiFi cameras connect to 2.4GHz WiFi only — not 5GHz. If your router uses a combined SSID (both bands with the same name), the camera usually connects to 2.4GHz automatically. If setup fails, temporarily create a 2.4GHz-only SSID in your router settings. Enter the password carefully — WiFi passwords are case-sensitive. After the camera connects, you can merge the SSIDs again.
Mount the camera
Choose a location within WiFi range. Test the connection before permanent mounting — place the camera in the desired spot and check the live view in the Lorex app. If the video is choppy or frequently buffers, the WiFi signal is too weak. Add a WiFi extender or choose a closer location. Mount using the included screws and bracket. Battery cameras should be mounted where they can be easily reached for charging — or connect a Lorex solar panel for continuous charging.
Configure motion detection and alerts
In the Lorex Home app, tap the camera > Settings > Motion Detection. Enable Person Detection (if supported by your camera model) for fewer false alerts. Set the detection sensitivity — medium is a good starting point. Set Activity Zones to exclude high-traffic areas. Enable push notifications. Test by walking through the detection zone — you should receive a notification within 5-10 seconds.
Quick Solutions
Still having issues? This is usually the deeper cause below.
This usually happens right after a router reboot or ISP change — the device rejoins the network but drops its cloud session silently.
Set up activity zones to monitor only the areas that matter like your front porch and driveway and exclude the street. This dramatically reduces false alerts while ensuring you never miss an actual event at your property.
Most WiFi drop-offs happen right after a router reboot or ISP swap — the device reconnects to the network but silently loses its cloud registration.
- Battery not fully charged before setup (battery models)
- Phone/camera on 5GHz - camera needs 2.4GHz
- Band-steered SSID hiding the 2.4GHz band
- Weak WiFi signal at the camera location
- Camera not in pairing mode
Before you go — try one of these (they fix most cases).
Most popular upgrades chosen by Lorex WiFi Camera owners.

Lorex 4K 16 Camera Capable (8 Wired + 8 Wi-Fi) 2TB Wired ...

Lorex Indoor/Outdoor 4K Ultra HD Smart Deterrence CVI Wir...

Lorex Outdoor 4K IP Add-On Metal Bullet Security Camera |...
As an Amazon Associate we earn from qualifying purchases.
Official Manufacturer Manual
Lorex provides official product documentation through their online manual rather than downloadable PDF. Access setup guides, troubleshooting steps, and product specifications for your Lorex WiFi Camera.
Source: lorex.com
Need More Help? Lorex Support
Note: The contact information below connects you directly to Lorex's official customer support team, not Trunetto. They can help with warranty claims, device replacements, and advanced technical issues.