How to Set Up Rachio Smart Hose Timer for the First Time
- Power Up Smart Hub
- Install Batteries and Mount
- Pair in Rachio App
- Calibrate Flow and Zone
- Build First Schedule
Most users complete this in under 30 minutes
Overview
Walk new Rachio Smart Hose Timer owners through outdoor mounting, hub placement, pairing, flow calibration, and the first watering schedule so your garden or drip system runs reliably from day one.
Why This Happens in Real Homes
First-time Rachio Smart Hose Timer setup hinges on the hub, since the timer talks to the hub over a low-power radio and the hub talks to your WiFi. In real gardens a hub placed too far from the timer, or a 5GHz-only network the hub cannot join, is what stalls setup. Put the hub within range of both the timer and a 2.4GHz network, and check the battery orientation before pairing.
What's Included
- Hose bib in good condition and accessible
- WiFi signal reaches hose bib area
- Rachio Smart Hose Timer unopened
- Power outlet available for hub
- Rachio app installed and signed in
- Batteries seated fresh before first use
Got your materials ready? Here's what to check first.
Before You Start
- Hub located too far from timer
- WiFi network on 5GHz only blocks hub
- Batteries installed in wrong orientation
- Hose bib threads worn or cross-threaded
- Schedule time zone mismatch at setup
- Flow rate unknown at setup
Don't skip this step — it breaks everything if you do
Do not leave the timer pressurized during freezing weather. Disconnect and drain before first frost to prevent plastic cracking.
Tools & Requirements
These tools will help you complete this fix.

Fresh batteries
Energizer Ultimate Lithium AA Batteries, Long Lastin...

Phillips screwdriver
Klein Tools 85076 Screwdriver Set, Made in USA, Slot...

thread seal tape
JACO ThreadPro High-Density Thread Seal Tape - 1/2" ...
As an Amazon Associate we earn from qualifying purchases.
Installation Steps
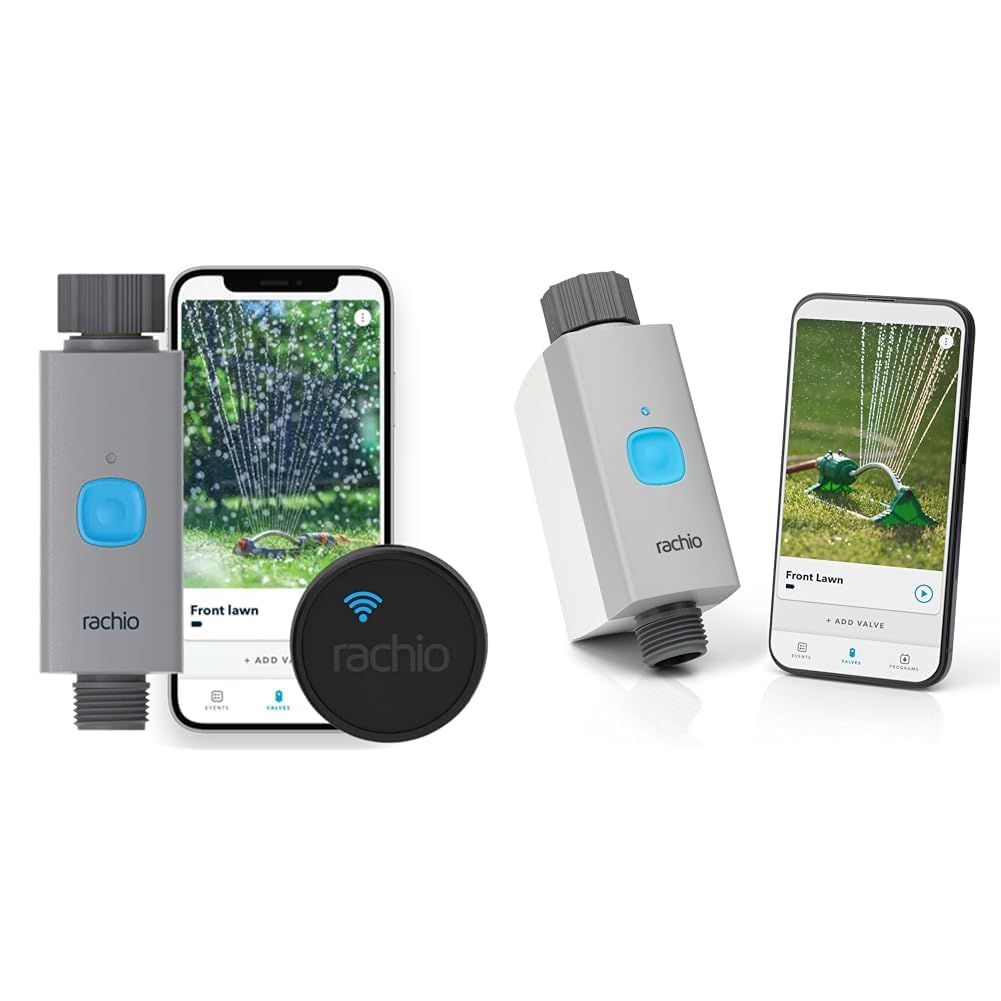
Power Up Smart Hub
Plug the Smart Hose Timer hub into a reliable indoor outlet facing your yard. The hub connects to WiFi and bridges Bluetooth to outdoor timers. Keeping it near a window toward the yard improves signal reliability and reduces dropouts during scheduled runs.
Install Batteries and Mount
Insert fresh batteries in correct orientation. Screw the timer onto a clean, undamaged hose bib by hand until snug. Wrap threads with seal tape if you see drips under pressure. Avoid over-tightening, which can crack the plastic housing.
Needed for this step
Energizer Ultimate Lithium AA Batteries, Long L...
This helps complete the fix you are currently reading.
$83.98Pair in Rachio App
Open Rachio and tap Add Device. Choose Smart Hose Timer and follow prompts to link the hub to 2.4GHz WiFi. Once the hub is online, add the outdoor timer. A confirmation tone plays when pairing completes successfully at the timer.
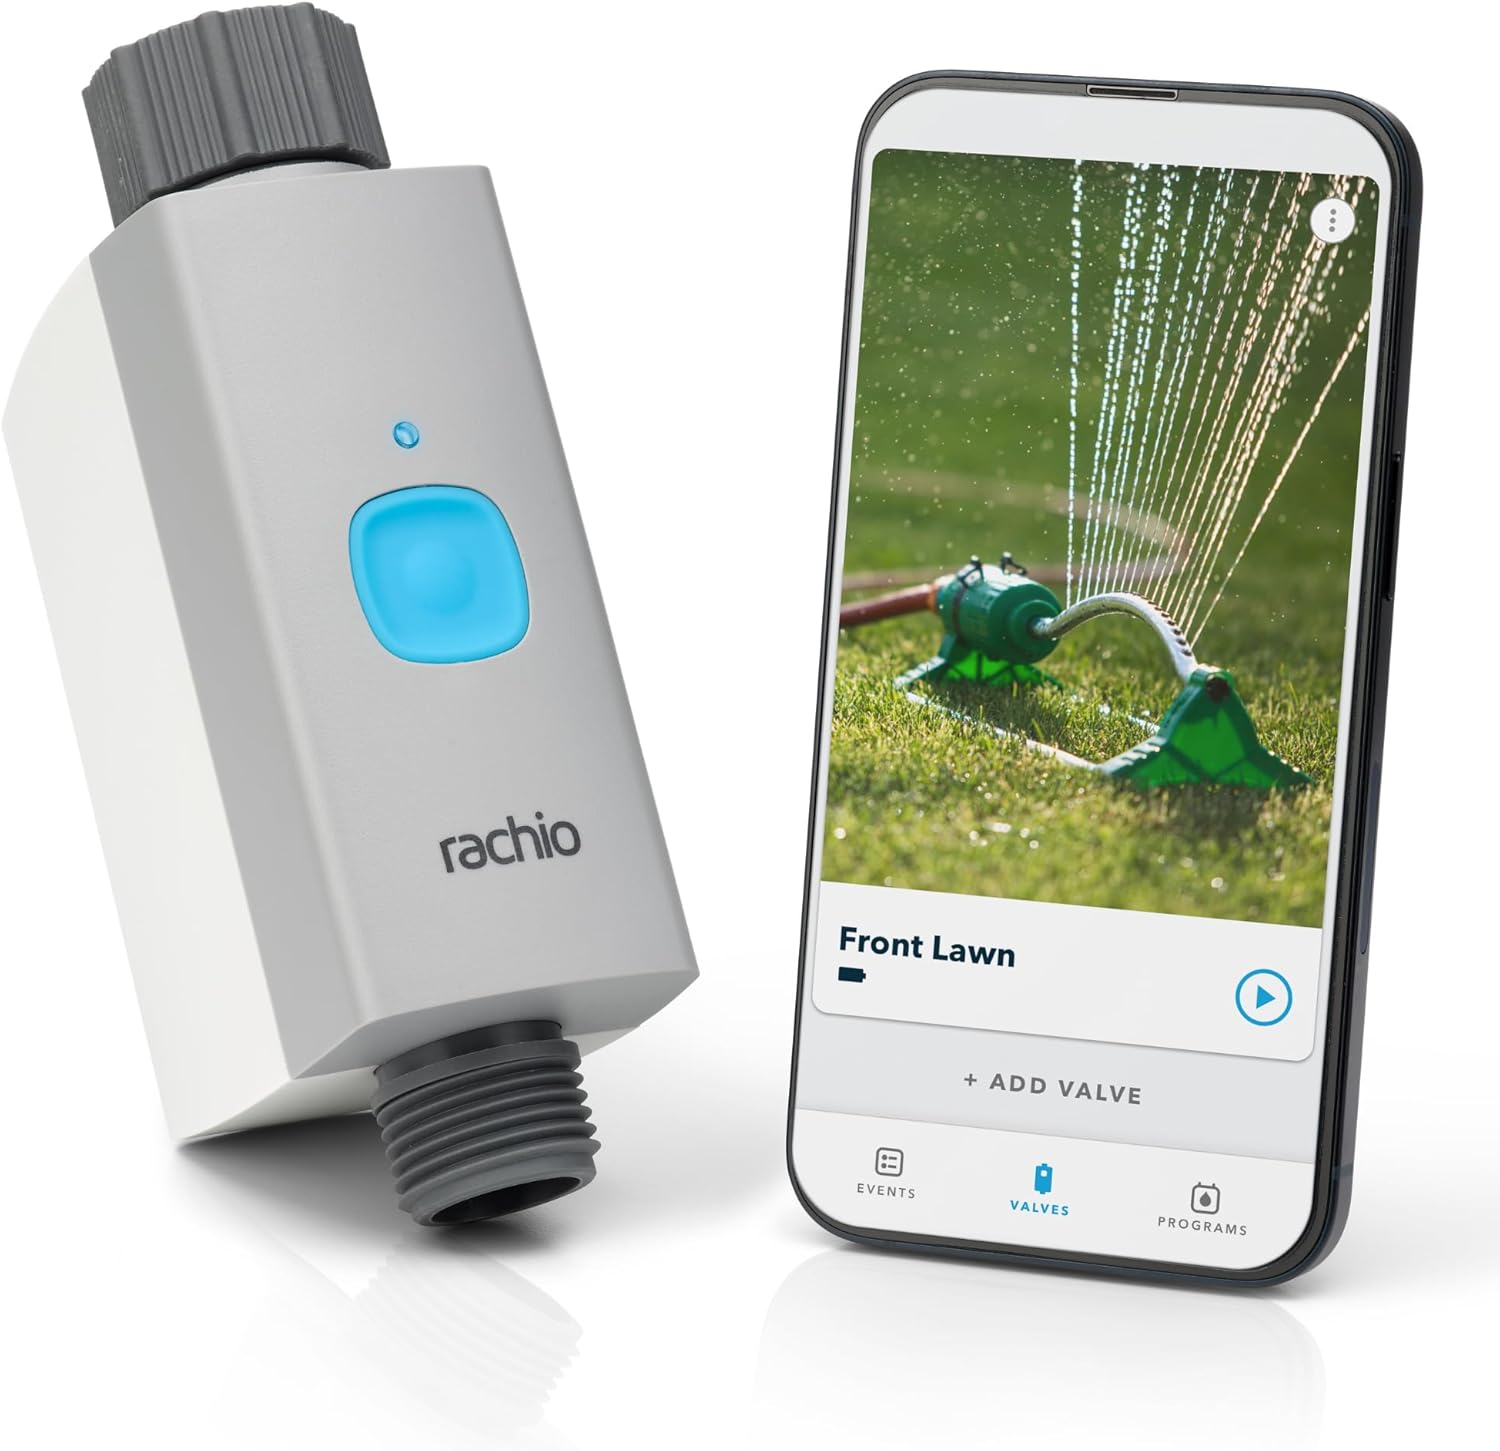
Calibrate Flow and Zone
Set your correct time zone and location in-app so schedules follow sunrise and sunset. Run a short manual cycle and enter observed flow rate if prompted. Flow calibration helps the app suggest realistic durations and prevents under or overwatering.
Build First Schedule
Create a simple morning schedule for planters. Use two shorter soak cycles instead of one long run on sloped beds. Save, then tap Run Now briefly to confirm the valve opens and closes without leaks or delays.
Installation Tips
Still stuck? This is usually the deeper cause below.
Start with a lighter schedule and adjust after one full week. Rachio skip intelligence works best after real weather patterns are observed.
Before you go — these Rachio guides fix most remaining issues.
Official Manufacturer Manual
Rachio provides official product documentation through their online manual rather than downloadable PDF. Access setup guides, troubleshooting steps, and product specifications for your Rachio Smart Hose Timer.
Source: support.rachio.com
Need More Help? Rachio Support
Note: The contact information below connects you directly to Rachio's official customer support team, not Trunetto. They can help with warranty claims, device replacements, and advanced technical issues.
How Does Rachio Compare?
Before replacing your Rachio device, see how it stacks up against alternatives in our full comparison guides.
Accessories owners commonly pair with Rachio Smart Hose Timer.
Rachio Smart Hose Timer (1 Valve Only) – App-Controlled O...
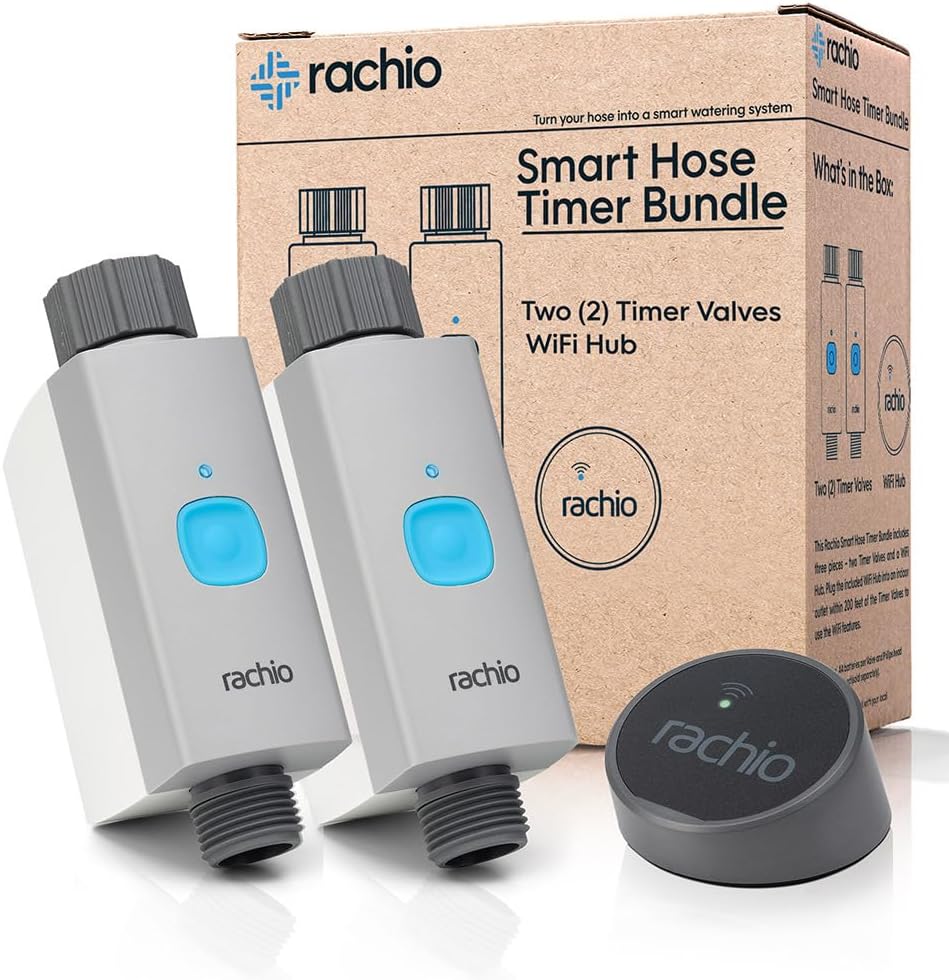
Rachio Smart Hose Timer (2 Valves + 1 WiFi Hub) – App-Con...

Rachio Smart Hose Timer (1 Valve + 1 WiFi Hub) – App-Cont...
As an Amazon Associate we earn from qualifying purchases.