How to Install, Cut, and Connect an Innr Flex Light Strip
- Plan the Run and Measure
- Cut Only on the Marked Lines
- Connect Extensions the Right Way
- Route Corners Gently
- Power the Controller Correctly
- Reset and Pair the Controller
Most users complete this in under 45 minutes
Overview
You are installing an Innr Flex light strip and need to route it, cut it to length, connect extensions, and pair it, without killing a section. The Flex strip runs from a controller and power supply, can be cut only on marked points, and joins your Zigbee hub, so the keys are cutting in the right place, seating connectors, and powering the controller correctly.
Why This Happens in Real Homes
Installing an Innr Flex strip goes smoothly if you respect three things: where you can cut, how the connectors seat, and how the controller is powered. The strip can be shortened, but only at the marked cut points (the scissor-icon lines between LED segments where the contacts are exposed); cut anywhere else and everything past the cut goes dark. Extensions join with click connectors, and the common mistake is not lining up the copper contacts with the connector pins, or inserting the strip reversed, either of which leaves the next section dark, so watch the orientation arrow and press until it clicks. The controller is the brain: it plugs into the power supply and must be on an always-on outlet, because it is what your Zigbee hub talks to and what drives the strip. Stay within the power supply's maximum length or the far end dims from voltage drop, route corners as gentle curves rather than sharp folds, and pair the controller to your hub once everything is powered.
What's Included
- Part of the strip does not light after cutting
- Strip will not reach the length you need
- Sections dark after connecting an extension
- Strip will not pair with the hub
- Strip flickers or is dim at the far end
- Controller not powering the strip
- Cut section will not work
- Corner or bend leaves a dark spot
Got your materials ready? Here's what to check first.
Before You Start
- Strip cut somewhere other than a marked cut line
- Extension or connector not fully seated
- Total length or load beyond the power supply's rating
- Controller not on constant power
- Strip run past the maximum supported length
- Connector inserted with reversed orientation
- Controller not paired or not reset
- Sharp bend damaging the strip
Don't skip this step — it breaks everything if you do
Never cut the strip anywhere but a marked cut point, and do not exceed the power supply's rated length; overloading causes dim output and can overheat. Keep the controller on an always-on outlet.
Tools & Requirements
These tools will help you complete this fix.
As an Amazon Associate we earn from qualifying purchases.
Installation Steps
Plan the Run and Measure
Before peeling any adhesive, lay the strip along the path (under a cabinet, behind a TV, along a shelf) and measure. Note where you will need to cut and where corners fall, and confirm the total length is within the maximum the Flex power supply supports, since going over leaves the far end dim or dark.
Cut Only on the Marked Lines
The strip can be shortened, but only at the marked cut points, usually a line with a scissor icon between the LED segments where the copper contacts are exposed. Cutting anywhere else severs the circuit and kills the section beyond the cut. Use sharp scissors straight across the marked line.

Needed for this step
BoFuYuan Utility Scissors Heavy Duty: 8-Inch sh...
This helps complete the fix you are currently reading.
$12.79Connect Extensions the Right Way
To lengthen the run, use Innr extension pieces and the click connectors. Open the connector, insert the strip so the copper contacts line up with the connector pins (watch the orientation arrow), and close it until it clicks. A connector that is off by one contact or reversed leaves the next section dark.
Route Corners Gently
At corners, use a gentle curve or a corner connector rather than a sharp fold. Folding the strip hard can crack the LEDs or traces and create a dead spot at the bend.
Power the Controller Correctly
Plug the Flex controller into its power supply and into an always-on outlet, not a switched one, so it keeps power. The controller is what your hub talks to and what drives the strip, so it must stay powered to stay online.
Reset and Pair the Controller
With the strip powered, put the controller into pairing mode (per its instructions, often a button press or a power-cycle reset), then run Add Device / Search on your Zigbee hub. Pair it near the hub first if the final location is far, then move it.
Test the Whole Run
Turn it on and check the entire length lights evenly. A dark section points to a bad cut or an unseated connector at the start of that section; re-open and reseat the nearest connector, or re-cut on a proper marked line.
Fix Dim Far Ends
If the strip is bright near the controller and dim at the end, you are near or over the length or load limit (voltage drop). Shorten the run, or feed power appropriately per the Flex system's limits, so the whole strip is evenly lit.
Installation Tips
Still stuck? This is usually the deeper cause below.
Only cut on the marked scissor lines, and dry-fit connectors before sticking the strip down. A dark section is almost always a bad cut or a connector that is not fully clicked.
Before you go — these Innr guides fix most remaining issues.
Most popular upgrades chosen by Innr Flex Light Strip owners.

innr Zigbee A19 Smart Bulb, Works with Hue*, Alexa, Smart...
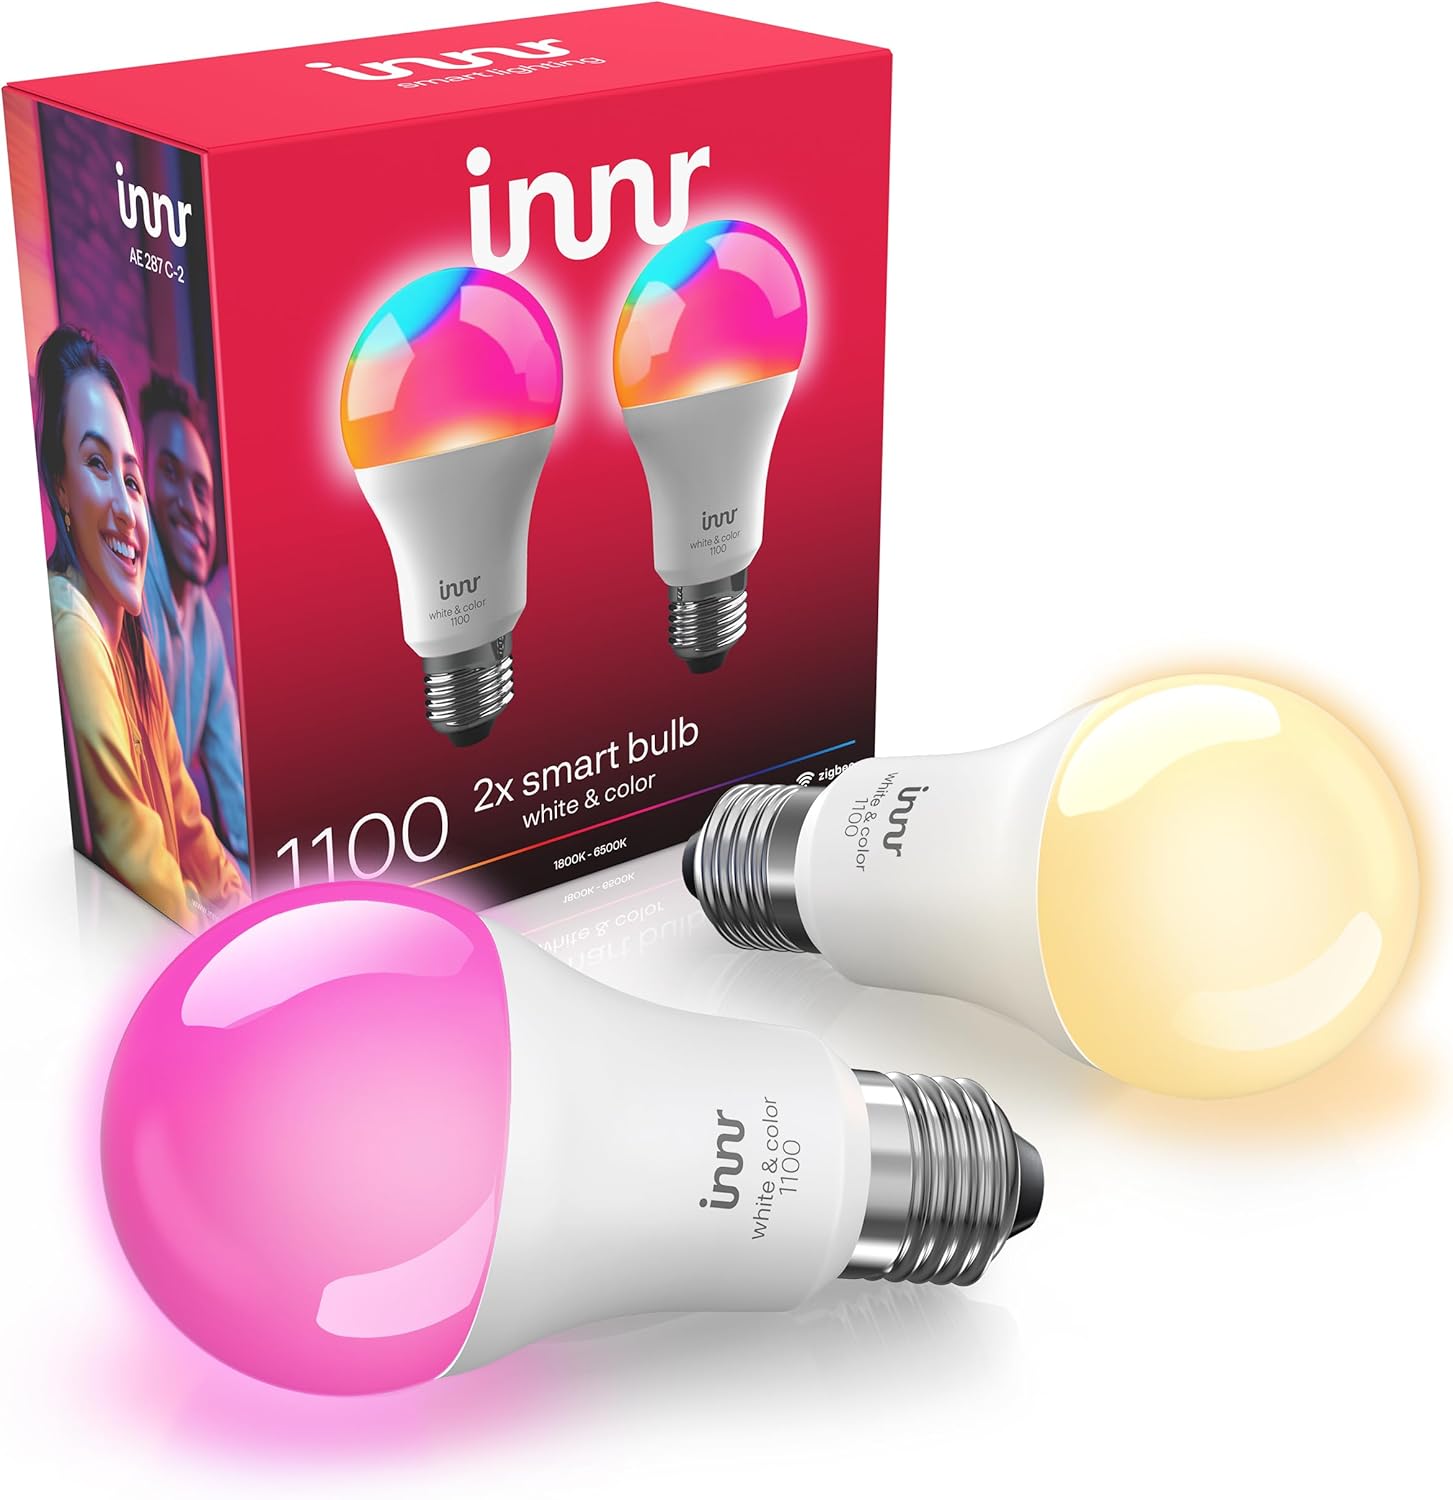
innr Zigbee A19 Smart Bulb, Works with Hue*, Alexa, Smart...

innr Smart Light Bulbs, A19 Zigbee, Works with Philips Hu...
As an Amazon Associate we earn from qualifying purchases.
Official Manufacturer Manual
Innr provides official product documentation through their online manual rather than downloadable PDF. Access setup guides, troubleshooting steps, and product specifications for your Innr Flex Light Strip.
Source: innr.com
Need More Help? Innr Support
Note: The contact information below connects you directly to Innr's official customer support team, not Trunetto. They can help with warranty claims, device replacements, and advanced technical issues.