How to Install Night Owl Smart Doorbell WDB-20
- Cut Power and Measure Voltage
- Pair the Doorbell Indoors First
- Install the Chime Power Amplifier
- Mount and Wire the Doorbell
- Restore Power and Test
Most users complete this in under 90 minutes
Overview
Step-by-step install guide for the Night Owl WDB-20 Smart Video Doorbell replacing an existing wired doorbell. Covers pairing the doorbell to the Night Owl Protect app before mounting, installing the included Digital Chime Power Amplifier at the indoor mechanical chime, wiring the doorbell at the front door, and testing the ring and live view through the app.
What's Included
- 1 Night Owl WDB-20 doorbell with faceplate
- 1 Digital Chime Power Amplifier (in-wall unit)
- 1 mounting plate with screws and anchors
- 1 wedge mount and corner mount kit
- 1 reset pin tool (SIM-eject style)
- 1 USB-C charging cable for pre-pairing
Got your materials ready? Here's what to check first.
Before You Start
- Existing wired doorbell powered by 16V to 24V AC
- Mechanical indoor chime or digital chime
- 2.4GHz Wi-Fi reaching the front door at 3+ bars
- Wi-Fi security set to WPA2 (not WPA3)
- Night Owl Protect app and account already created
- Circuit breaker access for doorbell transformer
Don't skip this step — it breaks everything if you do
Always cut power at the breaker before touching doorbell wires. 16V AC can deliver a painful shock and a short across the transformer can blow it.
Tools & Requirements
These tools will help you complete this fix.

Digital multimeter
Klein Tools 80196 Digital Multimeter Kit with Case, ...
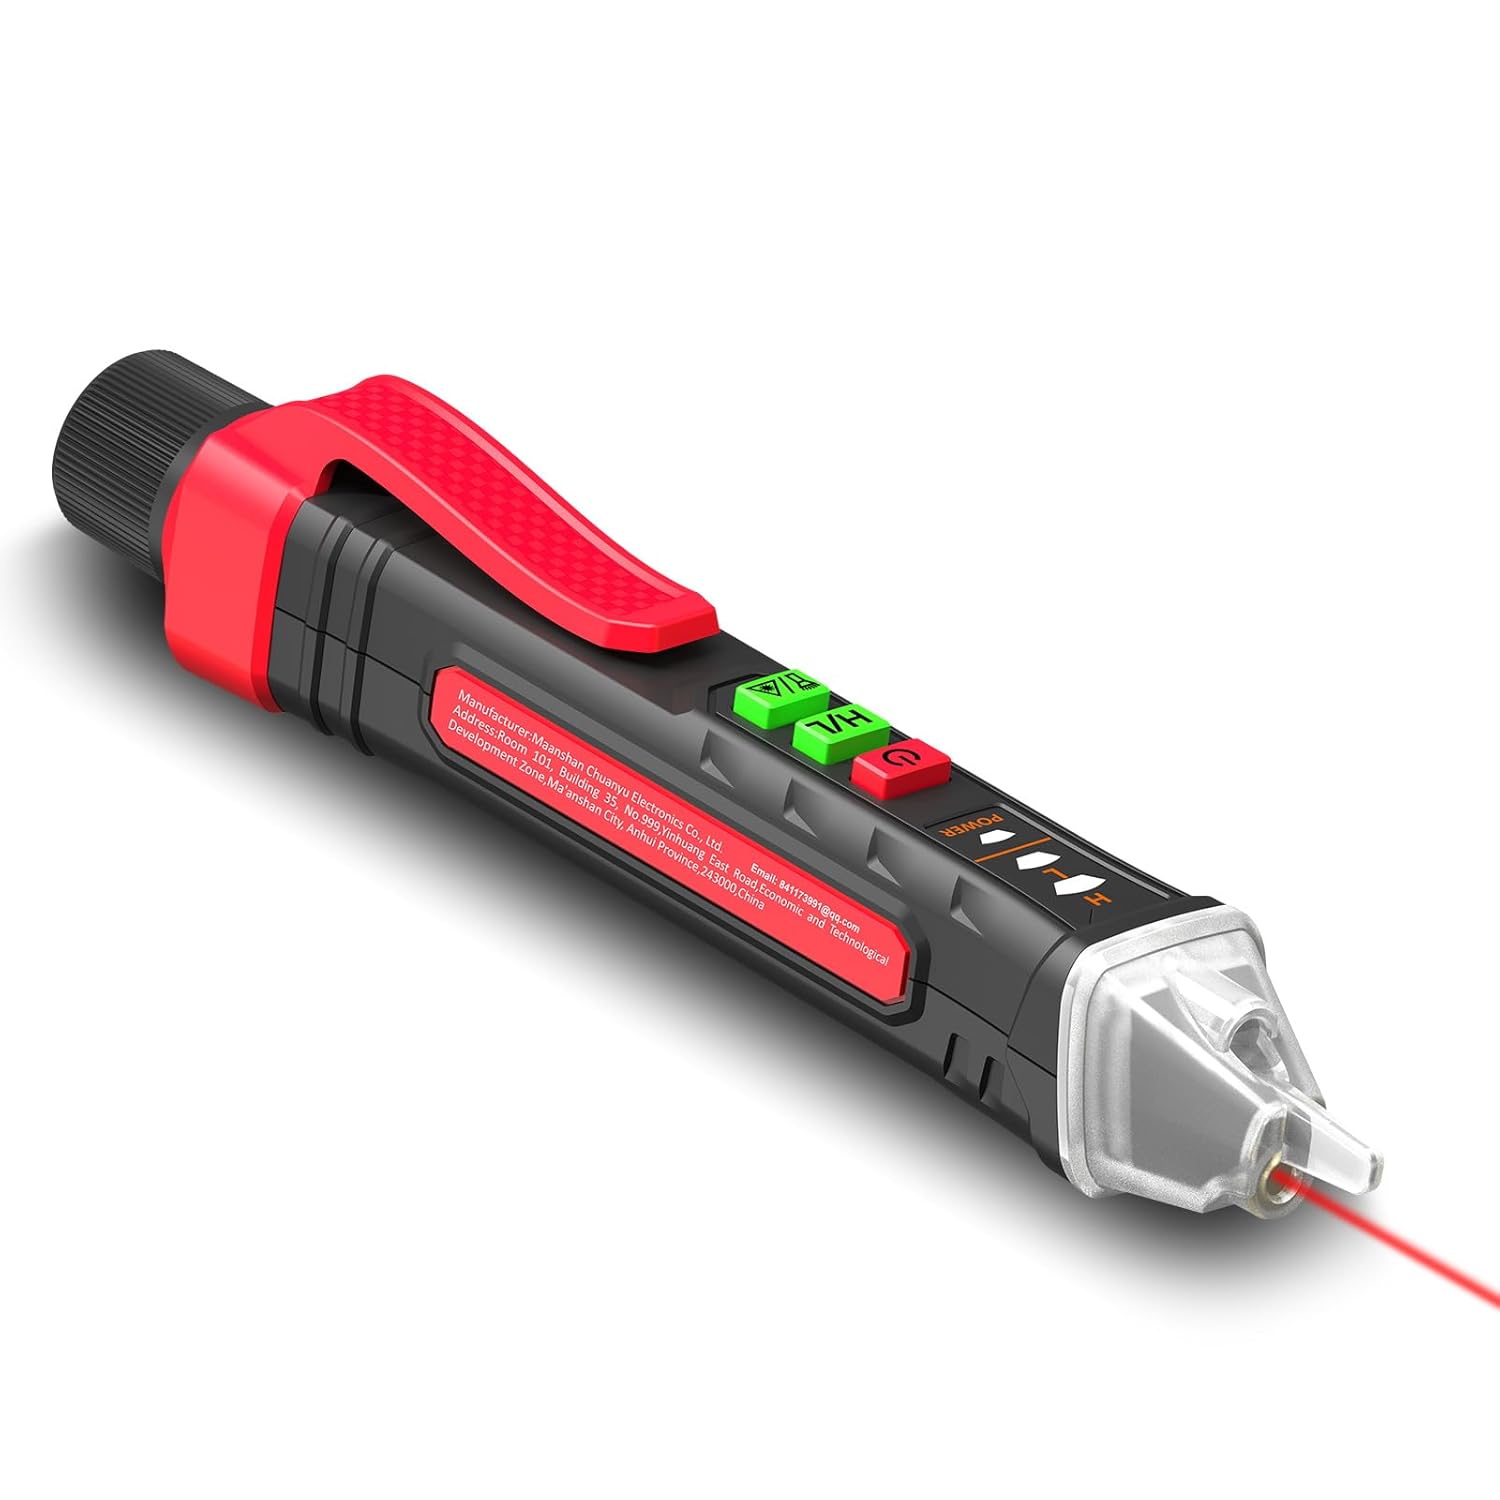
Non-contact voltage tester
NJTY Non-Contact Voltage Tester with Laser Guide, 12...

Phillips screwdriver
Klein Tools 85076 Screwdriver Set, Made in USA, Slot...

Cordless drill with 3/32 inch bit (wood) or masonry bit (brick)
DEWALT 20V MAX* Cordless Drill/Driver Kit with Screw...

Wire stripper/cutter
201PCS Wire Stripper Tool Kit,Self-Adjusting 8" Auto...
As an Amazon Associate we earn from qualifying purchases.
Installation Steps
Cut Power and Measure Voltage
At the breaker panel flip off the circuit feeding the doorbell transformer (often labeled Doorbell or lives on a shared lighting circuit). Use a non-contact voltage tester at the existing doorbell wires to confirm power is off. Remove the old doorbell. Restore power briefly and use a multimeter to confirm 16V to 24V AC across the two wires. Cut power again before proceeding.
Needed for this step
Klein Tools 80196 Digital Multimeter Kit with C...
This helps complete the fix you are currently reading.
$46.15Pair the Doorbell Indoors First
Do not mount yet. Plug the included USB-C cable into the port under the faceplate and charge the internal battery to full (about 2 hours). Open Night Owl Protect, tap the plus icon, choose Video Doorbell, and scan the QR code on the back of the doorbell. When prompted connect to your 2.4GHz SSID. Wait for the voice prompt Device Connected before disconnecting USB-C.
Install the Chime Power Amplifier
Open the cover of your mechanical indoor chime. Note the Front, Trans, and sometimes Rear screw terminals. Wire the included Digital Chime Power Amplifier per the WDB-20 Smart Doorbell manual: one Amp lead to Front, the other Amp lead to Trans. This regulates current so your chime rings cleanly on press and does not buzz continuously. Tuck the Amp neatly inside the chime housing and close.
Needed for this step
201PCS Wire Stripper Tool Kit,Self-Adjusting 8"...
This helps complete the fix you are currently reading.
$28.99Mount and Wire the Doorbell
Hold the mounting plate against the door frame where the old doorbell sat. Pre-drill screw holes (3/32 inch bit in wood, masonry bit in brick). Screw the plate flush. Loop each existing bell wire clockwise under the two screw terminals on the mounting plate and tighten. Click the WDB-20 body onto the plate until it locks. Use the wedge or corner mount kit if the door frame is not flush.
Needed for this step
DEWALT 20V MAX* Cordless Drill/Driver Kit with ...
This helps complete the fix you are currently reading.
$168.71Restore Power and Test
Turn the breaker back on. The WDB-20 boot voice prompt plays within 30 seconds. Open Night Owl Protect and confirm the doorbell is Online. Press the doorbell ring button. The indoor mechanical chime should ring cleanly once and a push alert should hit your phone within 5 seconds. Open live view to verify the camera view. Reattach the faceplate and snap home with the included security screw.
Installation Tips
Still stuck? This is usually the deeper cause below.
Install the Digital Chime Power Amplifier before mounting the doorbell. Without it the mechanical chime will buzz continuously or not ring at all on button press.
Before you go — these Night Owl Security guides fix most remaining issues.
Most popular upgrades chosen by Night Owl Smart Video Doorbell owners.

Smart Video Door Lock with 2K Doorbell Camera, Fingerprin...
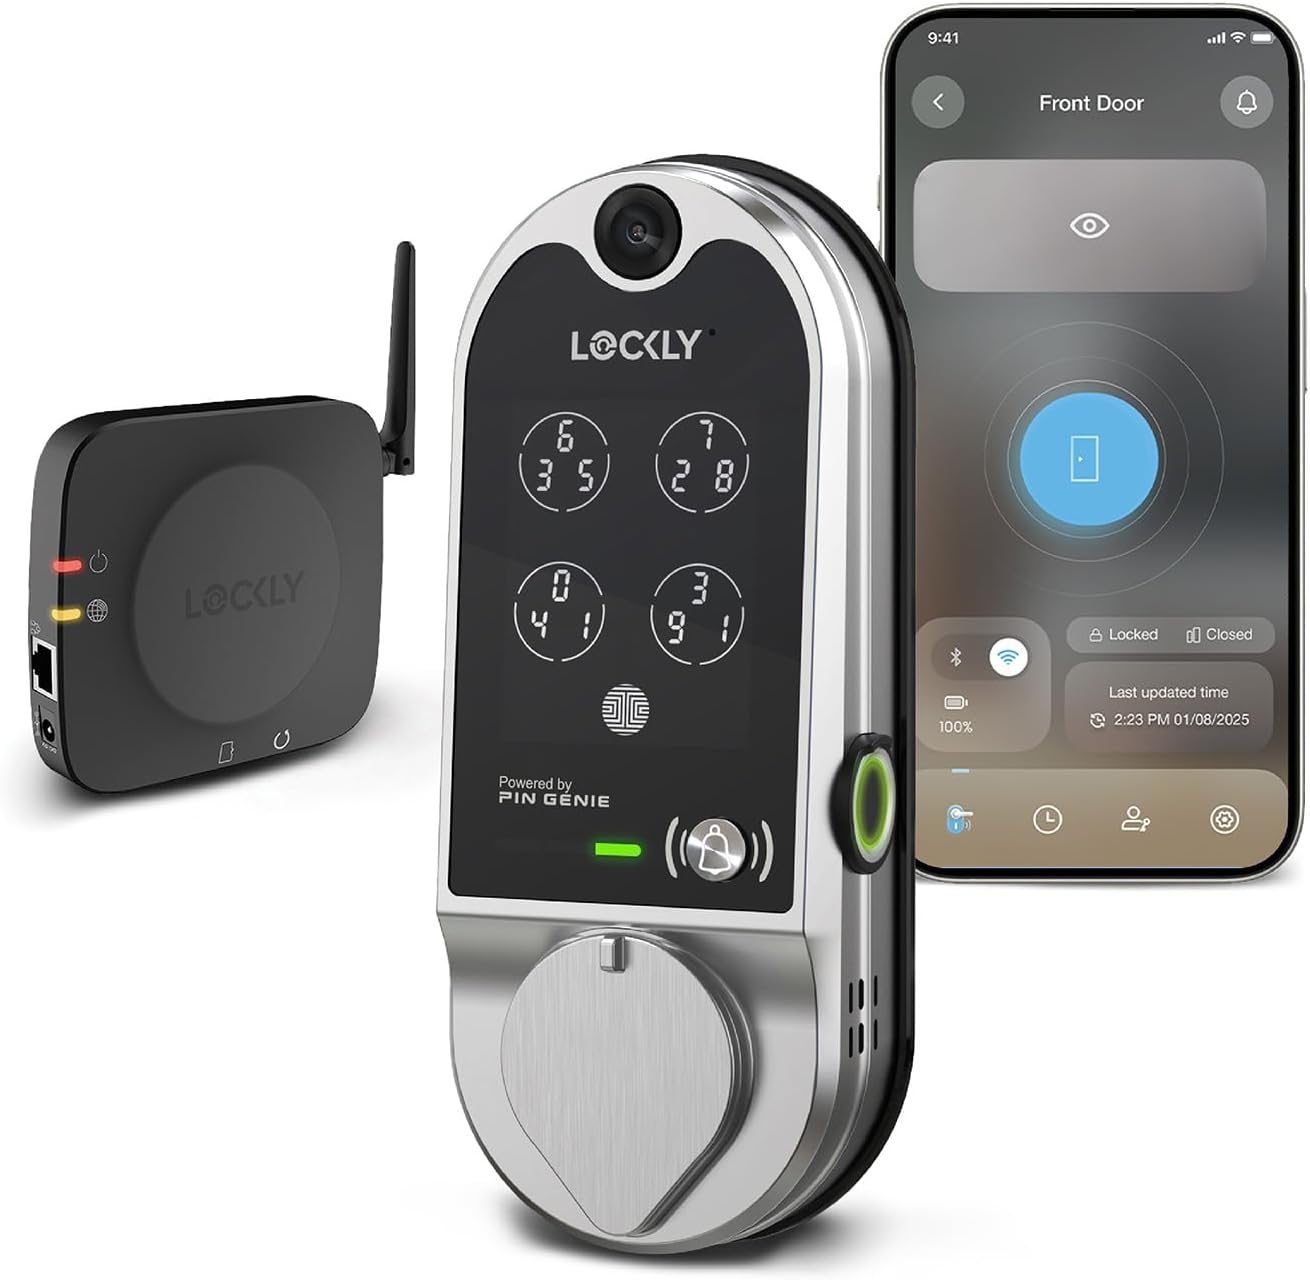
(Refurbished) Lockly Vision Smart Lock with Camera, Video...

Roku 1080p HD Indoor Camera & Smart Home Wireless Video D...
As an Amazon Associate we earn from qualifying purchases.
Official Manufacturer Manual
Night Owl Security provides official product documentation through their online manual rather than downloadable PDF. Access setup guides, troubleshooting steps, and product specifications for your Night Owl Smart Video Doorbell.
Source: nightowlsp.com
Need More Help? Night Owl Security Support
Note: The contact information below connects you directly to Night Owl Security's official customer support team, not Trunetto. They can help with warranty claims, device replacements, and advanced technical issues.