
How to Install Ring Indoor Cam
- Camera Placement Planning
- Power Connection
- Privacy Cover Setup
- Ring App Configuration
- Motion Detection Setup
- Two-Way Audio Test
Most users complete this in under 20 minutes
Overview
Ring Ring Indoor Cam setup takes under 15 minutes for most users — if you're stuck, the steps below target the specific points where installs stall.
This guide covers the installation and WiFi setup of the Ring Indoor Cam, Ring's compact plug-in indoor security camera. Setup includes app pairing, motion zone configuration, recording mode selection, and optional Live View integration with Alexa-enabled Echo Show devices. The Ring Indoor Cam requires an active Ring account for cloud recording access.
Why This Happens in Real Homes
The Ring Indoor Cam is a compact plug-in camera, so installation is really placement plus WiFi. It has no battery, so it needs a nearby outlet and its USB power, and it pairs to 2.4GHz — put your phone on that band for setup.
Choose a spot with a clear view of the room and strong WiFi, avoiding aiming straight at a bright window (backlight washes out faces). Once it's online you can fine-tune the angle; the Indoor Cam covers a room well but only sees where you point it.
What's Included
- Unsure where to place it
- Camera will not power on
- Setup will not connect to WiFi
- App cannot find the camera
- Cable too short for the spot
- Camera angle/coverage
- Placement/privacy concerns
- Will not complete pairing
Got your materials ready? Here's what to check first.
Before You Start
- Placed where WiFi is weak
- USB power not reaching the outlet
- Phone on 5GHz during setup
- Cable too short for the location
- Aimed to miss the target area
- Facing a bright window (glare)
- Not in setup mode
- Router AP isolation blocking it
Don't skip this step — it breaks everything if you do
Privacy cover provides manual privacy when needed. Consider camera placement for both security coverage and household privacy.
Tools & Requirements
These tools will help you complete this fix.

Drill optional
DEWALT 20V MAX Cordless Drill and Impact Driver, Pow...

Level
9 Inch Torpedo Level Magnetic, Shock-Proof Small Lev...

Screwdriver
STREBITO 155 in 1 Electric Screwdriver Set, Small El...
As an Amazon Associate we earn from qualifying purchases.
Installation Steps
Camera Placement Planning
Choose location with clear view of desired monitoring area. Indoor Cam works well on shelves, tables, or with optional mounting accessories.
Needed for this step
DEWALT 20V MAX Cordless Drill and Impact Driver...
This helps complete the fix you are currently reading.
$139.00Power Connection
Connect Indoor Cam to power using included USB cable and power adapter. Make sure power outlet is within cable reach of desired location.
Privacy Cover Setup
Familiarize yourself with privacy cover feature. Indoor Cam can be manually covered when privacy is needed or set to auto-cover via app.
Ring App Configuration
Add Indoor Cam to Ring app and connect to Wi-Fi network. Configure basic settings including motion detection and recording preferences.
Motion Detection Setup
Configure motion detection zones and sensitivity. Set up mobile notifications and recording schedules based on monitoring needs.
Two-Way Audio Test
Test two-way audio communication feature and adjust volume levels. Verify motion alerts and live view features working properly.
Installation Tips
Still stuck? This is usually the deeper cause below.
Indoor Cam provides affordable indoor monitoring with privacy cover feature. Compact design with simple plug-in setup.
Before you go — these Ring guides fix most remaining issues.
Most popular upgrades chosen by Ring Indoor Cam owners.

4 Channel 360° Dash Cam Front Rear Inside & Left Right,4K...
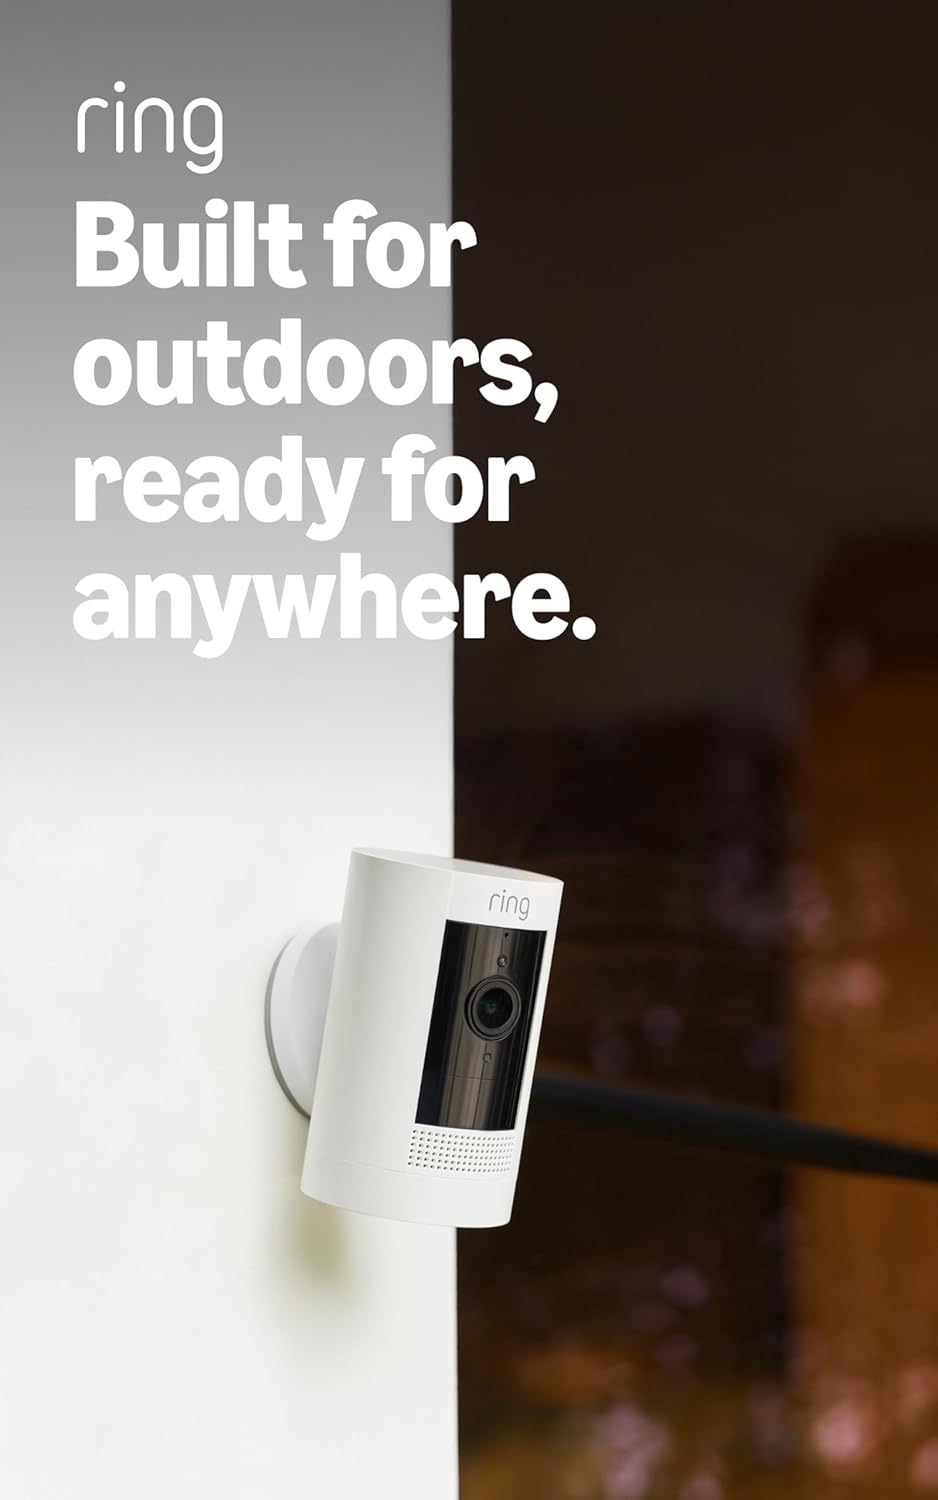
Ring Outdoor Cam (Stick Up Cam), Weather-resistant home o...
Ring Outdoor Cam (Stick Up Cam) | Weather-Resistant Outdo...
As an Amazon Associate we earn from qualifying purchases.
Official Manufacturer Manual
Ring provides official product documentation through their online manual rather than downloadable PDF. Access setup guides, troubleshooting steps, and product specifications for your Ring Indoor Cam.
Source: support.ring.com
Need More Help? Ring Support
Note: The contact information below connects you directly to Ring's official customer support team, not Trunetto. They can help with warranty claims, device replacements, and advanced technical issues.
How Does Ring Compare?
Before replacing your Ring device, see how it stacks up against alternatives in our full comparison guides.


