

Why Is My Ring Floodlight Cam Pro Not Turning On Its Lights?
- Power interruption or loose wiring
- Incorrect light settings (motion zones, schedules)
- Outdated firmware
Problem Description
Your Ring Floodlight Cam Pro\'s lights are not turning on, either manually or when motion is detected, reducing its effectiveness as a security light and deterrent. This can be due to power issues, settings, or sensor problems.
Why This Happens in Real Homes
On the Pro, lights not turning on is usually a power or settings problem: loose wiring or a power interruption at the fixture, or light settings (motion zones, schedule, dusk-to-dawn) holding them off.
Start by confirming the fixture has power and the wiring is secure at the box, then check the app's light settings — enable motion lights, clear any schedule keeping them off, and make sure the light motion zones cover the area. Daylight or "only when dark" settings explain lights that won't fire during the day.
Symptoms
- Lights don\'t turn on with motion
- Cannot manually turn on lights in app
- Lights remain off at night
- Camera works, but lights don\'t
- LED light is off or red
- Happens after power surge
Recognize these? Here's what usually causes it.
Common Causes
- Power interruption or loose wiring
- Incorrect light settings (motion zones, schedules)
- Outdated firmware
- Faulty light sensor
- Physical damage to lights
- Extreme temperatures
Most fixes happen in the first 3 steps.
Before performing any electrical work, always turn off power at the circuit breaker to avoid electric shock. If unsure, consult a qualified electrician. Do not attempt to replace LED bulbs yourself, as they are integrated into the fixture.
Tools & Requirements
These tools will help you complete this fix.

Power adapter
JcBlaon Outlet Extender Surge Protector - 6 Outlet S...

Replacement batteries
Duracell Coppertop Double AA Batteries with Power Bo...
As an Amazon Associate we earn from qualifying purchases.
Step-by-Step Solution
Check Power Supply and Wiring
Make sure your Floodlight Cam Pro is receiving consistent power. If wired, check the circuit breaker and verify that the wiring connections are secure and not corroded. If solar, make sure the solar panel is clean and receiving direct sunlight. A lack of power will prevent the lights from functioning.
Needed for this step
JcBlaon Outlet Extender Surge Protector - 6 Out...
This helps complete the fix you are currently reading.
$9.99Review Light Settings in Ring App
Open the Ring app, go to your Floodlight Cam Pro, and tap "Light Settings". Make sure "Motion-Activated Lights" is enabled. Adjust "Light Motion Zones" to cover the desired areas. Check "Light Schedules" to make sure no conflicting schedules are preventing the lights from activating. Increase "Light Sensitivity" if needed.
Update Device Firmware
Outdated firmware can cause various performance issues, including light activation failures. Make sure your Ring app is up to date, as firmware updates are often pushed automatically through the app. If an update is pending, make sure the camera is powered and connected to Wi-Fi to allow it to complete.
Reboot Your Floodlight Cam Pro
A simple reboot can often resolve temporary software glitches. For wired models, turn off the power to the floodlight at the circuit breaker for 30 seconds, then turn it back on. For solar models, remove the battery for 30 seconds and reinsert. Allow the device to reconnect and test the lights.
Check for Physical Damage or Obstruction
Inspect the floodlight bulbs and the light sensor for any visible damage or obstructions. Make sure the light sensor (often a small dome on the device) is clean and not covered, as this can prevent it from accurately detecting ambient light levels and activating the lights at night.
Quick Solutions
Still having issues? This is usually the deeper cause below.
If flickering only happens on dimming, the issue is almost always the dimmer's minimum-load setting, not the bulb — it's drawing less current than the dimmer expects.
For optimal light activation, ensure your "Light Motion Zones" are configured to overlap with your "Motion Zones" for video recording, ensuring that motion detected for recording also triggers the lights.
Battery-related failures are almost always flagged too late — the device degrades silently for days before the app catches up to what's actually happening.
- Power interruption or loose wiring
- Incorrect light settings (motion zones, schedules)
- Outdated firmware
- Faulty light sensor
- Physical damage to lights
Before you go — try one of these (they fix most cases).
Most popular upgrades chosen by Ring Floodlight Cam Pro owners.

4 Channel 360° Dash Cam Front Rear Inside & Left Right,4K...
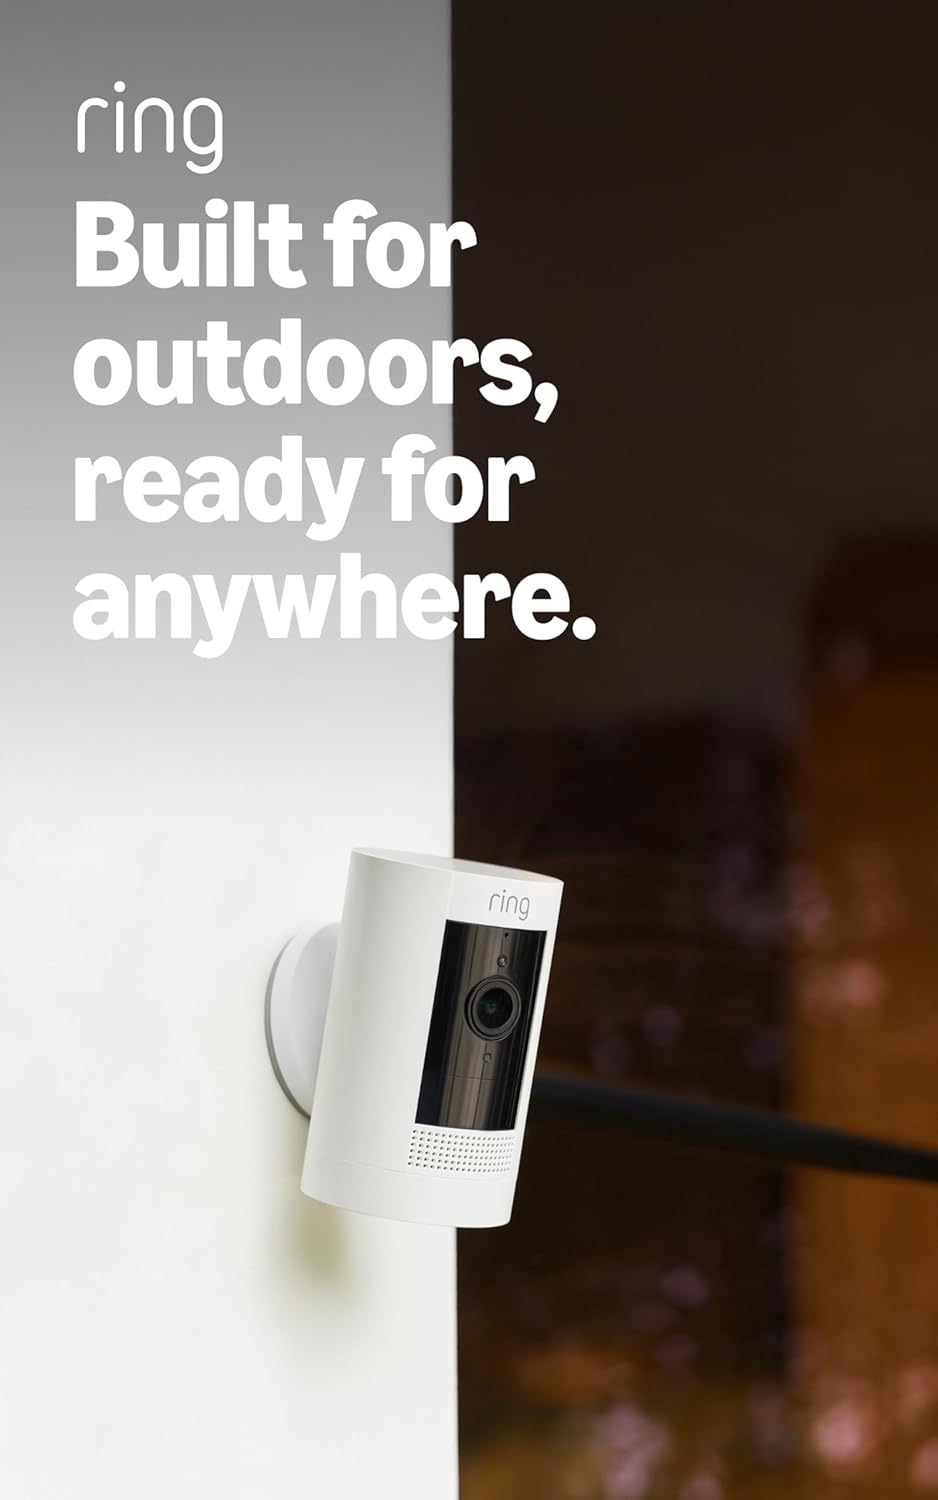
Ring Outdoor Cam (Stick Up Cam), Weather-resistant home o...
Ring Outdoor Cam (Stick Up Cam) | Weather-Resistant Outdo...
As an Amazon Associate we earn from qualifying purchases.
Official Manufacturer Manual
Ring provides official product documentation through their online manual rather than downloadable PDF. Access setup guides, troubleshooting steps, and product specifications for your Ring Floodlight Cam Pro.
Source: support.ring.com
Need More Help? Ring Support
Note: The contact information below connects you directly to Ring's official customer support team, not Trunetto. They can help with warranty claims, device replacements, and advanced technical issues.
How Does Ring Compare?
Before replacing your Ring device, see how it stacks up against alternatives in our full comparison guides.
Accessories owners commonly pair with Ring Floodlight Cam Pro.

SANDISK 64GB Extreme microSDXC UHS-I Memory Card with Ada...

SANDISK 128GB Ultra microSDXC UHS-I Memory Card with Adap...

SANDISK 64GB Ultra microSDXC UHS-I Memory Card with Adapt...
As an Amazon Associate we earn from qualifying purchases.


