

LawnMaster OcuMow 18 Auto-Dock Not Charging
- Charging contacts on the mower underside are coated with grass clippings and dirt
- Charging plates on the dock surface are oxidised or corroded from exposure to weather
- Dock power adapter has failed or is not properly connected to mains
Problem Description
Your LawnMaster OcuMow 18 returns to its auto-charging dock but does not start charging, or the mower docks but the battery level does not increase. The OcuMow 18 is the larger OcuMow model with a dedicated charging station — unlike the smaller OcuMow 16 which uses a removable battery charged indoors, the OcuMow 18 charges automatically on the dock via metal contact plates. If the contacts are dirty, misaligned, or the dock power supply has failed, the mower will sit on the dock without charging and eventually show a flat battery.
Why This Happens in Real Homes
Dock charging failures on the OcuMow 18 are almost always dirty contacts. The dock sits outdoors permanently and the metal plates corrode, especially in damp climates. Users often do not think to clean the dock because the mower docks and undocks automatically — out of sight, out of mind. A quick clean with sandpaper every month eliminates the problem. The dock power adapter is the second most common failure, usually after a power surge during a thunderstorm. A surge-protected outdoor socket prevents this.
Symptoms
- Mower sits on the dock but the charging LED does not light up
- Charging LED blinks briefly then goes off — charging does not sustain
- Battery level shows 0% or critical despite the mower being on the dock for hours
- Dock LED is on but the mower LED shows no charging activity
- Mower charges intermittently — sometimes it works, sometimes it does not
- Mower docks at a slight angle and only charges when manually repositioned
Recognize these? Here's what usually causes it.
Common Causes
- Charging contacts on the mower underside are coated with grass clippings and dirt
- Charging plates on the dock surface are oxidised or corroded from exposure to weather
- Dock power adapter has failed or is not properly connected to mains
- Mower is not fully seated on the dock — it docked at an angle or too far forward
- Water has pooled on the dock contacts after rain causing corrosion
- MX 24V battery has reached end of life and will no longer accept a charge
Most fixes happen in the first 3 steps.
Do not attempt to open or repair the dock charging circuit — there are no user-serviceable parts inside and opening it voids the warranty. Never use a wire brush on the charging contacts as it scratches the surface and accelerates corrosion. If the battery is swollen, cracked, or smells of chemicals, do not attempt to charge it anywhere — dispose of it at a battery recycling point and order a new one. The MX 24V battery contains lithium cells and must not be put in household waste.
These tools will help you complete this fix.
As an Amazon Associate we earn from qualifying purchases.
Step-by-Step Solution
Check the dock power supply
Start with the obvious — make sure the dock has power. Follow the low-voltage cable from the rear of the charging station to the mains adapter. The adapter should have a small LED that illuminates when it is receiving mains power. If the LED is off, check the mains socket with another device. If the socket works but the adapter LED is off, the adapter has failed — contact Cleva UK for a replacement. The OcuMow 18 dock adapter is a 24V DC unit specific to this model.

Needed for this step
EBL Pack of 8 AA Batteries 2800mAh High Capacit...
This helps complete the fix you are currently reading.
$9.99Clean the mower charging contacts
Turn the mower off and flip it over. On the OcuMow 18, the two metal charging strips are on the underside near the front edge. After weeks of mowing, these strips accumulate a layer of dried grass juice, soil, and oxidation that insulates them from the dock plates. Use 400-grit sandpaper or a pencil eraser to clean each strip until you see shiny metal. Wipe off any residue with a dry cloth. Do not use water or WD-40 on the contacts — water causes more corrosion and WD-40 leaves an insulating film.
Clean the dock charging plates
The dock has matching metal plates that the mower contacts press against. These plates are exposed to rain, dew, and garden debris permanently. Clean them the same way — fine sandpaper or eraser until shiny, then wipe clean. If you see green verdigris (copper corrosion) on the plates, scrub it off thoroughly. After cleaning, apply a very thin smear of dielectric grease (available from any auto parts shop) to slow future corrosion. The grease is electrically conductive enough not to interfere with charging.
Check the mower seating position
Place the mower on the dock manually and check the alignment. The charging strips on the mower must sit squarely on the dock plates with even pressure. If the mower is tilted, shifted forward, or sitting at an angle, the contacts may only partially touch or not touch at all. The dock should be on a perfectly flat surface — use a spirit level if needed. If the ground under the dock has softened or eroded, the dock may have tilted since installation. Re-level it by packing soil underneath and tamping it firm.
Test the battery
The OcuMow 18 uses a removable MX 24V 4.0 Ah battery that is shared across the LawnMaster MX 24V cordless tool range. Remove the battery from the mower and try charging it in a standalone MX 24V charger if you have one, or insert it into another MX 24V tool (strimmer, blower, hedge trimmer) to see if it holds charge. If the battery is completely dead and will not charge in any device, it has reached end of life — typically after 500-800 charge cycles or 3-4 years of regular use. Order a replacement MX 24V 4.0 Ah battery from Cleva UK.
Test dock charging with a confirmed-good battery
If the battery charges fine in a standalone charger but not on the dock, the issue is with the dock itself. With a known-good battery in the mower, place it on the cleaned dock and watch for the charging LED. If it still does not charge, check the cable connection at the back of the dock — the low-voltage plug can work loose over time. Push it in firmly. If charging still fails after verifying the adapter, contacts, and cable, the dock charging circuit may have failed — contact LawnMaster support for a dock replacement under warranty (2-year guarantee).
Quick Solutions
Still having issues? This is usually the deeper cause below.
If drain continues after replacing batteries, check the event history — a stuck-open sensor or rapid polling loop burns through batteries in days.
The OcuMow 18 MX 24V battery is interchangeable with all LawnMaster MX 24V tools — strimmer, blower, hedge trimmer, chainsaw. If you own other MX 24V tools, you can swap batteries in an emergency to keep the mower running while waiting for a replacement. Keep a spare MX 24V charger indoors so you can charge the battery manually if the dock develops problems during a wet spell. Cleaning the dock contacts every 4-6 weeks prevents most charging issues.
Robot vacuums that 'stop working' are usually fighting a corrupted map from moved furniture — a fresh floor scan fixes the majority of reported failures.
- Charging contacts on the mower underside are coated with
- Charging plates on the dock surface are oxidised or
- Dock power adapter has failed or is not properly
- Mower is not fully seated on the dock —
- Water has pooled on the dock contacts
Before you go — try one of these (they fix most cases).
Official Manufacturer Manual
LawnMaster provides official product documentation through their online manual rather than downloadable PDF. Access setup guides, troubleshooting steps, and product specifications for your LawnMaster OcuMow 18 Vision Robot Mower.
Source: lawnmaster.com
Need More Help? LawnMaster Support
Note: The contact information below connects you directly to LawnMaster's official customer support team, not Trunetto. They can help with warranty claims, device replacements, and advanced technical issues.
Accessories owners commonly pair with LawnMaster OcuMow 18 Vision Robot Mower.

Blink Mini - Compact indoor plug-in smart security camera...
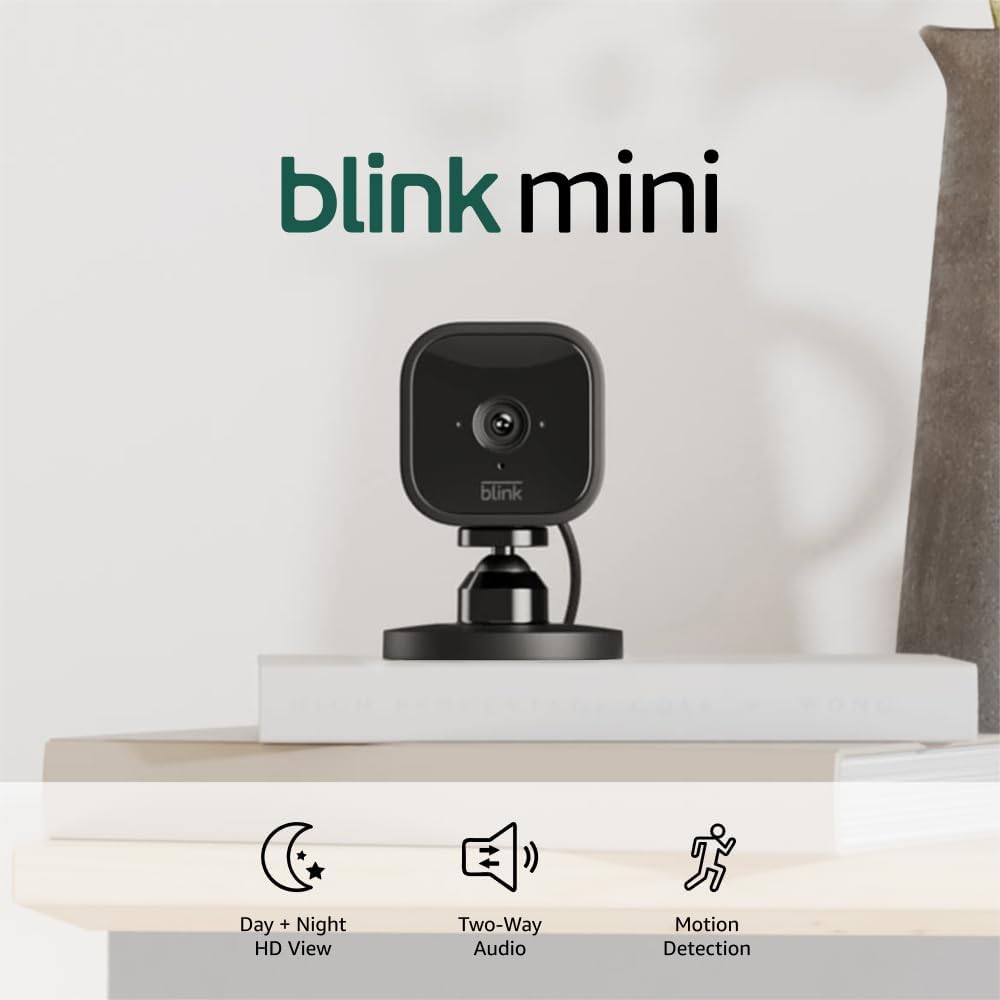
Blink Mini - Compact indoor plug-in smart security camera...
Blink Mini - Compact indoor plug-in smart security camera...
As an Amazon Associate we earn from qualifying purchases.
Guide Improvements
- Updated June 17, 2026
New guide: OcuMow 18 (VBRM18AMIDR) dock charging failures covering contact cleaning, power supply diagnostics, MX 24V battery testing, and dielectric grease corrosion prevention.
What changed:- New guide covering LawnMaster OcuMow 18 VBRM18AMIDR dock charging
- Added dock contact cleaning with 400-grit sandpaper
- Added dielectric grease application for corrosion prevention
- Added MX 24V battery cross-testing with other LawnMaster tools
- Added real-world context: dirty contacts are root cause in most cases
Source: Trunetto editorial update