

LawnMaster OcuMow Camera Not Detecting Grass in Low Light
- Light level is below the camera minimum threshold at dusk, dawn, or heavy overcast
- Tree canopy or building shadow creates a permanently dark zone on part of the lawn
- Camera lens is dirty reducing already-marginal light reaching the sensor
Problem Description
Your LawnMaster OcuMow robot mower is stopping, driving onto paths, or refusing to start because its camera cannot detect grass. All OcuMow models use Optical Grass Recognition (OGR) — a High Dynamic Range camera combined with sensor software that identifies grass by colour and texture to navigate and stay within the lawn. In low light conditions such as dusk, dawn, heavy overcast, or deep shade from buildings and trees, the camera cannot distinguish grass from other surfaces and the mower loses its ability to navigate safely.
Why This Happens in Real Homes
Low-light camera issues are the inherent trade-off of wire-free optical navigation. Users moving from boundary-wire mowers (which work in complete darkness) to OcuMow models are sometimes surprised that they cannot mow at dawn or dusk. Setting realistic schedule windows during solid daylight hours resolves most complaints. The firmware updates from mid-2024 onwards significantly improved low-light performance on the OcuMow 18 and R1600 — users on older firmware should update before concluding their mower cannot handle their garden conditions.
Symptoms
- Mower stops mid-session and displays a navigation or sensor error
- Mower drives off the grass onto paving, gravel, or garden beds
- Mower refuses to start and shows a camera or grass detection error
- Mowing works perfectly on sunny days but fails on cloudy or overcast days
- Mower works in the centre of the lawn but stops in shaded areas under trees
- Session starts normally at sunrise but the mower stops as the sun goes behind the house
Recognize these? Here's what usually causes it.
Common Causes
- Light level is below the camera minimum threshold at dusk, dawn, or heavy overcast
- Tree canopy or building shadow creates a permanently dark zone on part of the lawn
- Camera lens is dirty reducing already-marginal light reaching the sensor
- Camera HDR mode is struggling with mixed sun and shade creating extreme contrast
- Lawn border is not visually distinct from the grass — e.g. green ground cover in a bed
- Mower firmware has not been updated with improved low-light OGR algorithms
Most fixes happen in the first 3 steps.
Do not attempt to add supplemental lighting (garden spotlights, LED strips) to help the camera see at night. The OcuMow OGR system is calibrated for natural daylight colour temperature and artificial light causes unpredictable colour-detection behaviour. Running the mower at night with artificial light can result in the mower driving off the lawn or into obstacles. Also do not apply any tint, film, or filter to the camera lens — it alters the colour response and breaks the OGR detection.
Step-by-Step Solution
Adjust the mowing schedule to daylight hours
The single most effective fix is ensuring the mower only runs when there is adequate natural light. All OcuMow models need a minimum light level for their camera to function — roughly equivalent to a well-lit overcast day. In summer, schedule sessions between 9 AM and 5 PM. In spring and autumn, narrow the window to 10 AM to 3 PM when the sun is higher. Do not schedule sessions that extend into dusk — the mower may start fine but fail as the light drops. On the OcuMow 16 (no app or scheduler), you need to start the mower manually during daylight.
Clean the camera lens
In marginal light conditions, even a thin film of pollen or dew on the lens can push the camera below its detection threshold. Wipe the lens with a soft dry cloth before starting a session, especially on overcast days. On the OcuMow 16 and 18, the lens is on the front of the mower body. On the R1600 and 400 Series, it is also front-mounted but slightly recessed — use a cotton bud to reach into the recess if needed. A clean lens in low light performs dramatically better than a slightly dirty lens in the same conditions.
Improve border contrast in shaded areas
The OGR system works by detecting the visual difference between grass and not-grass. In shade, this contrast is reduced. If the mower keeps driving off the lawn in a specific shaded area, add a visually distinct border at that edge. A 15-20 cm strip of light-coloured gravel, pale paving stones, or even a wooden lawn edging strip provides contrast that the camera can detect even in low light. The border does not need to be physical barrier height — even a flat surface colour change helps the camera.
Manage tree shade and canopy
Dense tree canopy that blocks more than 70-80 percent of daylight creates a zone where no camera-based mower can operate reliably. If specific trees cast deep shade over the lawn, consider raising the crown by removing the lowest branches to let more diffused light reach the ground. Even a modest improvement in light penetration — from 20 percent to 40 percent of open-sky light — can be enough for the OGR system to function. If crown-raising is not possible, accept that this zone will need manual trimming.
Update the mower firmware
LawnMaster has released firmware updates for the OcuMow range that improve the OGR algorithm performance in low-light and mixed-lighting conditions. On the OcuMow 18 with app: check for firmware updates in the LawnMaster app under Settings, Firmware. On the R1600 and 400 Series: check the LawnMaster website for firmware download instructions specific to your model. The OcuMow 16 does not support over-the-air updates — check the Cleva UK support page for your model to see if a manual update process is available.
Set up a shaded-area workaround
If you have a permanently shaded zone that the mower consistently fails in, the practical solution is to exclude that zone from the mowing area. On models with magnetic strips (R1600, 400 Series), place a strip along the boundary of the shaded zone to keep the mower out. On the OcuMow 16 and 18, there is no physical boundary — the mower relies entirely on the camera. In this case, place a visual barrier that the camera can see: a low edging strip, a row of small stones, or a colour-contrast strip of mulch. The mower will detect the non-grass surface and turn away.
Quick Solutions
Still having issues? This is usually the deeper cause below.
If the sensor still misses events after repositioning, check whether a scheduled 'home' or 'away' mode is overriding the sensitivity setting silently.
All OcuMow models perform best in diffused natural light — bright overcast conditions are actually ideal because there are no harsh shadows to confuse the camera. Direct harsh sunlight can sometimes cause problems too, especially when it creates extreme contrast between sunny and shaded areas within the same lawn. If your mower works fine on cloudy days but struggles on very sunny days with sharp shadows, the issue is contrast rather than light level. In that case, mow earlier in the morning when shadows are long and consistent rather than at midday when they are short and abrupt. The OcuMow user manual at https://www.lawnmaster.com/support covers camera lens cleaning, light sensitivity settings, and recommended mowing conditions for the vision navigation system.
Live view problems that start suddenly usually trace back to an upload speed drop — the camera itself is fine, the bandwidth path to the cloud isn't.
- Light level is below the camera minimum threshold at
- Tree canopy or building shadow creates a permanently dark
- Camera lens is dirty reducing already-marginal light reaching the
- Camera HDR mode is struggling with mixed sun and
- Lawn border is not visually distinct from the grass
Before you go — try one of these (they fix most cases).
Official Manufacturer Manual
LawnMaster provides official product documentation through their online manual rather than downloadable PDF. Access setup guides, troubleshooting steps, and product specifications for your LawnMaster OcuMow Robot Mower.
Source: lawnmaster.com
Need More Help? LawnMaster Support
Note: The contact information below connects you directly to LawnMaster's official customer support team, not Trunetto. They can help with warranty claims, device replacements, and advanced technical issues.
Accessories owners commonly pair with LawnMaster OcuMow Robot Mower.

Blink Mini - Compact indoor plug-in smart security camera...
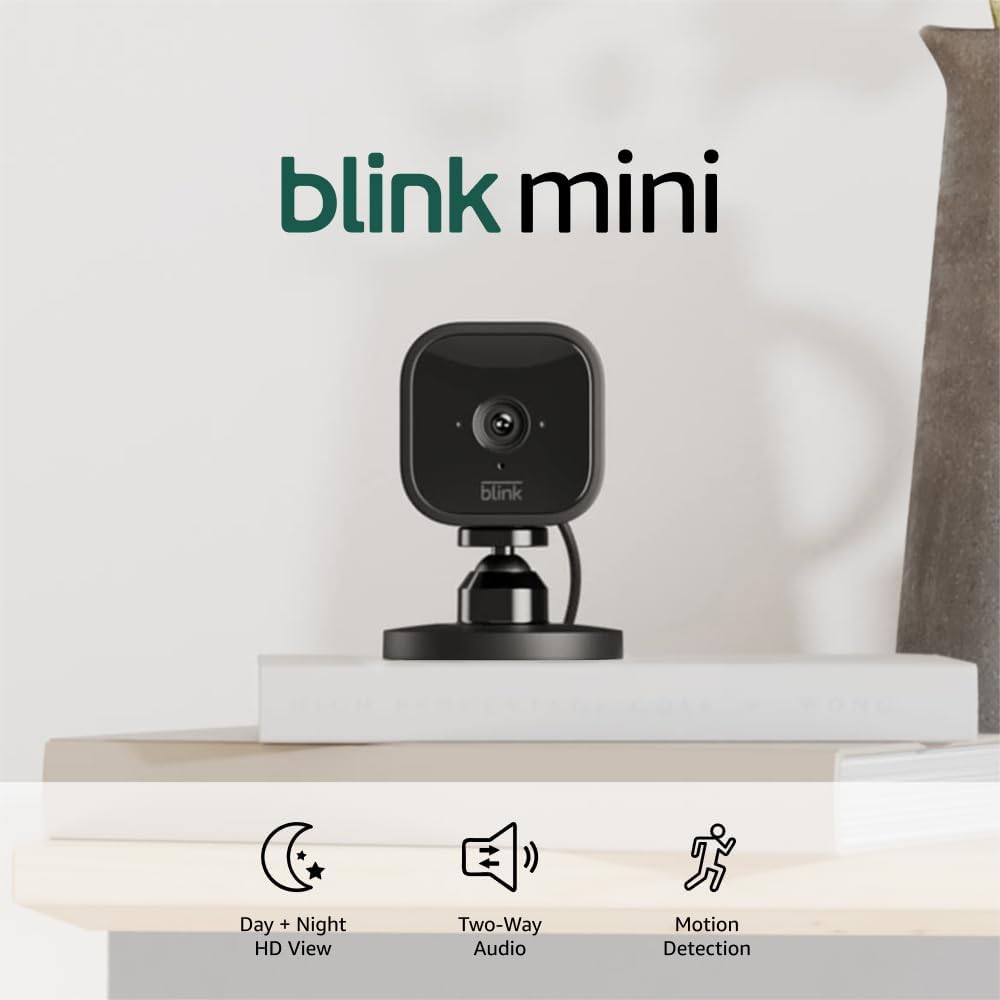
Blink Mini - Compact indoor plug-in smart security camera...
Blink Mini - Compact indoor plug-in smart security camera...
As an Amazon Associate we earn from qualifying purchases.
Guide Improvements
- Updated June 17, 2026
New guide: All OcuMow models (VBRM16, VBRM18, R1600, 400 Series) camera grass detection in low light, shade, and overcast covering schedule adjustment, border contrast, and firmware updates.
What changed:- New guide covering all LawnMaster OcuMow models with OGR camera
- Added daylight scheduling guidance by season
- Added border contrast improvement for shaded lawn edges
- Added tree canopy management for light penetration
- Added real-world context: inherent trade-off of wire-free optical navigation
Source: Trunetto editorial update