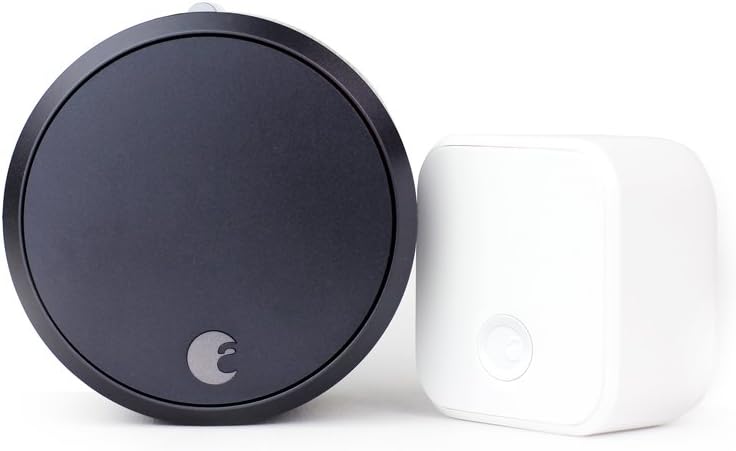
How to Install August Wi-Fi Smart Lock 4th Gen on a Left-Hand Deadbolt
- Remove Interior Thumb Turn
- Pick Correct Adapter
- Align for Left-Hand Rotation
- Attach Base and Lock Body
- Calibrate and Test
Most users complete this in under 25 minutes
Overview
August 4th Gen mounts on the interior side of your existing deadbolt and handles left-hand doors with proper tailpiece orientation. This guide walks through fit check, adapter selection, calibration, and left-hand specific tips for reliable operation.
Why This Happens in Real Homes
The August 4th-gen WiFi Smart Lock mounts on the interior side of your existing deadbolt regardless of door handing — a left-hand deadbolt just means the door and thumbturn are oriented that way, which you account for when positioning the mount square over the thumbturn's axis. The lock itself auto-detects its handing during calibration.
Confirm the deadbolt turns freely by hand into an aligned strike, then fit the adapter matching your thumbturn, center and square the mounting plate, and install fresh AA batteries. Place the DoorSense magnet directly opposite the sensor, run calibration so the lock learns its handing and positions, and connect to a 2.4GHz WiFi network. A square mount over a free-moving deadbolt is what makes the rest reliable.
What's Included
- Installing the 4th-gen lock on a left-hand deadbolt
- Handing/orientation questions
- Adapter/thumbturn fit
- Mount won't sit square
- Calibration after install
- Won't turn the thumbturn
- DoorSense placement
- WiFi setup after install
Got your materials ready? Here's what to check first.
Before You Start
- Handing/orientation not accounted for
- Wrong adapter for the thumbturn
- Mount not centered on the thumbturn axis
- Deadbolt stiff or misaligned
- Calibration not completed
- DoorSense magnet misplaced
- Batteries not installed or low
- Connecting to 5GHz for WiFi
Don't skip this step — it breaks everything if you do
Do not install August over a sticking deadbolt. Motor overload can damage the gear train and void warranty on left-hand doors.
Tools & Requirements
These tools will help you complete this fix.

microfiber cloth
BELLEMOND「Samurai Cloth」Japanese Microfiber Cleaning...

Phillips screwdriver
Klein Tools 85076 Screwdriver Set, Made in USA, Slot...
As an Amazon Associate we earn from qualifying purchases.
Installation Steps
Remove Interior Thumb Turn
Unscrew the interior thumb turn assembly and set aside with its screws. Confirm the deadbolt still operates smoothly from the exterior keyed side. If it binds, resolve the binding before mounting August because the motor cannot overcome a physically tight deadbolt reliably.
Pick Correct Adapter
Test-fit the included adapters against the deadbolt tailpiece. The adapter should slide on without forcing and engage rotation cleanly. A loose adapter will slip under torque. Use the thickest matching adapter for the best long-term grip on the tailpiece.
Align for Left-Hand Rotation
Orient the August base so the rotational arrow matches left-hand locking motion. Misalignment is the number one cause of calibration failures on left-hand doors. Double check before screwing the mounting plate down, because correcting later means removing the entire unit.
Attach Base and Lock Body
Secure the mounting plate to the door using the original thumb turn screws. Clip the August lock body onto the mounting plate and confirm it seats firmly. Insert fresh batteries in the orientation shown in the battery compartment diagram.
Calibrate and Test
Open the August app and run calibration. Follow on-screen prompts to rotate to locked and unlocked positions. Test locking and unlocking three full times to confirm consistent operation. If errors persist, recheck adapter fit and left-hand arrow orientation before contacting support.
Installation Tips
Still stuck? This is usually the deeper cause below.
Photograph the original thumb turn orientation before removal. The picture is helpful if you ever need to revert to the original deadbolt.
Before you go — these August Home guides fix most remaining issues.
Most popular upgrades chosen by August Wi-Fi Smart Lock (4th Gen) owners.
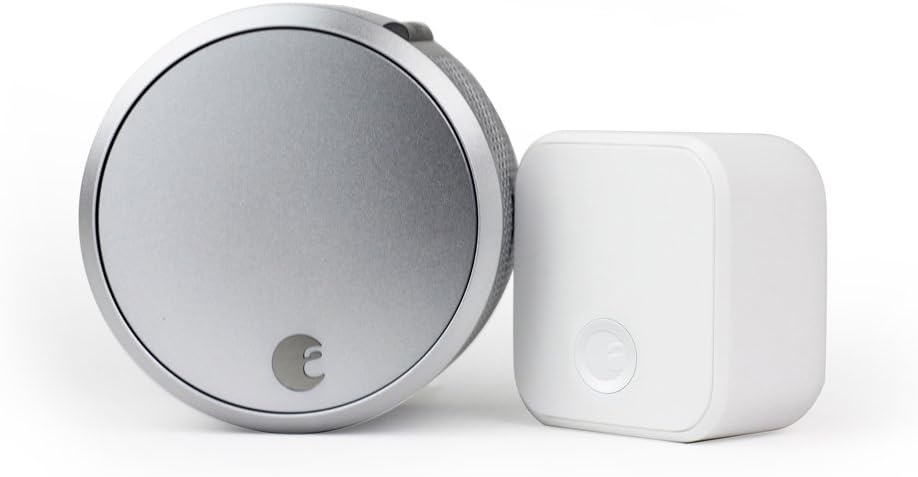
August Home Smart Lock Pro + Connect Hub - Wi-Fi Smart Lo...

August Home Smart Lock + Connect, Silver

August Home Connect Wi-Fi Bridge, Remote Access, Alexa In...
As an Amazon Associate we earn from qualifying purchases.
Official Manufacturer Manual
If you need the complete manufacturer documentation for advanced setup, wiring diagrams, or detailed specifications, you can download the official manual below. The manual includes full technical instructions directly from the manufacturer and may help if your issue requires deeper troubleshooting.
Download the Official August Wi-Fi Smart Lock (4th Gen) ManualSource: august.com
Need More Help? August Home Support
Note: The contact information below connects you directly to August Home's official customer support team, not Trunetto. They can help with warranty claims, device replacements, and advanced technical issues.
How Does August Home Compare?
Before replacing your August Home device, see how it stacks up against alternatives in our full comparison guides.