How to Install Your August Smart Lock
- Check Your Existing Deadbolt
- Install Mounting Plate and Adapter
- Attach the August Lock
- Set Up in the August App
Most users complete this in under 30 minutes
Overview
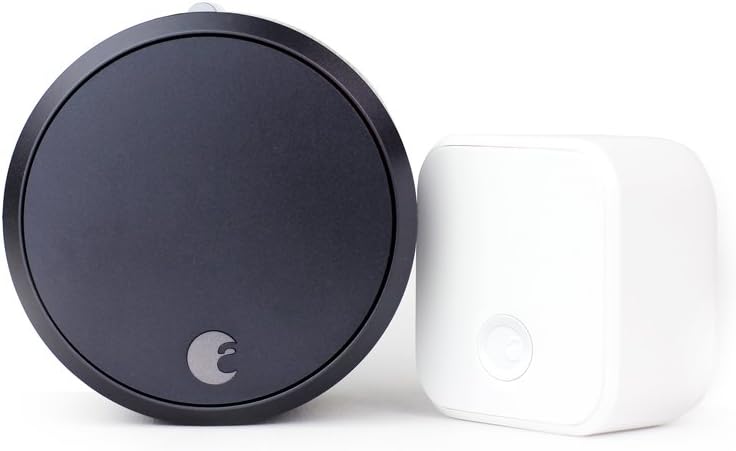
This guide details the installation of the August Wi-Fi Smart Lock (4th Gen). It retrofits onto your existing deadbolt, so this guide covers preparing your current lock, attaching the August mounting plate and lock, and setting it up with the August app.
Why This Happens in Real Homes
Installing the August WiFi Smart Lock is a retrofit on the interior of your existing deadbolt — you keep your keyed exterior and replace only the thumbturn, so the whole job is mounting the lock square and centered over that thumbturn with the right adapter. The lock auto-hands itself during calibration, so orientation is handled electronically.
Check the deadbolt throws freely by hand into an aligned strike, then secure the mounting plate square and tight, fit the adapter matching your thumbturn, and center the lock on its axis. Install fresh AA batteries, place the DoorSense magnet opposite the sensor, and run calibration. Finish by connecting to a 2.4GHz WiFi network in the app. A free-moving deadbolt and a square mount prevent the jams and calibration failures that otherwise follow.
What's Included
- Installing the August WiFi Smart Lock
- Adapter/thumbturn fit
- Mount won't sit square
- Calibration after install
- Won't turn the thumbturn
- DoorSense placement
- WiFi setup after install
- Handing questions
Got your materials ready? Here's what to check first.
Before You Start
- Wrong adapter for the thumbturn
- Mount not centered on the thumbturn axis
- Deadbolt stiff or misaligned
- Mounting plate loose or not square
- Calibration not completed
- DoorSense magnet misplaced
- Batteries not installed or low
- Connecting to 5GHz for WiFi
Don't skip this step — it breaks everything if you do
Ensure your door is properly aligned before installation. A door that sticks or doesn't close smoothly will cause battery drain and lock issues.
Tools & Requirements
These tools will help you complete this fix.

Painter's tape
4 Rolls Premium Painters Tape, Blue Tape, Masking Ta...

Phillips screwdriver
Klein Tools 85076 Screwdriver Set, Made in USA, Slot...
As an Amazon Associate we earn from qualifying purchases.
Installation Steps
Prepare Your Existing Deadbolt
The August lock installs on the inside of your door, replacing only the interior thumbturn. Start by using painter's tape to hold the exterior keypad of your existing deadbolt in place. Then, from the inside, unscrew and remove the thumbturn assembly.
Needed for this step
4 Rolls Premium Painters Tape, Blue Tape, Maski...
This helps complete the fix you are currently reading.
$5.99Install Mounting Plate and Adapter
Select the correct adapter for your deadbolt's tailpiece shape and the correct mounting plate from the included hardware. Attach the mounting plate over the tailpiece, securing it to the door using your old deadbolt's screws.
Attach the August Lock
Insert the correct adapter into the back of the August lock. Mount the lock onto the tailpiece and mounting plate. Secure it by lowering the two side wing latches. Insert the two CR123 batteries and attach the magnetic faceplate.
Set Up in the August App
Download the August app and create an account. Tap 'Set up a new device' and scan the QR code. The app will guide you through connecting the lock to your 2.4GHz Wi-Fi network, calibrating the lock's movement, and installing the DoorSense sensor.
Installation Tips
Still stuck? This is usually the deeper cause below.
The August Smart Lock 4th Gen has built-in Wi-Fi, so no separate Connect bridge is required for remote access.
Before you go — these August Home guides fix most remaining issues.
Most popular upgrades chosen by August Wi-Fi Smart Lock (4th Gen) owners.
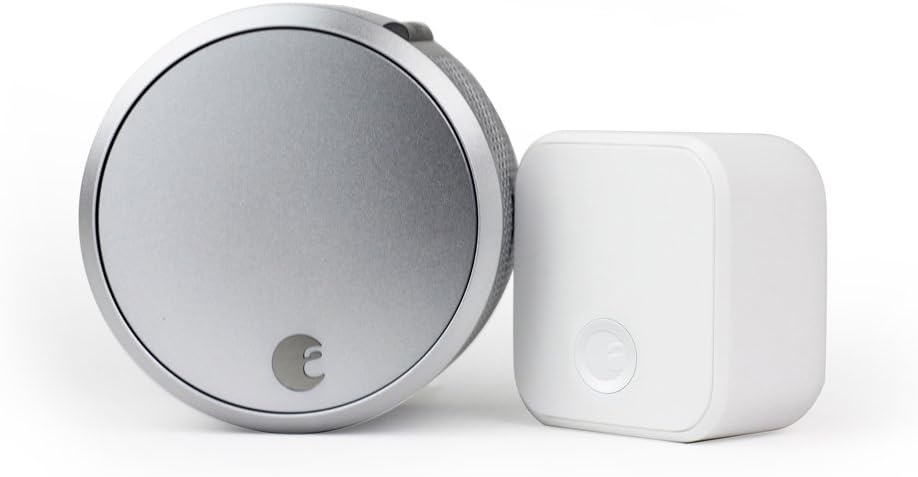
August Home Smart Lock Pro + Connect Hub - Wi-Fi Smart Lo...

August Home Smart Lock + Connect, Silver

August Home Connect Wi-Fi Bridge, Remote Access, Alexa In...
As an Amazon Associate we earn from qualifying purchases.
Official Manufacturer Manual
If you need the complete manufacturer documentation for advanced setup, wiring diagrams, or detailed specifications, you can download the official manual below. The manual includes full technical instructions directly from the manufacturer and may help if your issue requires deeper troubleshooting.
Download the Official August Wi-Fi Smart Lock (4th Gen) ManualSource: august.com
Need More Help? August Home Support
Note: The contact information below connects you directly to August Home's official customer support team, not Trunetto. They can help with warranty claims, device replacements, and advanced technical issues.
How Does August Home Compare?
Before replacing your August Home device, see how it stacks up against alternatives in our full comparison guides.