

How to Install Schlage Keypad Deadbolt Lock
- Check Door Requirements
- Remove Existing Lock
- Install Latch Mechanism
- Mount Exterior Keypad
- Connect Interior Assembly
- Install Battery Pack
Most users complete this in under 2 minutes
Overview
Schlage Schlage Keypad Deadbolt setup takes under 15 minutes for most users — if you're stuck, the steps below target the specific points where installs stall.
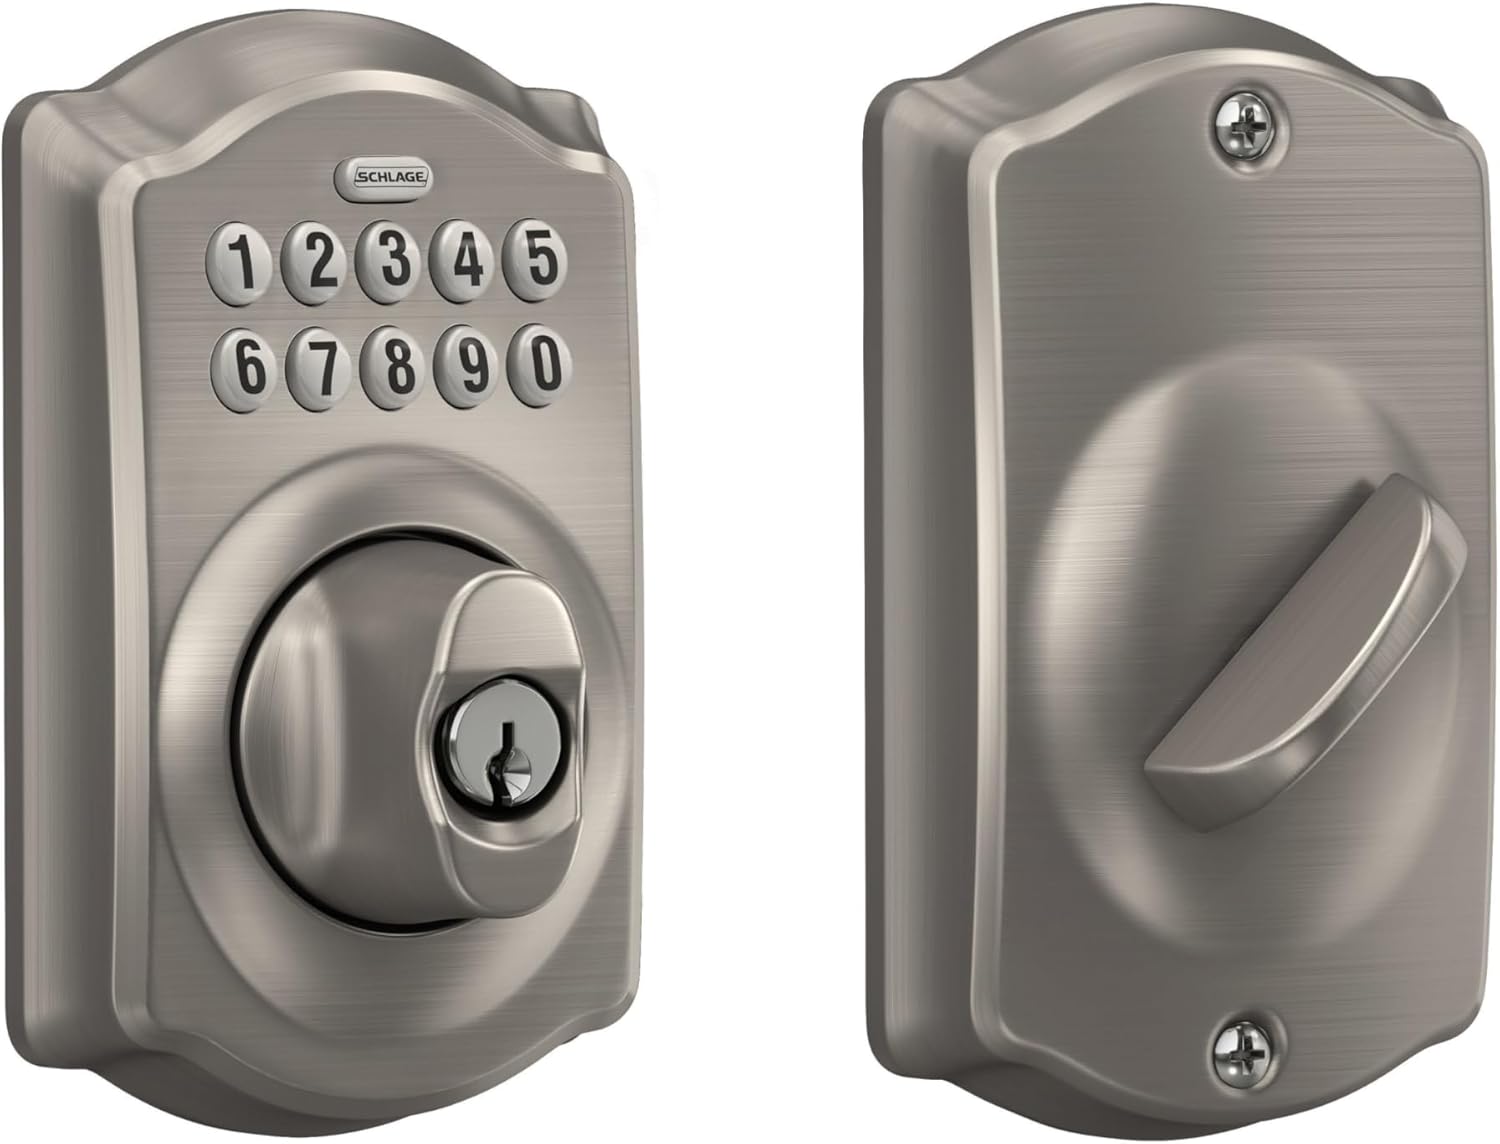
This guide covers the installation of a Schlage BE365 or BE375 keypad deadbolt, including door hardware installation, master code setup, and user access code programming. Schlage keypad deadbolts operate independently without a hub or WiFi, making them a reliable standalone upgrade from keyed locks with the ability to manage up to 19 user codes.
Why This Happens in Real Homes
The BE365/BE375 is a standalone (non-connected) keypad deadbolt, so installation is a straightforward mechanical deadbolt fit powered by a single 9V battery in the interior housing — there's no app or wireless pairing. The essentials are the correct backset, bolt orientation, and a strike aligned so the bolt throws freely.
Fit the bolt with the right backset and orientation, seat both halves engaging the tailpiece, and connect the 9V battery in the interior unit. Confirm the deadbolt operates smoothly into an aligned strike, then program access codes using the programming code printed on the inside label. Because it's not connected, all code management is done directly at the keypad.
What's Included
- Installing a BE365/BE375 keypad deadbolt
- 9V battery questions
- Bolt won't operate
- Backset/door prep questions
- Programming the first code
- Bolt catches the strike
- Interior won't seat
- Handing questions
Got your materials ready? Here's what to check first.
Before You Start
- Non-standard door prep
- Wrong backset setting
- Bolt orientation incorrect
- 9V battery not connected/installed
- Strike misaligned
- Tailpiece not engaged
- Over-tight mounting screws
- Programming/default code step missed
Don't skip this step — it breaks everything if you do
WARNING: Keep master programming code secure. Replace batteries when low battery indicator appears.
Tools & Requirements
These tools will help you complete this fix.

Drill optional
DEWALT 20V MAX Cordless Drill and Impact Driver, Pow...

Level
9 Inch Torpedo Level Magnetic, Shock-Proof Small Lev...

Screwdriver
STREBITO 155 in 1 Electric Screwdriver Set, Small El...
As an Amazon Associate we earn from qualifying purchases.
Installation Steps
Check Door Requirements
Verify door thickness 1-3/8 to 1-3/4 inches, confirm door material compatibility, and make sure adequate clearance for keypad operation.
Remove Existing Lock
Unscrew and remove old deadbolt, clean door holes thoroughly, and check hole alignment for new lock installation.
Install Latch Mechanism
Insert motorized latch into door edge, make sure proper orientation for door swing, and secure with provided mounting screws.
Mount Exterior Keypad
Insert exterior keypad assembly through door hole, align with latch mechanism, and make sure flush fit against door surface.
Connect Interior Assembly
Attach interior assembly to exterior keypad using connecting screws, make sure cable connections are secure, and verify proper fit.
Install Battery Pack
Install 4 AA batteries in interior battery compartment, verify correct polarity, and confirm power-on indicator lights.
Program Master Code
Enter default Programming Code, press Program button, enter 4-8 digit Master Code, and confirm with checkmark button.
Add User Access Codes
Program additional user codes using master code entry sequence, test each code for proper operation, and verify unique code assignment.
Install Strike Plate
Position strike plate on door frame, mark and chisel recess as needed, and secure with long screws into frame studs.
Test All Functions
Test all programmed codes, verify keypad backlight operation, check battery level indicator, and make sure smooth lock operation.
Needed for this step
9 Inch Torpedo Level Magnetic, Shock-Proof Smal...
This helps complete the fix you are currently reading.
$6.99Installation Tips
Still stuck? This is usually the deeper cause below.
Use high-quality alkaline batteries for longer life. Program codes that are easy to remember but not obvious.
Before you go — these Schlage guides fix most remaining issues.
Most popular upgrades chosen by Schlage Keypad Deadbolt owners.
As an Amazon Associate we earn from qualifying purchases.
Official Manufacturer Manual
If you need the complete manufacturer documentation for advanced setup, wiring diagrams, or detailed specifications, you can download the official manual below. The manual includes full technical instructions directly from the manufacturer and may help if your issue requires deeper troubleshooting.
Download the Official Schlage Keypad Deadbolt ManualSource: schlage.com
Need More Help? Schlage Support
Note: The contact information below connects you directly to Schlage's official customer support team, not Trunetto. They can help with warranty claims, device replacements, and advanced technical issues.
How Does Schlage Compare?
Before replacing your Schlage device, see how it stacks up against alternatives in our full comparison guides.


