

How Do I Install the SwitchBot Lock?
- Wrong adapter for the thumbturn shape
- Mount not aligned with the thumbturn axis
- Adhesive surface not clean or flat
Problem Description
You are installing the SwitchBot Lock on your existing deadbolt. Check door lock compatibility first — the SwitchBot Lock attaches to the inside of your door over your existing thumbturn. It works with most single-cylinder deadbolts. The Lock does not replace your deadbolt — it goes over the existing thumbturn and rotates it. This guide covers compatibility, mounting, calibration, and app setup.
Why This Happens in Real Homes
The SwitchBot Lock retrofits over your existing deadbolt's thumbturn — it doesn't replace the lock — so installation is about mounting it squarely over the thumbturn's axis with the right adapter and spacers, using the adhesive base on a clean surface. The deadbolt has to turn freely by hand first, or the motor will struggle.
Check the deadbolt operates smoothly by hand, then pick the adapter matching your thumbturn, set the mount height with the included spacers so the arm grips the thumbturn on its center of rotation, and press the adhesive to a clean, dry surface. Install fresh CR123A batteries and run the lock/unlock calibration so it learns the turn. A square, firm mount and a free-turning deadbolt are what make it reliable.
Symptoms
- Installing the SwitchBot Lock
- Adapter/thumbturn fit questions
- Mount won't sit flush
- Calibration after install
- Won't turn the thumbturn
- Adhesive placement
- Deadbolt won't lock/unlock after install
- Thumbturn too large or small
Recognize these? Here's what usually causes it.
Common Causes
- Wrong adapter for the thumbturn shape
- Mount not aligned with the thumbturn axis
- Adhesive surface not clean or flat
- Deadbolt itself stiff or misaligned
- Calibration not completed
- Thumbturn outside the supported size
- Height/spacers not adjusted
- Batteries not installed or low
Most fixes happen in the first 3 steps.
Always keep a physical backup key accessible outside your home in case of total lock failure. Never perform a factory reset while locked out as this may disable all electronic access. Ensure battery level is above 50 percent before firmware updates to prevent corruption.
Tools & Requirements
These tools will help you complete this fix.

Drill optional
DEWALT 20V MAX Cordless Drill and Impact Driver, Pow...

Level
9 Inch Torpedo Level Magnetic, Shock-Proof Small Lev...

Screwdriver
STREBITO 155 in 1 Electric Screwdriver Set, Small El...
As an Amazon Associate we earn from qualifying purchases.
Step-by-Step Solution
Check door lock compatibility
The SwitchBot Lock is a retrofit smart lock that attaches to the inside of your existing deadbolt — you keep your existing keys and exterior hardware. It fits most standard deadbolts with a thumb turn on the interior side. The thumb turn must have a flat or round knob that the SwitchBot Lock adapter can grip. Measure the thumb turn dimensions and compare against the included adapter set. The lock does not work with locks that have a lever handle or locks without a thumb turn.
Install the SwitchBot Lock on your deadbolt
Clean the door surface around the deadbolt. Attach the 3M adhesive mount plate to the door, centered on the deadbolt. Select the adapter piece that fits your thumb turn and attach it to the Lock motor. Press the SwitchBot Lock onto the adhesive mount plate — it grips the thumb turn adapter. The motor is now mechanically coupled to your deadbolt. Test by pressing the lock button — it should rotate the thumb turn and extend the deadbolt.
Set up in the SwitchBot app
In the SwitchBot app, tap + > Add Device > Lock. Pair via Bluetooth. Calibrate the lock: the app prompts you to lock and unlock the deadbolt so the motor learns the rotation range. After calibration, the app shows Lock and Unlock buttons. You can lock/unlock from the app when your phone is within Bluetooth range (approximately 20 feet).
Add the SwitchBot Keypad for code access
For keypad entry (no phone needed), add the SwitchBot Keypad or Keypad Touch (fingerprint + code). Mount the keypad outside your door using the included adhesive or screws. Pair it with the SwitchBot Lock in the app. Create PIN codes for family members and guests. The Keypad communicates with the Lock via Bluetooth — no WiFi required for basic operation. Temporary codes can be set for guests with expiration dates.
Enable remote access via SwitchBot Hub
The SwitchBot Lock connects via Bluetooth only. For remote lock/unlock from outside Bluetooth range (when you are away from home), you need a SwitchBot Hub Mini or Hub 2. Add the Hub to the app and link the Lock. After linking, you can lock/unlock from anywhere, receive lock/unlock notifications, and integrate with Alexa/Google/Siri for voice control.
Quick Solutions
Still having issues? This is usually the deeper cause below.
If the keypad rejects valid codes, a lockout timer may be running — five failed entries locks most keypads silently for 5–10 minutes.
Set up auto-lock to engage 30 seconds after the door closes so you never accidentally leave it unlocked. Create temporary access codes for guests and service workers that automatically expire after a set time period.
Most smart lock failures people label as hardware issues turn out to be a code wiped during a sync, or a setting reset nobody remembers triggering.
- Wrong adapter for the thumbturn shape
- Mount not aligned with the thumbturn axis
- Adhesive surface not clean or flat
- Deadbolt itself stiff or misaligned
- Calibration not completed
Before you go — try one of these (they fix most cases).
Most popular upgrades chosen by SwitchBot Lock owners.
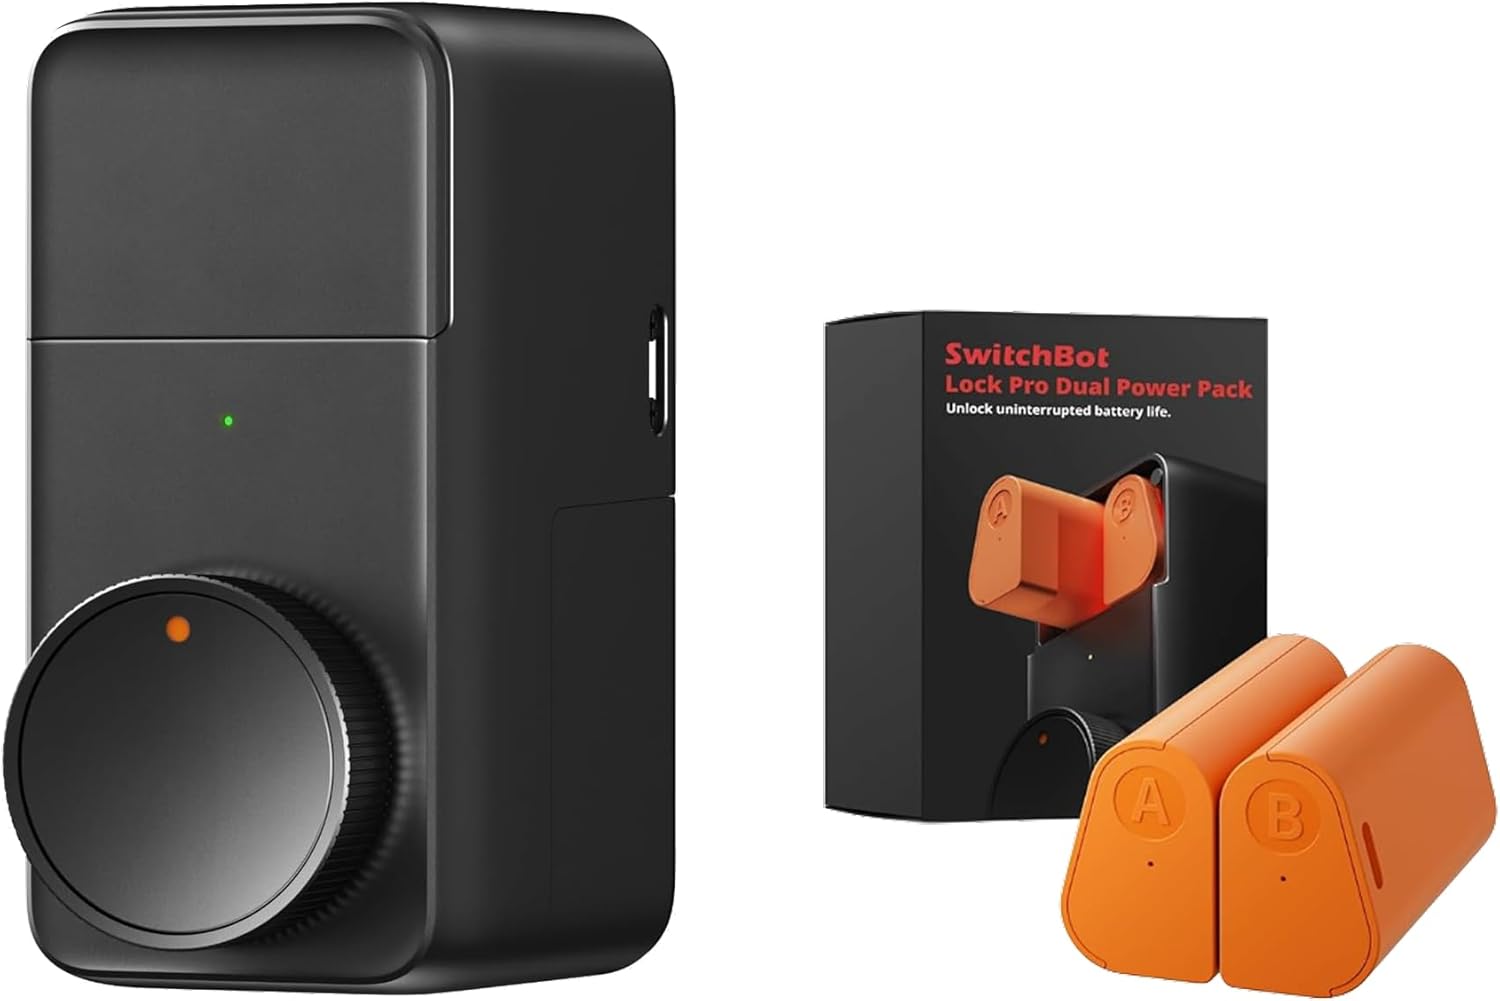
SwitchBot Smart Lock Pro, Keyless Entry Door Lock, Smart ...

SwitchBot Smart Lock Pro with Remote, Keyless Entry Door ...

SwitchBot Smart Lock Pro Keyless Entry Door Lock, Smart D...
As an Amazon Associate we earn from qualifying purchases.
Official Manufacturer Manual
SwitchBot provides official product documentation through their online manual rather than downloadable PDF. Access setup guides, troubleshooting steps, and product specifications for your SwitchBot Lock.
Source: switch-bot.com
Need More Help? SwitchBot Support
Note: The contact information below connects you directly to SwitchBot's official customer support team, not Trunetto. They can help with warranty claims, device replacements, and advanced technical issues.
Accessories owners commonly pair with SwitchBot Lock.

Amazon Basics 20-Pack AA Alkaline High-Performance Batter...

Amazon Basics CR2032 3V Lithium Coin Cell Batteries for K...

Duracell Coppertop Double AA Batteries with Power Boost I...
As an Amazon Associate we earn from qualifying purchases.


