

How Do I Set Up the SwitchBot K10 Plus Robot Vacuum?
- Connecting to 5GHz instead of 2.4GHz WiFi
- Vacuum not in pairing mode
- Dock not placed or plugged in correctly
Problem Description
You are setting up the SwitchBot K10+ mini robot vacuum. Set up the charging dock first — place it against a wall on a flat surface with at least 1.5 feet clearance on each side and 4 feet in front. The K10+ is notably compact (only 9.76 cm diameter) designed for smaller spaces. This guide covers dock placement, app pairing, mapping runs, and auto-empty base setup.
Why This Happens in Real Homes
The SwitchBot K10+ is a compact robot vacuum with a self-emptying dock, and like most robot vacs it connects on 2.4GHz WiFi and needs a well-placed dock — hard floor, against a wall, plugged in, with clearance so it can dock and auto-empty. The 2.4GHz requirement is the usual setup snag.
Charge the robot, put it in pairing mode with your phone nearby, and join it to a 2.4GHz network in the SwitchBot app. Set the self-empty dock somewhere open with good clearance and let the K10+ run a mapping pass so it learns the floor plan. Install any firmware update; once mapped, it navigates by room and empties itself at the dock between cleans.
Symptoms
- Setting up the K10+
- Won't connect to WiFi
- App can't find the vacuum
- Self-empty dock questions
- First mapping run
- Won't dock/charge
- Navigation issues
- Placement of the dock
Recognize these? Here's what usually causes it.
Common Causes
- Connecting to 5GHz instead of 2.4GHz WiFi
- Vacuum not in pairing mode
- Dock not placed or plugged in correctly
- Weak WiFi where it operates
- Robot not charged before the first run
- Dock area cluttered
- No map built yet
- Firmware update pending
Most fixes happen in the first 3 steps.
Do not rely solely on smart sensors for life-safety alerts like smoke or carbon monoxide detection. Always maintain dedicated code-compliant smoke and CO detectors. Smart water leak sensors can alert you but cannot stop a leak so know where your water shut-off valve is located.
Tools & Requirements
These tools will help you complete this fix.

As an Amazon Associate we earn from qualifying purchases.
Step-by-Step Solution
Set up the charging dock
Place the SwitchBot K10+ charging dock against a wall on a flat hard floor. Leave at least 3 feet of clear space in front and 1.5 feet on each side for the robot to go to the dock. The K10+ is uniquely small (9.7 inches diameter, smaller than most robot vacuums) making it ideal for small apartments, narrow hallways, and spaces under furniture. Plug in the dock and place the K10+ on it to charge — the initial charge takes about 4 hours.
Connect to the SwitchBot app
Download or open the SwitchBot app. Tap + > Add Device > K10+. The app connects to the robot via WiFi (2.4GHz only). Follow the setup prompts. The K10+ runs an initial mapping clean — it uses LiDAR navigation to map your home while cleaning. After the first run, the map appears in the app. You can name rooms, set no-go zones, and create per-room cleaning schedules.
Set cleaning schedules and preferences
In the SwitchBot app, tap the K10+ > Schedule. Set daily or per-room cleaning schedules. Choose suction power per room: Quiet (low noise, 45 dB — suitable for nighttime cleaning), Standard, Strong, or Max. The K10+ is one of the quietest robot vacuums at 48 dB on standard mode — about the volume of a quiet conversation. Set it to clean during work hours or use Quiet mode overnight without disturbing sleep.
Configure no-go zones and virtual walls
In the map view on the SwitchBot app, draw No-Go Zones (the robot avoids these areas) around pet bowls, charging cables, and delicate furniture legs. Draw Virtual Walls to prevent the robot from entering specific rooms or areas. These zones are stored on the robot and work every cleaning session. You can also set room-specific cleaning order — clean the kitchen first (where crumbs accumulate) before bedrooms.
Empty the dust bag and maintain the robot
The K10+ has an auto-empty station that holds approximately 70 days of debris in a disposable dust bag. When the bag icon in the app shows full, replace the bag (pull out the old bag, insert a new one). Clean the main brush and side brushes monthly — remove tangled hair and fibers. Clean the LiDAR sensor on top of the robot with a soft cloth — dust on the sensor degrades navigation accuracy.
Quick Solutions
Still having issues? This is usually the deeper cause below.
If the robot returns to the dock mid-clean, moved furniture may have invalidated its map — a fresh floor scan resolves the majority of navigation failures.
Pair motion sensors with smart lights to create automatic lighting that turns on when you enter a room and off after a few minutes of no motion. This is one of the simplest and most useful smart home automations you can set up.
Robot vacuums that 'stop working' are usually fighting a corrupted map from moved furniture — a fresh floor scan fixes the majority of reported failures.
- Connecting to 5GHz instead of 2.4GHz WiFi
- Vacuum not in pairing mode
- Dock not placed or plugged in correctly
- Weak WiFi where it operates
- Robot not charged before the first run
Before you go — try one of these (they fix most cases).
Most popular upgrades chosen by SwitchBot K10+ owners.

SwitchBot Thermometer Hygrometer, Bluetooth Indoor Humidi...

SwitchBot Thermometer Hygrometer, Bluetooth Indoor Humidi...

SwitchBot Meter Pro, Digital Hygrometer & Thermometer - W...
As an Amazon Associate we earn from qualifying purchases.
Official Manufacturer Manual
SwitchBot provides official product documentation through their online manual rather than downloadable PDF. Access setup guides, troubleshooting steps, and product specifications for your SwitchBot K10+.
Source: support.switch-bot.com
Need More Help? SwitchBot Support
Note: The contact information below connects you directly to SwitchBot's official customer support team, not Trunetto. They can help with warranty claims, device replacements, and advanced technical issues.
Accessories owners commonly pair with SwitchBot K10+.

Blink Mini - Compact indoor plug-in smart security camera...
Blink Mini - Compact indoor plug-in smart security camera...
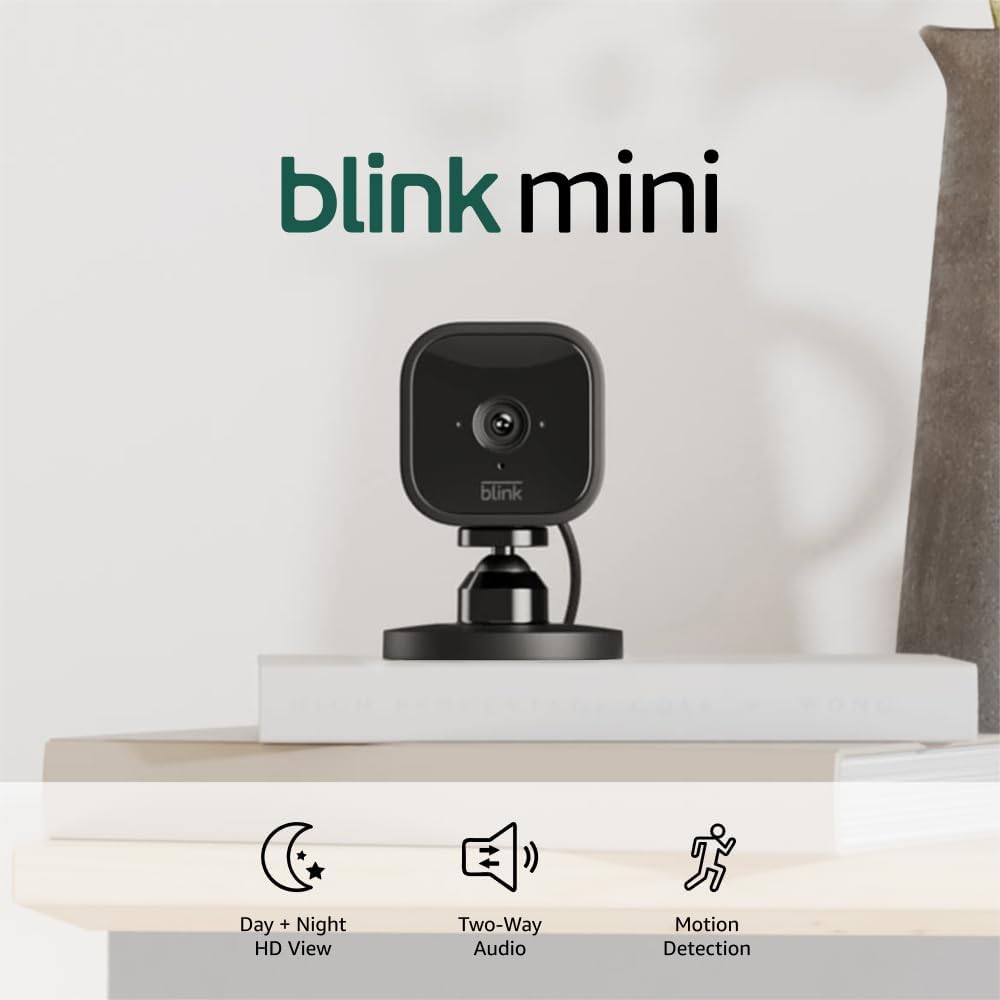
Blink Mini - Compact indoor plug-in smart security camera...
As an Amazon Associate we earn from qualifying purchases.


