

Why Is My LiftMaster Garage Door Opener Remote Not Working After Battery Change
- Battery installed with reversed polarity
- Remote lost its programmed code during the battery change
- Wrong battery type or voltage installed
Problem Description
Your LiftMaster garage door opener remote has stopped working after you replaced the battery. Pressing the remote button does not open or close the garage door even though the new battery is installed. The remote LED may or may not light up when buttons are pressed. The wall button inside the garage still operates the door normally.
Why This Happens in Real Homes
After a battery change, a LiftMaster remote that will not work almost always comes down to polarity, programming, or range, in that order. Check the CR2032 (or the model's specified cell) is seated the right way up and making firm contact, since a slightly bent clip or a corroded contact behaves like a dead battery. If the LED lights but the door does not move, the remote lost its place in the opener's Security+ rolling-code sequence, and the fix is to re-learn it: press the Learn button on the motor unit, then press the remote within about 30 seconds until the opener light blinks. If the remote only works up close, that is a range problem rather than programming, so check the thin antenna wire hanging from the opener is straight, undamaged, and not coiled against metal. A single failing remote while others work points squarely at that remote, so start with its battery and re-learn before suspecting the opener.
Symptoms
- Pressing the remote button produces no response from the opener
- Remote LED lights when pressed but the door does not move
- Remote LED does not light at all even with a new battery
- Remote worked before the battery change but not after
- Some remotes work while the affected one does not
- Remote only works when very close to the opener
- Remote works within a few feet but not from the driveway
- Other remotes and the wall button work normally
Recognize these? Here's what usually causes it.
Common Causes
- Battery installed with reversed polarity
- Remote lost its programmed code during the battery change
- Wrong battery type or voltage installed
- Battery contacts corroded, preventing a good connection
- Remote drifted out of the opener's rolling-code sync
- Battery clip broken and not holding the battery firmly
- Opener antenna wire bent up or damaged, shortening range
- Learn code erased from the opener memory
Most fixes happen in the first 3 steps.
When pressing the Learn button to program remotes, do not hold it for more than 6 seconds. Holding the Learn button for 6 or more seconds erases ALL programmed remotes and keypads from the opener memory, requiring reprogramming of every remote and keypad in your household.
Tools & Requirements
These tools will help you complete this fix.
As an Amazon Associate we earn from qualifying purchases.
Step-by-Step Solution
Verify Battery Installation
Open the remote battery compartment and check the battery. Verify it is the correct type, most LiftMaster remotes use a CR2032 3V lithium coin cell. Some older models use a 12V A23 battery. Check that the battery is inserted with the correct polarity, the positive plus sign should face the direction indicated inside the compartment. Remove the battery and inspect the contacts for corrosion. Clean any white or green residue with a pencil eraser or fine sandpaper. Reinsert the battery and press a button to test the LED.

Needed for this step
Duracell 2032 Lithium Battery, 9 Count (Pack of...
This helps complete the fix you are currently reading.
$9.88Re-program the Remote to the Opener
Battery changes can sometimes clear the remote programming. On the opener unit mounted to the garage ceiling, locate the Learn button, usually yellow, purple, orange, or green depending on the model. Press and release the Learn button once. The Learn LED will light up for about 30 seconds. Within those 30 seconds, press and hold the button on your remote that you want to program. The opener lights will flash to confirm the remote has been programmed. Test the remote by pressing the button again.
Identify the Correct Learn Button Color
The color of the Learn button on your LiftMaster opener determines the compatible frequency and remote type. Yellow learn button uses Security Plus 2.0 and works with 893LM remotes. Purple learn button uses Security Plus and works with 893MAX and 895MAX remotes. Orange learn button uses older Security Plus technology. Green learn button uses the latest Security 2.0 protocol. Using a remote that does not match your opener technology will not pair regardless of programming attempts.
Test Remote Range
After programming, test the remote from various distances. Stand inside the garage 5 feet from the opener and press the button. If it works at close range but not from the driveway, there may be radio frequency interference or a weak antenna on the opener. Check that the antenna wire hanging from the opener unit is fully extended and not coiled up. The wire should hang straight down and be at least 3 feet long. A damaged or missing antenna drastically reduces remote range.
Replace Remote If Necessary
If the LED does not light up with a known good battery and clean contacts, the remote circuit board may have failed. LiftMaster remotes can fail from moisture exposure, drops, or age. Purchase a replacement remote that matches your opener Learn button color. The LiftMaster 893MAX is a universal replacement compatible with most current LiftMaster, Chamberlain, and Craftsman openers with yellow or purple Learn buttons. Program the new remote using the Learn button procedure.
Quick Solutions
Still having issues? This is usually the deeper cause below.
If drain continues after replacing batteries, check the event history — a stuck-open sensor or rapid polling loop burns through batteries in days.
When replacing the remote battery, note the orientation before removing the old battery. Take a photo of the battery position to reference during installation. This prevents polarity mistakes.
App battery indicators run 15–20% behind actual charge levels — by the time the low warning appears, the device has been struggling for days.
- Battery installed with reversed polarity
- Remote lost its programmed code during the battery change
- Wrong battery type or voltage installed
- Battery contacts corroded, preventing a good connection
- Remote drifted out of the opener's rolling-code sync
Before you go — try one of these (they fix most cases).
Most popular upgrades chosen by LiftMaster Garage Door Opener Remote owners.

As an Amazon Associate we earn from qualifying purchases.
Official Manufacturer Manual
LiftMaster provides official product documentation through their online manual rather than downloadable PDF. Access setup guides, troubleshooting steps, and product specifications for your LiftMaster Garage Door Opener Remote.
Source: liftmaster.com
Need More Help? LiftMaster Support
Note: The contact information below connects you directly to LiftMaster's official customer support team, not Trunetto. They can help with warranty claims, device replacements, and advanced technical issues.
Accessories owners commonly pair with LiftMaster Garage Door Opener Remote.

Blink Mini - Compact indoor plug-in smart security camera...
Blink Mini - Compact indoor plug-in smart security camera...
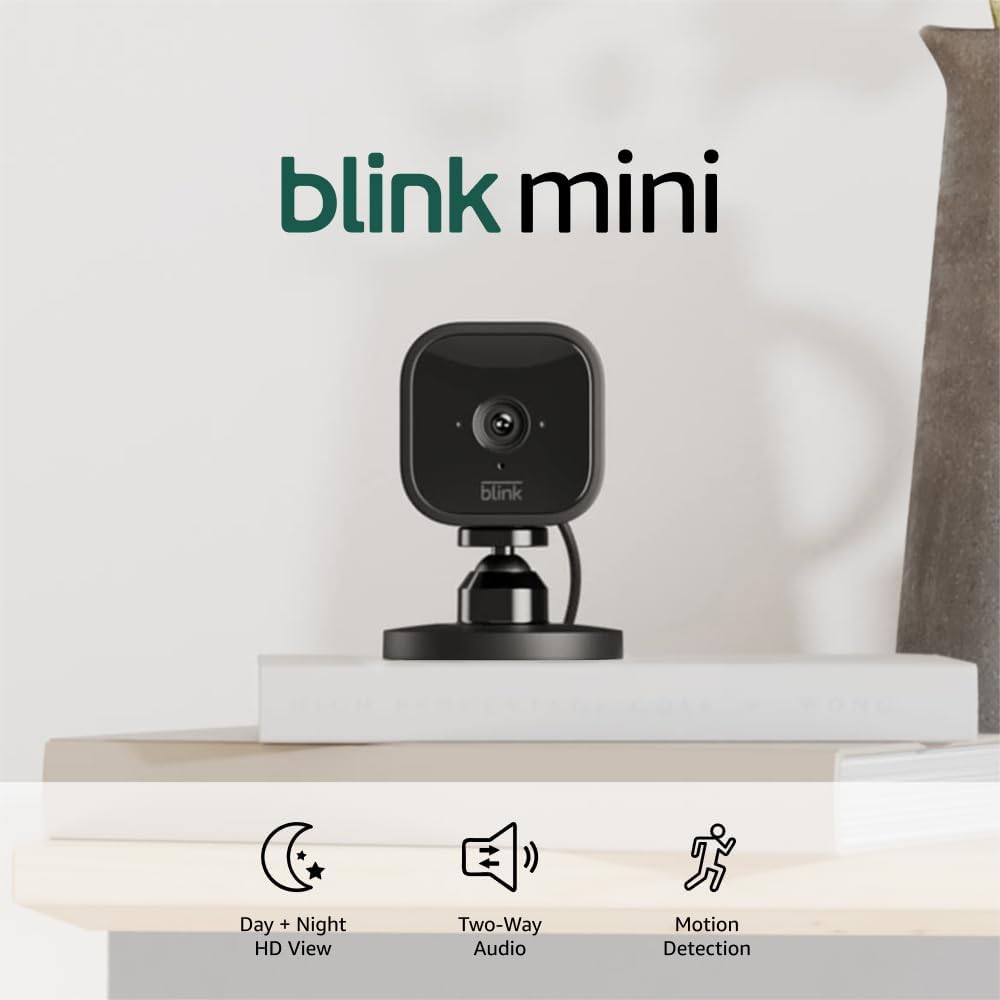
Blink Mini - Compact indoor plug-in smart security camera...
As an Amazon Associate we earn from qualifying purchases.

