

Why Is My LiftMaster Safety Sensor Showing One Yellow and One Green Light?
- Receiving sensor knocked out of alignment with the sending sensor
- Obstruction blocking the invisible infrared beam path
- Sensor lenses dirty or fogged, reducing beam detection
Problem Description
Your LiftMaster garage door safety sensors show one amber or yellow LED and one green LED. The amber yellow light is on the sending sensor which emits the infrared beam. The green light is on the receiving sensor which detects the beam. A solid amber and solid green means normal operation. If the green light is blinking or off the sensors are misaligned and the door will not close. The opener light may flash 4 times indicating sensor misalignment.
Why This Happens in Real Homes
On a LiftMaster, the amber (yellow) LED marks the sending photo-eye and the green LED marks the receiving one, and normal operation is both solid. The amber almost always stays lit because it just means the sender has power; the diagnostic light is the green one. A green that is off or blinking means the receiver is not seeing the beam, so the door will not close and the opener flashes to warn you. Alignment is the fix nine times out of ten: the sensors must sit at the same height and point straight at each other so the invisible beam lands square on the receiver rather than clipping a bracket. Clean both lenses, check the wiring at the sensor and the opener terminals, and tighten the mounting brackets, because door vibration slowly walks them out of true. A quick way to confirm the sensors are the culprit is that LiftMaster lets you close the door by holding the wall button under constant pressure, which bypasses the photo-eyes, so if it closes that way the beam is your problem and you should fix the alignment rather than rely on the bypass.
Symptoms
- Amber sending-sensor light solid but the green light blinking
- Green receiving-sensor light completely off
- Opener light flashes when trying to close
- Door reverses immediately when closing
- Door starts to close then stops and reverses
- Yellow sending sensor working but the door still will not close
- Green receiver flickers instead of holding solid
- Door closes only if you hold the wall button under constant pressure
Recognize these? Here's what usually causes it.
Common Causes
- Receiving sensor knocked out of alignment with the sending sensor
- Obstruction blocking the invisible infrared beam path
- Sensor lenses dirty or fogged, reducing beam detection
- Wiring loose, damaged, or incorrectly connected
- Sensors not at the same height from the floor
- Vibration from door operation shifting a sensor position
- Sun or a reflective surface interfering with the receiver
- Beam clipping a bracket because the sensors are angled differently
Most fixes happen in the first 3 steps.
LiftMaster safety sensors are required by federal law for garage door openers made after 1993. Never bypass or disconnect these sensors. If the door closes on a person or pet serious injury can occur.
Tools & Requirements
These tools will help you complete this fix.

Tape measure
10 Pack Bulk Tape Measure 25 FT with Fractions 1/8, ...

Screwdriver for bracket adjustment
STREBITO 155 in 1 Electric Screwdriver Set, Small El...
As an Amazon Associate we earn from qualifying purchases.
Step-by-Step Solution
Understand the LED Indicators
LiftMaster safety sensors are mounted on the inside of the garage door tracks, one on each side, about 6 inches from the floor. They have two components. The sending sensor has an amber or yellow LED and emits the infrared beam. The receiving sensor has a green LED and detects the beam. Both LEDs solid means the system is working normally. If the green LED is blinking or off the receiving sensor is not detecting the beam properly.
Check for Opener Blink Codes
LiftMaster openers flash the light bulb to indicate problems. Four flashes means the safety sensors are misaligned. One flash indicates wiring problems. Two flashes means a short or reversed wire connection. Count the flashes after pressing the close button to identify the specific issue.
Clean the Sensor Lenses
Loosen the wing nut on the receiving sensor bracket. Use a soft dry cloth to clean the round lens eye on the front of each sensor unit (mounted 6 inches from the floor on the door tracks). Dust dirt and garage grime accumulate on the lenses and reduce beam detection. Even light film can cause intermittent green light issues.
Needed for this step
STREBITO 155 in 1 Electric Screwdriver Set, Sma...
This helps complete the fix you are currently reading.
$45.99Realign the Receiving Sensor
With the wing nut loosened adjust the angle of the receiving sensor while watching the green LED. When the green LED glows steadily and solid the sensor is properly aligned with the sending sensor. Tighten the wing nut and secure the mounting bracket in place.
Check Wiring Connections
LiftMaster sensors use black and white wires. The white wires connect to the number 2 or white terminal on the opener. The white wires with black stripe connect to the number 3 or grey terminal. Verify connections are secure and not reversed. Reversed wires cause 2 flash error codes.
Quick Solutions
Still having issues? This is usually the deeper cause below.
If flickering only happens on dimming, the issue is almost always the dimmer's minimum-load setting, not the bulb — it's drawing less current than the dimmer expects.
After aligning the sensors close the door and watch the green LED during operation. If it flickers when the door moves the vibration is shifting the sensor. Tighten the mounting bracket more securely or add a small shim behind it.
This issue almost always looks more complex than it is — the majority of cases trace back to a single setting, a stale credential, or a default that shipped wrong.
- Receiving sensor knocked out of alignment with the sending
- Obstruction blocking the invisible infrared beam path
- Sensor lenses dirty or fogged, reducing beam detection
- Wiring loose, damaged, or incorrectly connected
- Sensors not at the same height from the floor
Before you go — try one of these (they fix most cases).
Official Manufacturer Manual
LiftMaster provides official product documentation through their online manual rather than downloadable PDF. Access setup guides, troubleshooting steps, and product specifications for your LiftMaster Garage Door Opener.
Source: liftmaster.com
Need More Help? LiftMaster Support
Note: The contact information below connects you directly to LiftMaster's official customer support team, not Trunetto. They can help with warranty claims, device replacements, and advanced technical issues.
Accessories owners commonly pair with LiftMaster Garage Door Opener.

Blink Mini - Compact indoor plug-in smart security camera...
Blink Mini - Compact indoor plug-in smart security camera...
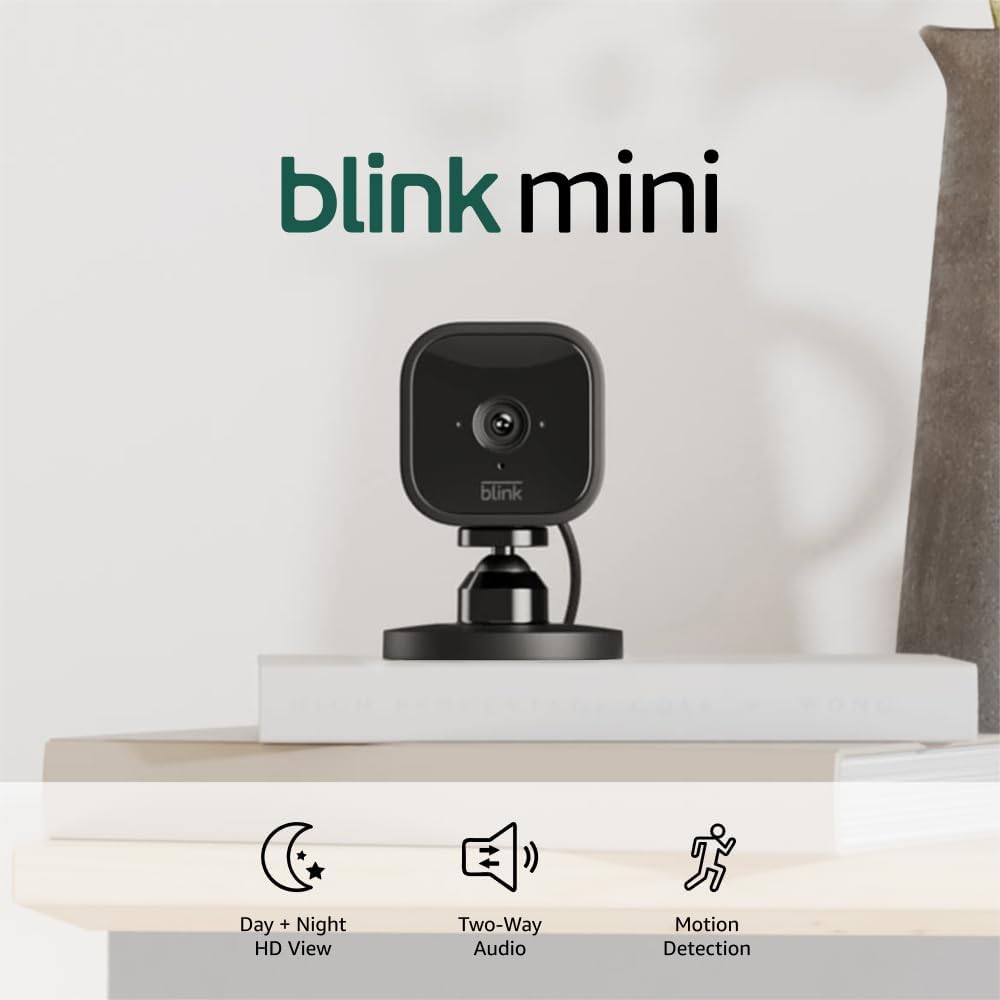
Blink Mini - Compact indoor plug-in smart security camera...
As an Amazon Associate we earn from qualifying purchases.

