
How to Set Up Your Google Nest Cam
- Charge the Camera
- Set Up in Google Home App
- Connect to Wi-Fi
- Mount the Camera
Most users complete this in under 30 minutes
Overview
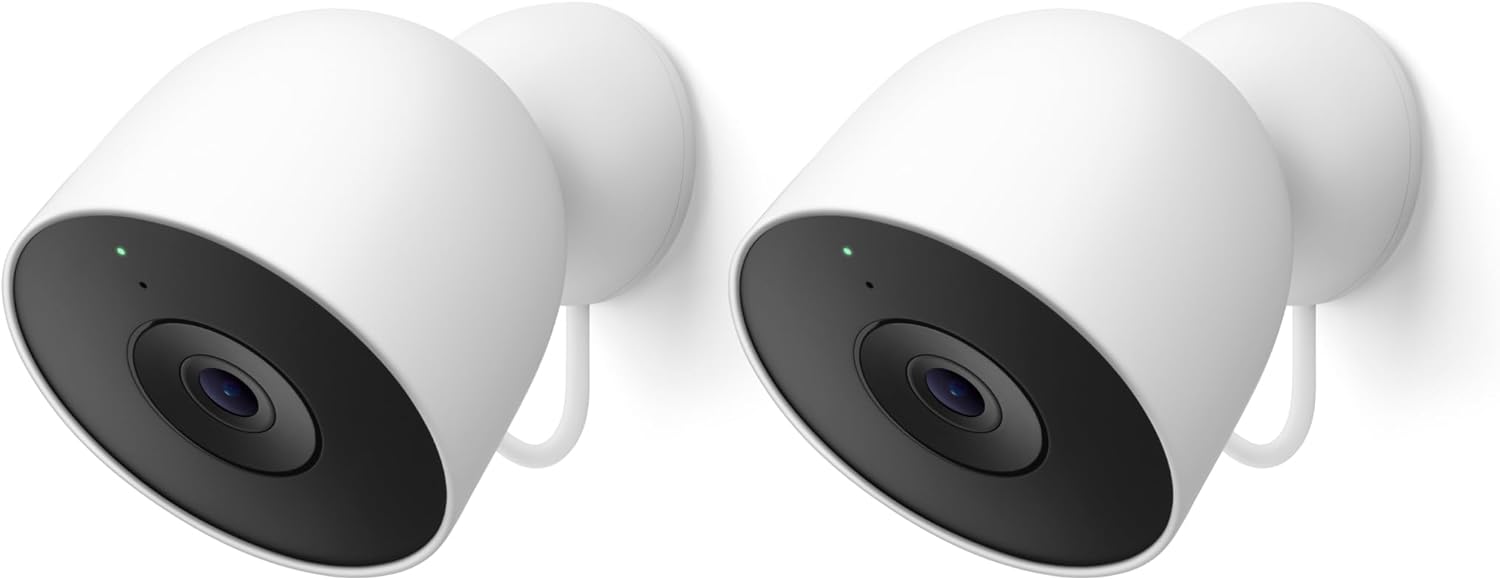
This guide walks you through setting up the Google Nest Cam (Battery). It covers charging the device, connecting it to your Wi-Fi via the Google Home app, and mounting it either indoors or outdoors using the magnetic plate for flexible home security monitoring.
Why This Happens in Real Homes
Setting up the Nest Cam Battery is charging it, adding it in Google Home over Bluetooth, then WiFi. In real homes Bluetooth being off or weak WiFi at the mount stalls it. Charge fully, enable phone Bluetooth for setup, and confirm solid coverage where you plan to mount it.
What's Included
- Nest Cam camera unit
- Magnetic mounting plate
- Wall plate and mounting screws
- Secure loop for outdoor mounting
- USB charging cable and power adapter
- Your smartphone with the Google Home app
Got your materials ready? Here's what to check first.
Before You Start
- A stable Wi-Fi connection
- Smartphone with the Google Home app
- Bluetooth enabled on your phone for setup
- A Google account to link the camera
- A fully charged battery before installation
- A suitable location with a good Wi-Fi signal
Don't skip this step — it breaks everything if you do
While the Nest Cam (Battery) is weather-resistant with an IP54 rating, avoid mounting it in locations with direct exposure to heavy rain or extreme temperatures.
Tools & Requirements
These tools will help you complete this fix.

Power drill
DEWALT 20V MAX Cordless Drill and Impact Driver, Pow...

Screwdriver
STREBITO 155 in 1 Electric Screwdriver Set, Small El...
As an Amazon Associate we earn from qualifying purchases.
Installation Steps
Charge the Camera
Before setting up your Nest Cam, fully charge the battery using the included USB cable and power adapter. A full charge can take up to five hours. The status light will turn solid green when the battery is fully charged and ready for installation.
Needed for this step
DEWALT 20V MAX Cordless Drill and Impact Driver...
This helps complete the fix you are currently reading.
$139.00Set Up in Google Home App
Download the Google Home app and sign in with your Google account. Tap the '+' icon in the top-left corner, select 'Set up device', then 'New device'. The app will guide you to scan the QR code located on the front of your Nest Cam.
Connect to Wi-Fi
Follow the in-app instructions to connect the Nest Cam to your home's Wi-Fi network. You will need to select your network and enter the password. The camera will then connect and may perform a software update, which can take several minutes to complete.
Mount the Camera
Choose a location for your camera with a good Wi-Fi signal. Install the wall plate and magnetic mount using the provided screws. Attach the Nest Cam to the magnetic mount, which allows you to easily adjust the viewing angle. For outdoor use, consider the secure loop.
Installation Tips
Still stuck? This is usually the deeper cause below.
For optimal battery life, position your Nest Cam in a location where it won't detect constant motion.
Before you go — these Google Nest guides fix most remaining issues.
Most popular upgrades chosen by Google Nest Cam (Battery) owners.

Google Nest Cam Indoor (Wired, 3rd Gen) - Security Camera...

Google Nest Cam Indoor (Wired, 3rd Gen) - Security Camera...
Google Nest Cam Outdoor (Wired, 2nd Gen) - 2 Pack - Secur...
As an Amazon Associate we earn from qualifying purchases.
Official Manufacturer Manual
If you need the complete manufacturer documentation for advanced setup, wiring diagrams, or detailed specifications, you can download the official manual below. The manual includes full technical instructions directly from the manufacturer and may help if your issue requires deeper troubleshooting.
Download the Official Google Nest Cam (Battery) ManualSource: support.google.com
Need More Help? Google Nest Support
Note: The contact information below connects you directly to Google Nest's official customer support team, not Trunetto. They can help with warranty claims, device replacements, and advanced technical issues.
How Does Google Nest Compare?
Before replacing your Google Nest device, see how it stacks up against alternatives in our full comparison guides.
Accessories owners commonly pair with Google Nest Cam (Battery).

Google Nest Cam Outdoor or Indoor, Battery - 2nd Generati...

Google Nest Cam Outdoor or Indoor/Battery - 2nd Generatio...
As an Amazon Associate we earn from qualifying purchases.


