Why Is My Google Nest Cam Battery Stuck in a Firmware Update Restart Loop?
- Camera battery below 50 percent when firmware update initiated causing power failure mid-flash
- WiFi signal too weak at camera location causing partial firmware download
- Firmware file corrupted during download due to intermittent network connection
Problem Description
Your Google Nest Cam Battery repeatedly restarts during a firmware update and never completes the process. The camera status light cycles between blinking blue and solid white then reboots. The Google Home app shows the camera as updating or offline. Each restart attempt fails and the camera enters an endless loop that prevents normal operation. This typically occurs when the battery is too low to sustain the firmware flash process or the WiFi connection drops during the download.
Why This Happens in Real Homes
The camera downloads a firmware update, tries to install it, reboots, and then starts the process over in an endless loop. This almost always happens because the battery was too low when the update started — the camera needs at least 50 percent charge to complete an OTA update successfully. Plug it into USB-C power and leave it connected for at least 30 minutes. The camera should finish the update and stabilize. If it keeps looping even on USB power, do a factory reset by pressing and holding the reset button on the back of the camera for 10 seconds until the LED flashes white. After reset, set it up fresh through the Google Home app while keeping it plugged in.
Symptoms
- Camera LED cycles between blinking blue and solid white then restarts repeatedly
- Google Home app shows camera as Updating for more than 30 minutes
- Camera briefly appears online then immediately goes back to updating status
- LED turns off completely for 10 seconds then restarts the blinking pattern
- Camera was working then a firmware update started and it never recovered
- Factory reset does not stop the update loop and camera restarts again
Recognize these? Here's what usually causes it.
Common Causes
- Camera battery below 50 percent when firmware update initiated causing power failure mid-flash
- WiFi signal too weak at camera location causing partial firmware download
- Firmware file corrupted during download due to intermittent network connection
- Camera overheating in direct sunlight causing thermal shutdown during update
- Google server issue delivering incomplete firmware package to camera
- Previous firmware update partially applied leaving camera in inconsistent state
Most fixes happen in the first 3 steps.
Do not repeatedly factory reset the camera in quick succession. Each reset followed by an immediate firmware download puts stress on the flash memory. Allow at least 10 minutes between reset attempts and always charge to full before starting the process.
Tools & Requirements
Step-by-Step Solution
Charge Battery to Full Before Update
The most common cause of firmware update loops is insufficient battery. The Nest Cam Battery needs at least 50 percent charge to safely complete a firmware update but 100 percent is recommended. Bring the camera indoors and connect it to the USB-C charging cable. Charge until the Google Home app or the LED indicator shows full charge. This usually takes 4 to 5 hours from empty. Do not disconnect the charging cable until the update completes. Keeping the camera plugged in during the update eliminates the possibility of power failure mid-flash.
Move Camera Near Router Temporarily
Place the camera within 3 metres of your WiFi router while it updates. Firmware updates download a large file that must transfer completely without interruption. A weak WiFi signal causes packet loss which corrupts the firmware file and forces the camera to restart and retry. After placing the camera near the router power cycle it by holding the reset button on the back for 5 seconds then releasing. The camera will boot and retry the firmware update over the strong WiFi connection.
Wait the Full Update Cycle
Nest Cam firmware updates can take up to 45 minutes to complete especially on slower WiFi connections. The camera may restart 2 to 3 times during a normal update process. Do not unplug power or press any buttons during this time. The LED will cycle through several patterns. Blinking blue means downloading. Solid blue means installing. Solid white means complete. If the camera has been cycling for less than 60 minutes let it continue. Many users interrupt what is actually a normal multi-stage update by intervening too early.
Hard Reset and Re-Add Camera
If the camera has been stuck for more than 60 minutes with the charging cable connected and near the router perform a factory reset. Press and hold the reset button on the back of the camera for 15 seconds until the LED flashes yellow. Release the button. The camera will reset to factory defaults and the LED will eventually pulse blue indicating it is ready for setup. Open the Google Home app tap Add then Set up device. Follow the prompts to add the camera fresh. It will download the latest firmware as part of the setup process.
Verify Camera Is Updated and Stable
After the camera completes setup and firmware installation check the firmware version. In Google Home tap the camera then tap the gear icon then Device Information. Note the firmware version and compare it with the latest version listed on the Google Nest support page. Let the camera run undisturbed for 24 hours connected to power and on strong WiFi. Some cameras receive a second staged update within 24 hours of the initial setup. If the camera remains online and recording for a full day the firmware update loop is resolved.
Quick Solutions
Still having issues? This is usually the deeper cause below.
If drain continues after replacing batteries, check the event history — a stuck-open sensor or rapid polling loop burns through batteries in days.
Enable automatic firmware updates in Google Home settings but keep the camera connected to the charging cable overnight when updates are most likely to install. Google typically pushes Nest Cam firmware updates between midnight and 6 AM local time.
Firmware updates that wipe settings are more common than brands admit — many devices silently reset to factory defaults on an OTA push with no warning.
- Camera battery below 50 percent
- WiFi signal too weak at camera location
- Firmware file corrupted during download
- Camera overheating in direct sunlight
- Google server issue delivering incomplete firmware package to camera
Before you go — try one of these (they fix most cases).
Most popular upgrades chosen by Google Nest Cam Battery owners.

Google Nest Cam Indoor (Wired, 3rd Gen) - Security Camera...

Google Nest Cam Indoor (Wired, 3rd Gen) - Security Camera...
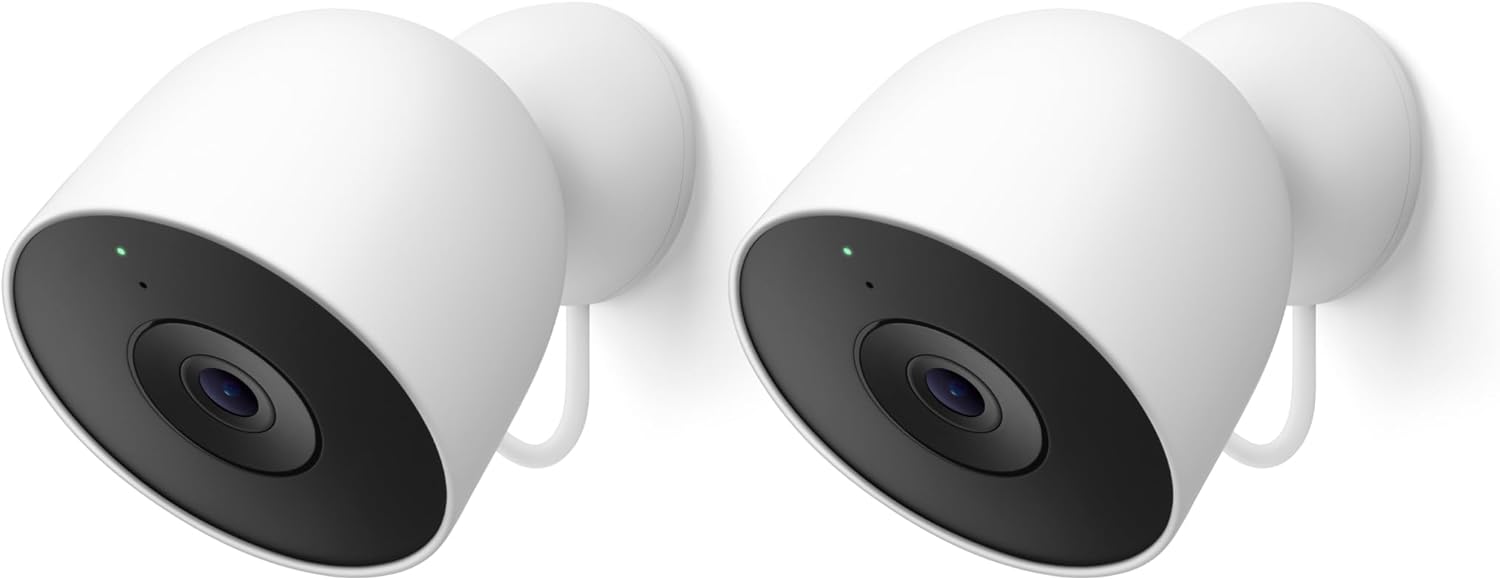
Google Nest Cam Outdoor (Wired, 2nd Gen) - 2 Pack - Secur...
As an Amazon Associate we earn from qualifying purchases.
Official Manufacturer Manual
If you need the complete manufacturer documentation for advanced setup, wiring diagrams, or detailed specifications, you can download the official manual below. The manual includes full technical instructions directly from the manufacturer and may help if your issue requires deeper troubleshooting.
Download the Official Google Nest Cam Battery ManualSource: support.google.com
Need More Help? Google Nest Support
Note: The contact information below connects you directly to Google Nest's official customer support team, not Trunetto. They can help with warranty claims, device replacements, and advanced technical issues.
How Does Google Nest Compare?
Before replacing your Google Nest device, see how it stacks up against alternatives in our full comparison guides.
Accessories owners commonly pair with Google Nest Cam Battery.

Google Nest Cam Outdoor or Indoor, Battery - 2nd Generati...

Google Nest Cam Outdoor or Indoor/Battery - 2nd Generatio...
As an Amazon Associate we earn from qualifying purchases.