

Why Does My Nest Cam Battery Keep Falling Off the Magnetic Mount?
- Mounting surface not magnetic or too thin
- Dirt or debris between camera and mount reducing magnetic grip
- High temperatures weakening magnet temporarily
Problem Description
Your Nest Cam Battery uses a magnetic mount but the camera keeps falling off or slowly sliding down. The magnet seemed strong at first but now the camera sags or drops especially in warm weather. This is a common complaint with the outdoor battery version.
Why This Happens in Real Homes
The magnetic mount works great on smooth surfaces like vinyl siding and aluminum, but it cannot grip textured surfaces like stucco, brick, or rough wood. The magnet is just barely strong enough to hold the camera's weight on a perfectly flat surface, so any texture reduces contact area and it falls. Extreme heat above 110°F also weakens magnetic force, which is a problem in Arizona and Texas summers where mounting surfaces can hit 140°F in direct sun. For any permanent outdoor installation, use the included screw mount with wall anchors instead. If you insist on the magnetic mount, mount a small flat metal plate to the wall first with screws, then attach the magnet to that plate.
Symptoms
- Camera falls off mount completely onto ground
- Camera slowly slides down wall over days
- Magnet feels weak compared to when new
- Camera stays mounted but tilts downward over time
- Mount works fine indoors but fails outdoors in heat
- Camera fell and cracked after mounting failure
Recognize these? Here's what usually causes it.
Common Causes
- Mounting surface not magnetic or too thin
- Dirt or debris between camera and mount reducing magnetic grip
- High temperatures weakening magnet temporarily
- Using third-party mount with weaker magnet
- Camera battery weight exceeds mount design tolerance
- Metal plate behind surface interfering with magnetic field
Most fixes happen in the first 3 steps.
Do not mount Nest Cam Battery above areas where people walk or sit. If the camera falls it could cause injury. Use screw mount for elevated positions.
Tools & Requirements
These tools will help you complete this fix.

Screwdriver
STREBITO 155 in 1 Electric Screwdriver Set, Small El...

Wall anchors for your surface type
370pcs Drywall Anchors and Screws Assortment Kit, 5 ...
As an Amazon Associate we earn from qualifying purchases.
Step-by-Step Solution
Install Metal Plate Correctly
If mounting on wood siding vinyl or stucco you must use the included metal plate. Peel off the adhesive backing and stick the plate to your surface. Wait 24 hours for adhesive to fully cure before mounting camera. The magnetic mount only works when attached to metal or this plate.
Needed for this step
370pcs Drywall Anchors and Screws Assortment Ki...
This helps complete the fix you are currently reading.
$12.99Clean Mount Surfaces
Remove camera from mount. Wipe the back of the camera and the mount surface with a slightly damp cloth. Dry completely. Dust dirt and pollen reduce magnetic grip significantly. Do this monthly for outdoor cameras. Even a thin layer of dust can cut magnetic strength in half.
Reduce Heat Exposure
Magnets lose strength in high heat and the Nest Cam battery generates heat while recording. If mounted in direct sun the camera can exceed 100F weakening the magnet temporarily. Install a small shade above the camera or mount on a north-facing wall. Camera will grip better when cooler.
Use Screw Mount for Outdoors
For permanent outdoor installation use the screw mount holes on the magnetic plate. Drill two holes in your surface and use appropriate anchors for your wall type. This provides physical security beyond just magnetic grip. The camera still attaches magnetically but the plate cannot fall.
Consider Wired Power
The battery adds significant weight to the camera. If you can run the weatherproof charging cable permanently the camera will use power from the cable instead of battery. This reduces weight the magnet must hold and eliminates the need to remove camera for charging.
Quick Solutions
Still having issues? This is usually the deeper cause below.
If drain continues after replacing batteries, check the event history — a stuck-open sensor or rapid polling loop burns through batteries in days.
The outdoor Nest Cam battery works down to -4F but magnet performance degrades below freezing. Check more frequently in winter.
App battery indicators run 15–20% behind actual charge levels — by the time the low warning appears, the device has been struggling for days.
- Mounting surface not magnetic or too thin
- Dirt or debris between camera and mount reducing magnetic
- High temperatures weakening magnet temporarily
- Using third-party mount with weaker magnet
- Camera battery weight exceeds mount design tolerance
Before you go — try one of these (they fix most cases).
Most popular upgrades chosen by Nest Cam Battery owners.

Google Nest Cam Indoor (Wired, 3rd Gen) - Security Camera...

Google Nest Cam Indoor (Wired, 3rd Gen) - Security Camera...
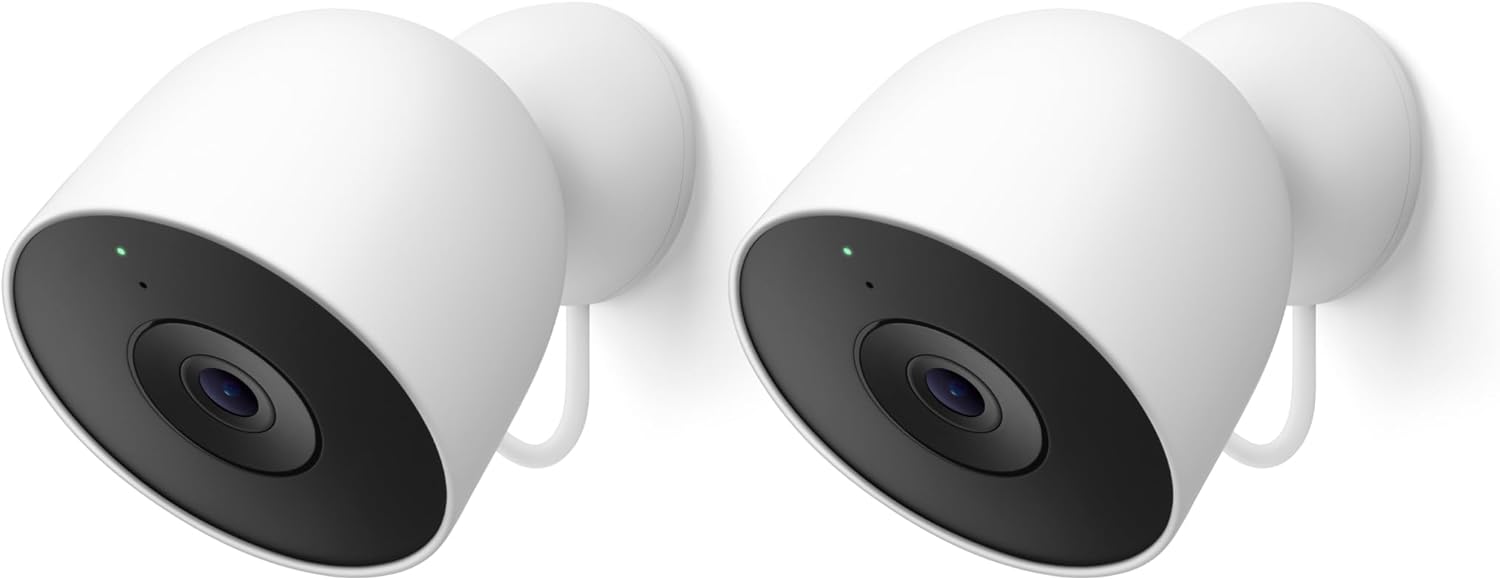
Google Nest Cam Outdoor (Wired, 2nd Gen) - 2 Pack - Secur...
As an Amazon Associate we earn from qualifying purchases.
Official Manufacturer Manual
If you need the complete manufacturer documentation for advanced setup, wiring diagrams, or detailed specifications, you can download the official manual below. The manual includes full technical instructions directly from the manufacturer and may help if your issue requires deeper troubleshooting.
Download the Official Nest Cam Battery ManualSource: support.google.com
Need More Help? Google Nest Support
Note: The contact information below connects you directly to Google Nest's official customer support team, not Trunetto. They can help with warranty claims, device replacements, and advanced technical issues.
How Does Google Nest Compare?
Before replacing your Google Nest device, see how it stacks up against alternatives in our full comparison guides.
Accessories owners commonly pair with Nest Cam Battery.

Google Nest Cam Outdoor or Indoor, Battery - 2nd Generati...

Google Nest Cam Outdoor or Indoor/Battery - 2nd Generatio...
As an Amazon Associate we earn from qualifying purchases.


