

How Do I Install the Nest Cam with Floodlight?
- Existing fixture wiring not compatible
- Line voltage not switched off before wiring
- Mounting bracket not sealed against weather
Problem Description
Your Google Nest Nest Cam Floodlight is having trouble during initial setup, installation, or configuration. Getting the Nest Cam Floodlight properly connected and configured is essential before it can be controlled through the Google Nest app or integrated with your smart home system. Specifically, the issue involves installation. The steps below walk you through diagnosing the root cause and applying proven fixes so your Nest Cam Floodlight works reliably again.
Why This Happens in Real Homes
Installing the Nest Cam with Floodlight replaces a wired fixture, so the job is line-voltage wiring, a weatherproof mount, and WiFi at the eave. In real homes killing the breaker, sealing the mount, and having WiFi reach the fixture are what matter. Cut power at the breaker, wire to the existing fixture leads, seal the mount, and finish setup in the app.
Symptoms
- Camera shows offline in the app
- Live view fails to load or times out
- Motion detection not triggering alerts
- Night vision appears too dark or washed out
- Recorded clips are missing or corrupted
- Two-way audio not working
- Camera keeps disconnecting from WiFi
Recognize these? Here's what usually causes it.
Common Causes
- Existing fixture wiring not compatible
- Line voltage not switched off before wiring
- Mounting bracket not sealed against weather
- WiFi weak at the fixture location
- Wire connections loose in the junction box
- Wrong gang box or mounting depth
- App setup skipped after wiring
- Firmware update needed on first setup
Most fixes happen in the first 3 steps.
Security cameras should be installed at least 8 feet high to prevent tampering. Check local laws regarding recording audio and video. Never aim cameras at neighboring private property. Outdoor cameras should be rated IP65 or higher for weather resistance.
Tools & Requirements
These tools will help you complete this fix.

Drill optional
DEWALT 20V MAX Cordless Drill and Impact Driver, Pow...

Level
9 Inch Torpedo Level Magnetic, Shock-Proof Small Lev...

Screwdriver
STREBITO 155 in 1 Electric Screwdriver Set, Small El...
As an Amazon Associate we earn from qualifying purchases.
Step-by-Step Solution
Turn off the breaker and remove the old fixture
The Nest Cam with Floodlight replaces an existing outdoor light fixture. Turn off the circuit breaker for the light. Remove the existing fixture and note the wiring — you should have hot (black), neutral (white), and ground (green or bare copper). If there is no neutral wire, the Nest Cam Floodlight cannot be installed. Take a photo of the existing wiring before disconnecting.
Mount the mounting plate
Attach the Nest Cam Floodlight mounting plate to the junction box using the included hardware. Thread the house wires through the plate. The mounting plate must be level — use the built-in bubble level or a separate level. A crooked plate means a crooked camera and floodlights, which affects both lighting coverage and camera field of view.
Needed for this step
9 Inch Torpedo Level Magnetic, Shock-Proof Smal...
This helps complete the fix you are currently reading.
$6.99Connect the wiring
Connect wires: black to black (hot), white to white (neutral), green to ground. Secure each connection with wire nuts and wrap with electrical tape for extra protection. Tuck the connections neatly into the junction box. Do not let bare wire touch the metal box or mounting plate. The Nest Cam Floodlight draws more power than a simple light fixture, so make sure all connections are tight.
Attach the camera and floodlight assembly
Mount the camera and floodlight unit onto the mounting plate — it secures with a set screw. Aim the floodlights to illuminate the target area. The floodlight heads are adjustable — angle them to cover the driveway, walkway, or yard. The camera has a fixed lens but provides a wide field of view. Turn the breaker back on and verify the unit powers up.
Set up in the Google Home app
Open the Google Home app and add the Nest Cam Floodlight as a new device. Scan the QR code on the camera. Connect to your 2.4GHz WiFi. After setup, configure motion sensitivity, activity zones, and floodlight behavior (auto-on with motion, scheduled, or manual). The floodlight provides 2400 lumens of light and has adjustable brightness in the app.
Quick Solutions
Still having issues? This is usually the deeper cause below.
If flickering only happens on dimming, the issue is almost always the dimmer's minimum-load setting, not the bulb — it's drawing less current than the dimmer expects.
Set up activity zones to monitor only the areas that matter like your front porch and driveway and exclude the street. This dramatically reduces false alerts while ensuring you never miss an actual event at your property.
This issue almost always looks more complex than it is — the majority of cases trace back to a single setting, a stale credential, or a default that shipped wrong.
- Existing fixture wiring not compatible
- Line voltage not switched off before wiring
- Mounting bracket not sealed against weather
- WiFi weak at the fixture location
- Wire connections loose in the junction box
Before you go — try one of these (they fix most cases).
Most popular upgrades chosen by Nest Cam Floodlight owners.

Google Nest Cam Indoor (Wired, 3rd Gen) - Security Camera...

Google Nest Cam Indoor (Wired, 3rd Gen) - Security Camera...
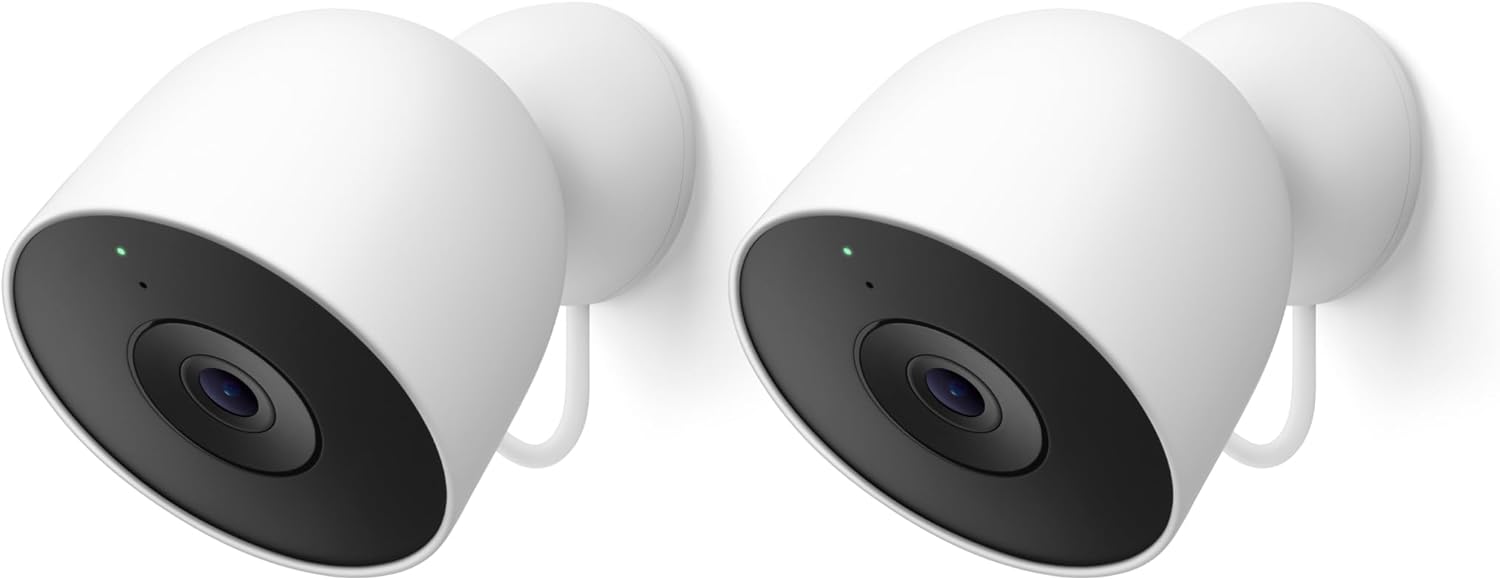
Google Nest Cam Outdoor (Wired, 2nd Gen) - 2 Pack - Secur...
As an Amazon Associate we earn from qualifying purchases.
Official Manufacturer Manual
Google Nest provides official product documentation through their online manual rather than downloadable PDF. Access setup guides, troubleshooting steps, and product specifications for your Nest Cam Floodlight.
Source: support.google.com
Need More Help? Google Nest Support
Note: The contact information below connects you directly to Google Nest's official customer support team, not Trunetto. They can help with warranty claims, device replacements, and advanced technical issues.
How Does Google Nest Compare?
Before replacing your Google Nest device, see how it stacks up against alternatives in our full comparison guides.
Accessories owners commonly pair with Nest Cam Floodlight.

Google Nest Cam Outdoor or Indoor, Battery - 2nd Generati...

Google Nest Cam Outdoor or Indoor/Battery - 2nd Generatio...
As an Amazon Associate we earn from qualifying purchases.


