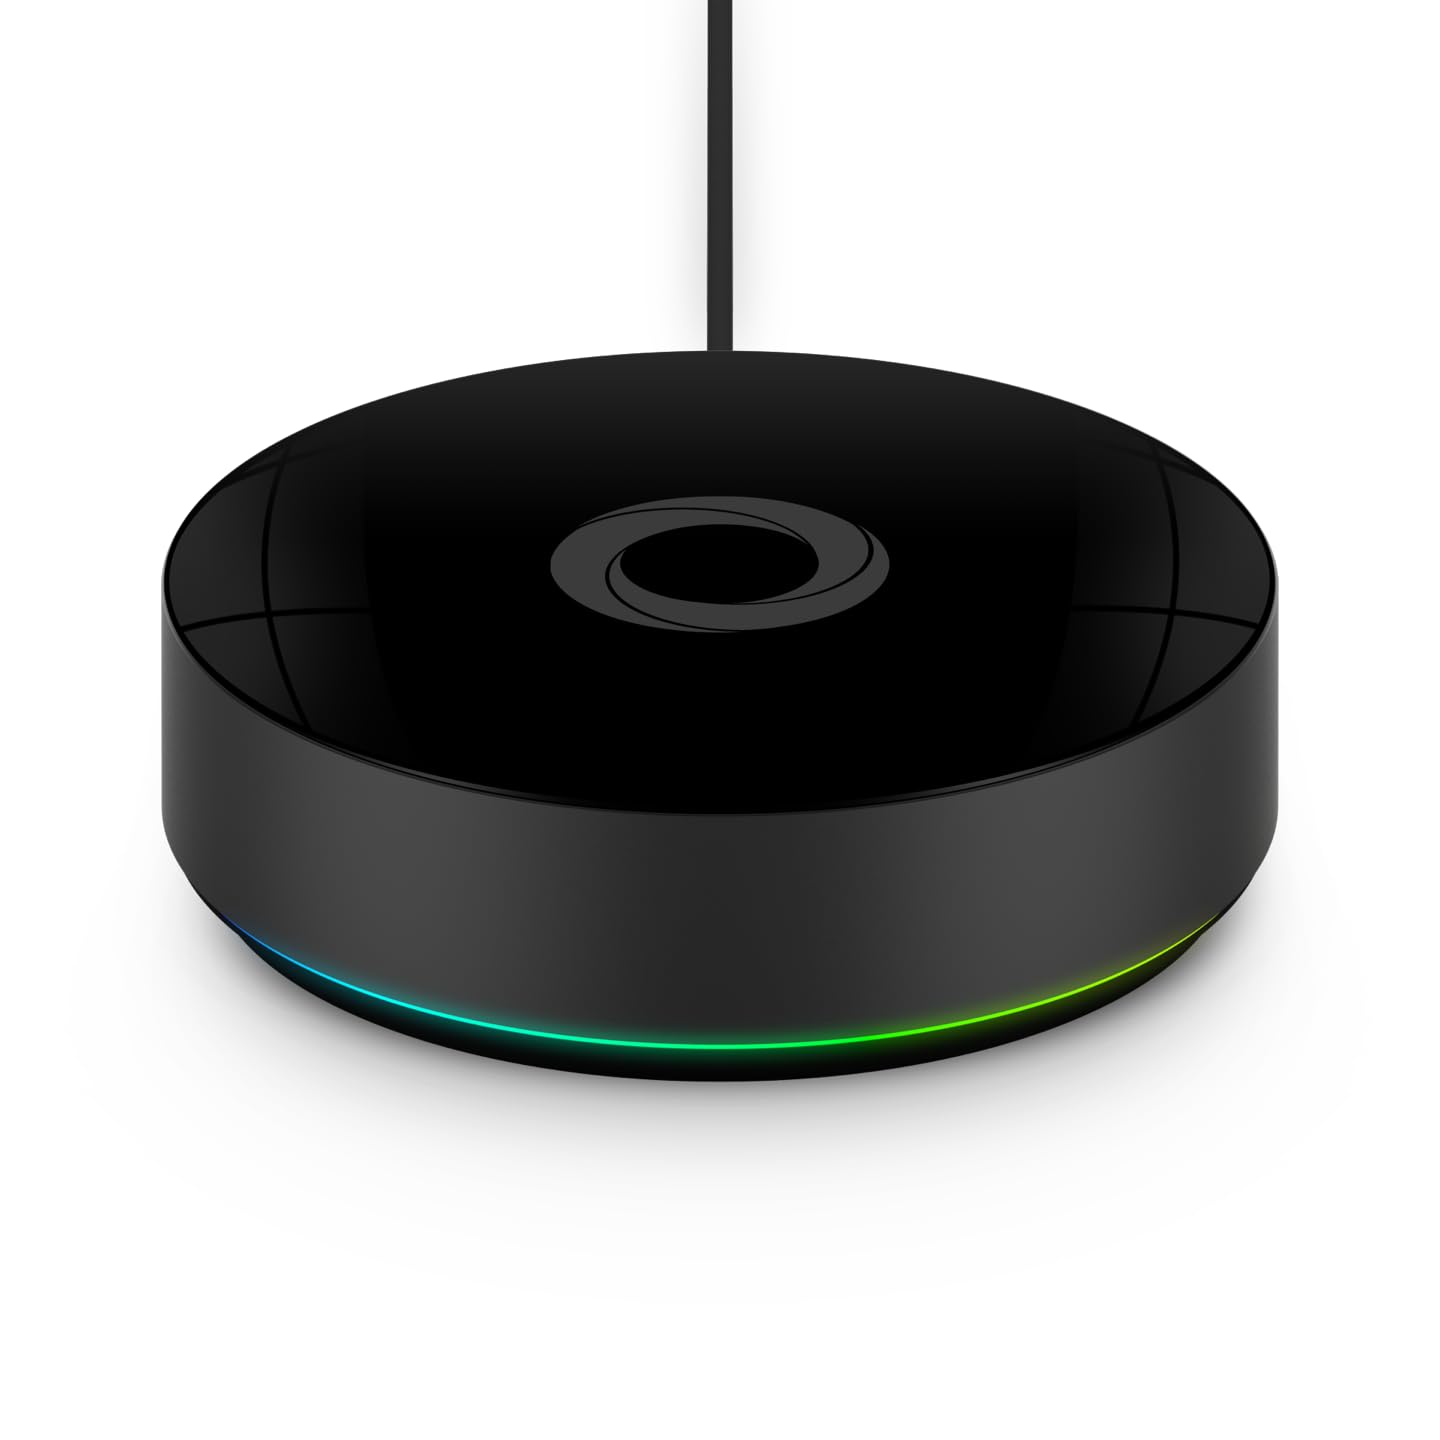
How Do I Set Up Z-Wave on My Samsung SmartThings Hub?
- Hub not put into Z-Wave inclusion mode before pairing
- Device still associated with a previous network (needs exclusion)
- Device too far from the hub or any Z-Wave repeater
Problem Description
You want to add Z-Wave devices to your Samsung SmartThings Hub. The hub supports Z-Wave Plus and requires you to put it in inclusion (pairing) mode before the device can join. Z-Wave devices must be within range of the hub or another Z-Wave device acting as a repeater. This guide covers entering inclusion mode, pairing, and assigning devices.
Why This Happens in Real Homes
Adding Z-Wave to a SmartThings hub is a two-side handshake: the hub has to be in Z-Wave inclusion mode (which starts when you begin Add Device / scan nearby in the app) and the device has to be in its own pairing mode at the same time. The most common snag is a device that was previously paired elsewhere - even a new one from a store demo - which carries a stale association and refuses to join until you run a Z-Wave exclusion on it first. Any SmartThings hub can perform a general exclusion, so exclude, then include.
Two hardware realities matter. First, Z-Wave is a mesh, and inclusion (especially secure inclusion) wants a strong link, so pair the device close to the hub and then move it to its final spot; mains-powered Z-Wave devices act as repeaters that extend range for battery devices at the edges. Second - and this catches people upgrading - the SmartThings Station has no Z-Wave radio at all; it does Zigbee, Thread, and Matter only. If you need Z-Wave, use an Aeotec Smart Home Hub (the SmartThings Hub V3), which keeps the Z-Wave radio. A failed include can also leave a ghost node that blocks the next attempt, so clear ghost nodes in the hub's Z-Wave utilities before retrying.
Symptoms
- Z-Wave device won't enter or be found in inclusion mode
- Hub doesn't discover the Z-Wave device
- Device joins but shows unsecure or partial
- Pairing only works with the device next to the hub
- Device joins then drops off the mesh
- Previously-owned device won't include
- Z-Wave option missing on a SmartThings Station
- Included device won't respond to commands
Recognize these? Here's what usually causes it.
Common Causes
- Hub not put into Z-Wave inclusion mode before pairing
- Device still associated with a previous network (needs exclusion)
- Device too far from the hub or any Z-Wave repeater
- Trying to add Z-Wave on a SmartThings Station (no Z-Wave radio)
- Ghost node from a prior failed include blocking the mesh
- Weak Z-Wave mesh with no mains-powered repeaters
- Device not in its own pairing mode
- Hub firmware out of date
Most fixes happen in the first 3 steps.
Do not factory reset your hub unless absolutely necessary as this removes all paired devices, automations, and settings. You will need to re-pair every single device from scratch which can take hours for a large setup. Always try a simple restart first.
Tools & Requirements
Step-by-Step Solution
Put the hub in Z-Wave inclusion mode
In the SmartThings app, tap + (Add Device) and select the device type you want to pair, or tap Scan Nearby. The hub enters inclusion mode and listens for Z-Wave devices trying to join. Alternatively, go to the hub settings and select Z-Wave Utilities > Add Z-Wave Device. The hub stays in inclusion mode for about 60 seconds. During this window, trigger pairing on the Z-Wave device (usually by pressing a button on the device or following the manufacturer instructions for inclusion).
Pair the Z-Wave device within 10 feet of the hub
For initial pairing, bring the Z-Wave device close to the SmartThings hub — within 10 feet. Z-Wave pairing uses a low-power signal for security, so range is limited during inclusion. Once paired, you can move the device to its permanent location. If the device is hardwired (a light switch or outlet), you may need to pair it in place — in that case, bring a portable SmartThings hub closer, or use the Z-Wave exclusion and re-inclusion process with a longer timeout.
Exclude the device first if pairing fails
If a Z-Wave device will not pair, it may still be registered to a previous hub or have a stale network entry. In the SmartThings app, go to Hub Settings > Z-Wave Utilities > Z-Wave Exclusion. Tap Start and then trigger the device pairing button. The hub sends an exclusion command that removes the device from any Z-Wave network. After exclusion, immediately switch to inclusion mode and pair the device. Always exclude before including if a device was previously used with another hub.
Check for Z-Wave ghost nodes
If Z-Wave devices are slow to respond or automations lag, ghost nodes may be clogging the mesh. Ghost nodes are failed pairing attempts that leave orphan entries in the Z-Wave routing table. In the SmartThings app, go to the hub settings and look at the Z-Wave device list. Any entry with no name, no manufacturer, or a blank status is likely a ghost. Remove it. If the remove fails, try the exclusion process. Ghost nodes cause the hub to waste time trying to route through non-existent devices.
Run a Z-Wave network repair
After adding or removing Z-Wave devices, run a network repair to optimize the mesh routing. In the SmartThings app, go to Hub Settings > Z-Wave Utilities > Z-Wave Network Repair. The hub sends a network heal command to every Z-Wave device, asking it to rediscover its neighbors. This takes 15-30 minutes depending on the number of devices. Check the hub event log for repair results — individual device failures indicate range or power issues with those specific devices.
Quick Solutions
Still having issues? This is usually the deeper cause below.
If the hub reconnects then drops every few minutes, check for an IP conflict — two devices sharing the same DHCP address fight each other continuously.
Place your hub in a central location in your home, elevated off the floor and away from your WiFi router by at least 3 feet. This provides the best Zigbee and Z-Wave signal coverage to all corners of your house.
Hub disconnections that cycle repeatedly are almost always IP conflicts — two devices fighting over the same DHCP lease after a router restart.
- Hub not put into Z-Wave inclusion mode before pairing
- Device still associated with a previous network (needs exclusion)
- Device too far from the hub or any Z-Wave
- Trying to add Z-Wave on a SmartThings Station (no
- Ghost node from a prior failed include
Before you go — try one of these (they fix most cases).
Official Manufacturer Manual
Samsung SmartThings provides official product documentation through their online manual rather than downloadable PDF. Access setup guides, troubleshooting steps, and product specifications for your Samsung SmartThings Hub.
Source: samsung.com
Need More Help? Samsung SmartThings Support
Note: The contact information below connects you directly to Samsung SmartThings's official customer support team, not Trunetto. They can help with warranty claims, device replacements, and advanced technical issues.