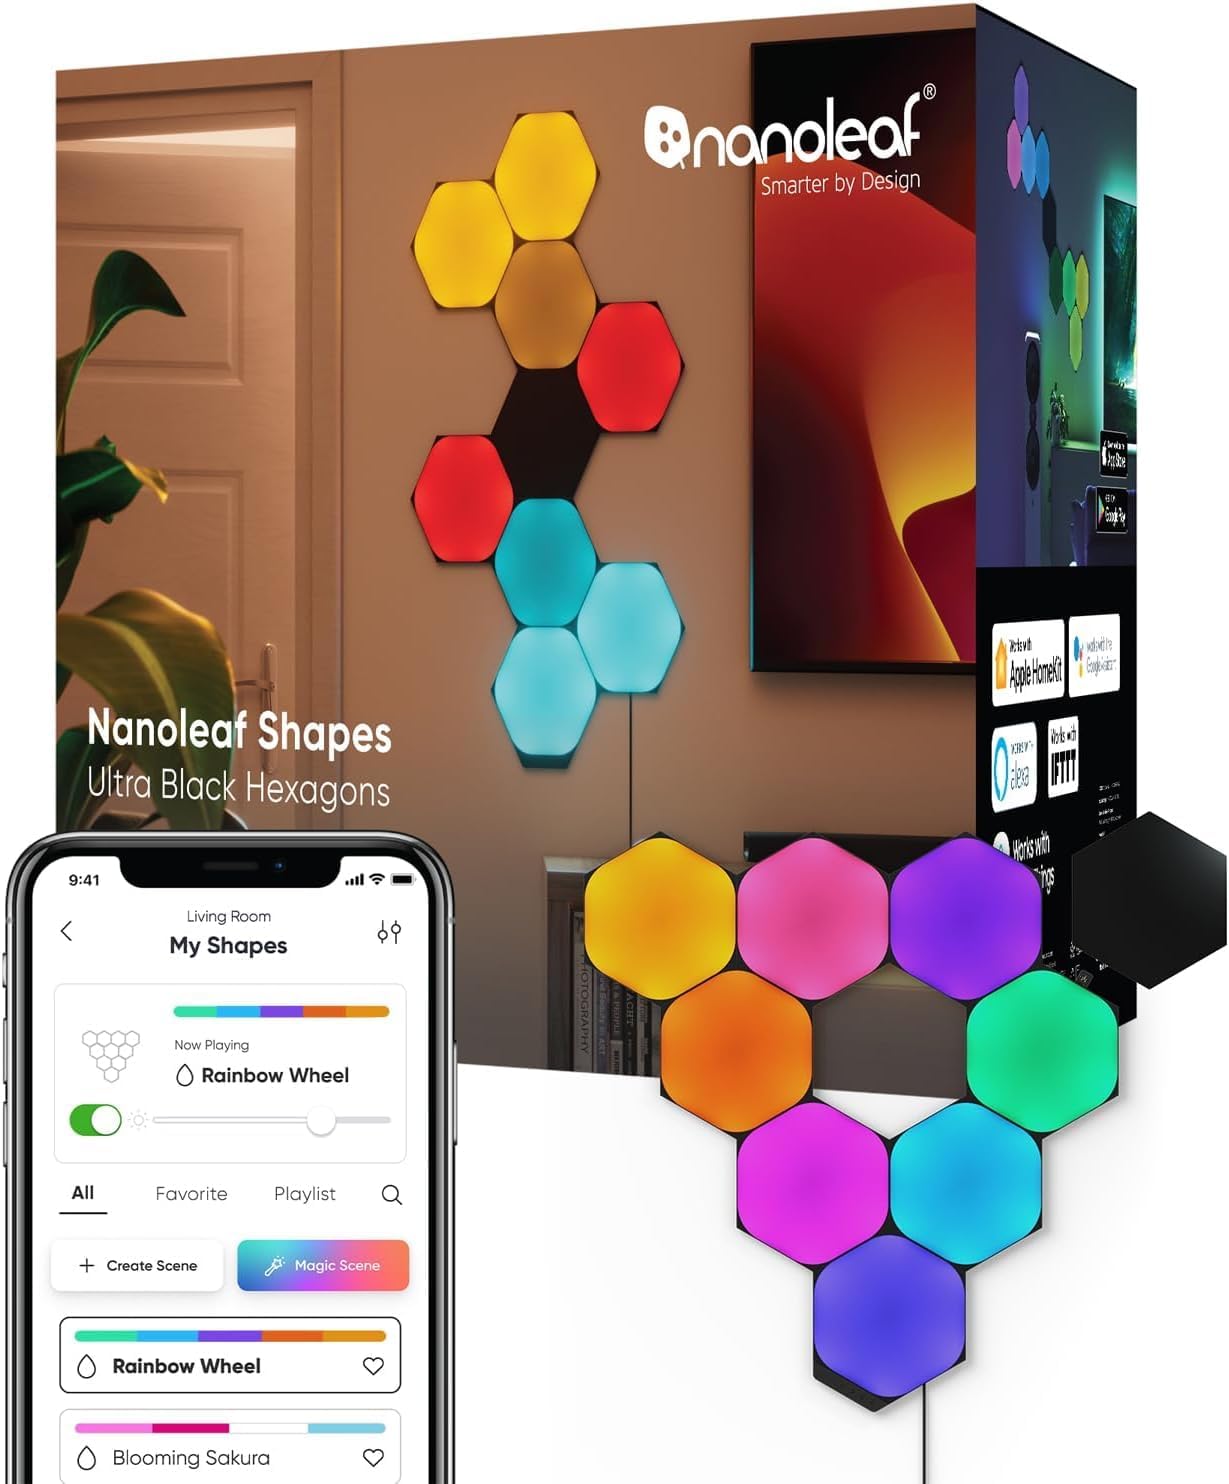
How to Mount Nanoleaf Shapes Light Panels on Your Wall
- Plan Your Layout Design
- Check the Wall Surface
- Mount the Controller Panel First
- Connect and Mount Remaining Panels
- Power On and Pair with App
Most users complete this in under 45 minutes
Overview
You just unboxed your Nanoleaf Shapes starter kit and want to create a custom light panel layout on your wall. This guide covers planning your design, using mounting tape or screw mounts, connecting panels with linkers, plugging in the controller, and pairing with the Nanoleaf app for scenes and music sync.
Why This Happens in Real Homes
Nanoleaf Shapes mount with adhesive tape and snap together with small linkers, so a clean, smooth wall and firm pressure are what keep them up — most "falling off" problems are a dusty or textured surface, or tape that wasn't pressed hard enough. Plan the layout before you commit, since re-sticking weakens the adhesive.
Wipe the wall clean and dry, lay out your design (the app's AR planner helps), and press each panel firmly against the wall for a solid bond, seating the linkers fully so panels connect electrically. On textured or delicate walls, use the screw mounting option instead of tape. Keep the controller within reach of an outlet, and use fresh tape if you ever reposition a panel.
What's Included
- Mounting Shapes panels
- Panels won't stick
- Adhesive not holding
- Layout/design questions
- Connectors/linkers questions
- Controller placement
- Panels fall off
- Repositioning concerns
Got your materials ready? Here's what to check first.
Before You Start
- Wall surface not clean/smooth
- Adhesive mounting tape not pressed firmly
- Textured or uneven wall
- Too heavy a layout for the tape
- Linkers not seating panels together
- Controller placed poorly
- Humidity/temperature affecting adhesive
- Repositioning weakened the tape
Don't skip this step — it breaks everything if you do
If removing panels later pull the mounting tape tabs straight down parallel to the wall surface. Pulling panels straight out from the wall will damage paint or drywall. Use dental floss behind the tape if tabs break.
Tools & Requirements
These tools will help you complete this fix.

Level
9 Inch Torpedo Level Magnetic, Shock-Proof Small Lev...

Lint-free cloth
WHOOSH! Pro 16.9 fl oz Refillable TV Screen Cleaner ...

Isopropyl alcohol
ForPro Professional Collection 99% Isopropyl Alcohol...
As an Amazon Associate we earn from qualifying purchases.
Installation Steps
Plan Your Layout Design
Use the included layout template card or open the Nanoleaf app and go to the Layout Assistant to design your pattern. Decide how many panels you want in the design and which wall location gives the best visibility. Lay all panels on the floor in your planned arrangement to verify you have enough linker connectors. The controller panel needs to be positioned where the power cable can reach a wall outlet without stretching.
Prepare the Wall Surface
Clean the wall area where panels will be mounted using isopropyl alcohol and a lint-free cloth. Remove all dust grease and debris. Let the surface dry for two minutes. The mounting tape adhesive bonds best to smooth flat painted surfaces. If your wall is textured brick or stucco use the screw mount plates instead of tape. For screw mounts drill pilot holes and secure each plate with the included screws.
Needed for this step
WHOOSH! Pro 16.9 fl oz Refillable TV Screen Cle...
This helps complete the fix you are currently reading.
$19.99Mount the Controller Panel First
Peel the backing from two mounting tape strips and press them onto the back of the controller panel. Hold the panel against the wall at your starting position using a level to make sure it is straight. Press firmly against the wall for 30 seconds applying even pressure across the entire panel. This first panel sets the alignment for your entire layout so take extra care that it is level and correctly positioned.
Needed for this step
9 Inch Torpedo Level Magnetic, Shock-Proof Smal...
This helps complete the fix you are currently reading.
$6.99Connect and Mount Remaining Panels
Insert a linker connector into an open port on the controller panel. Take your next panel and snap it onto the exposed end of the linker. You should hear a click when the linker seats fully. Apply mounting tape to the back of this panel and press it against the wall for 30 seconds. Continue adding panels one at a time connecting each to its neighbor via a linker and mounting it. Check alignment after each panel.
Power On and Pair with App
Connect the power supply cable to the controller panel port. Plug the power supply into a wall outlet. All panels should illuminate confirming the electrical chain is complete. If any panel stays dark check its linker connections. Open the Nanoleaf app and tap the plus icon to add a device. The app discovers the controller via Bluetooth then connects via WiFi or Thread. Once paired you can set scenes colors music sync and schedules.
Installation Tips
Still stuck? This is usually the deeper cause below.
Wait at least 24 hours after mounting before adjusting any panels. The mounting tape adhesive reaches full bond strength after a full day and panels repositioned too early may fall off the wall overnight.
Before you go — these Nanoleaf guides fix most remaining issues.
Most popular upgrades chosen by Nanoleaf Shapes owners.
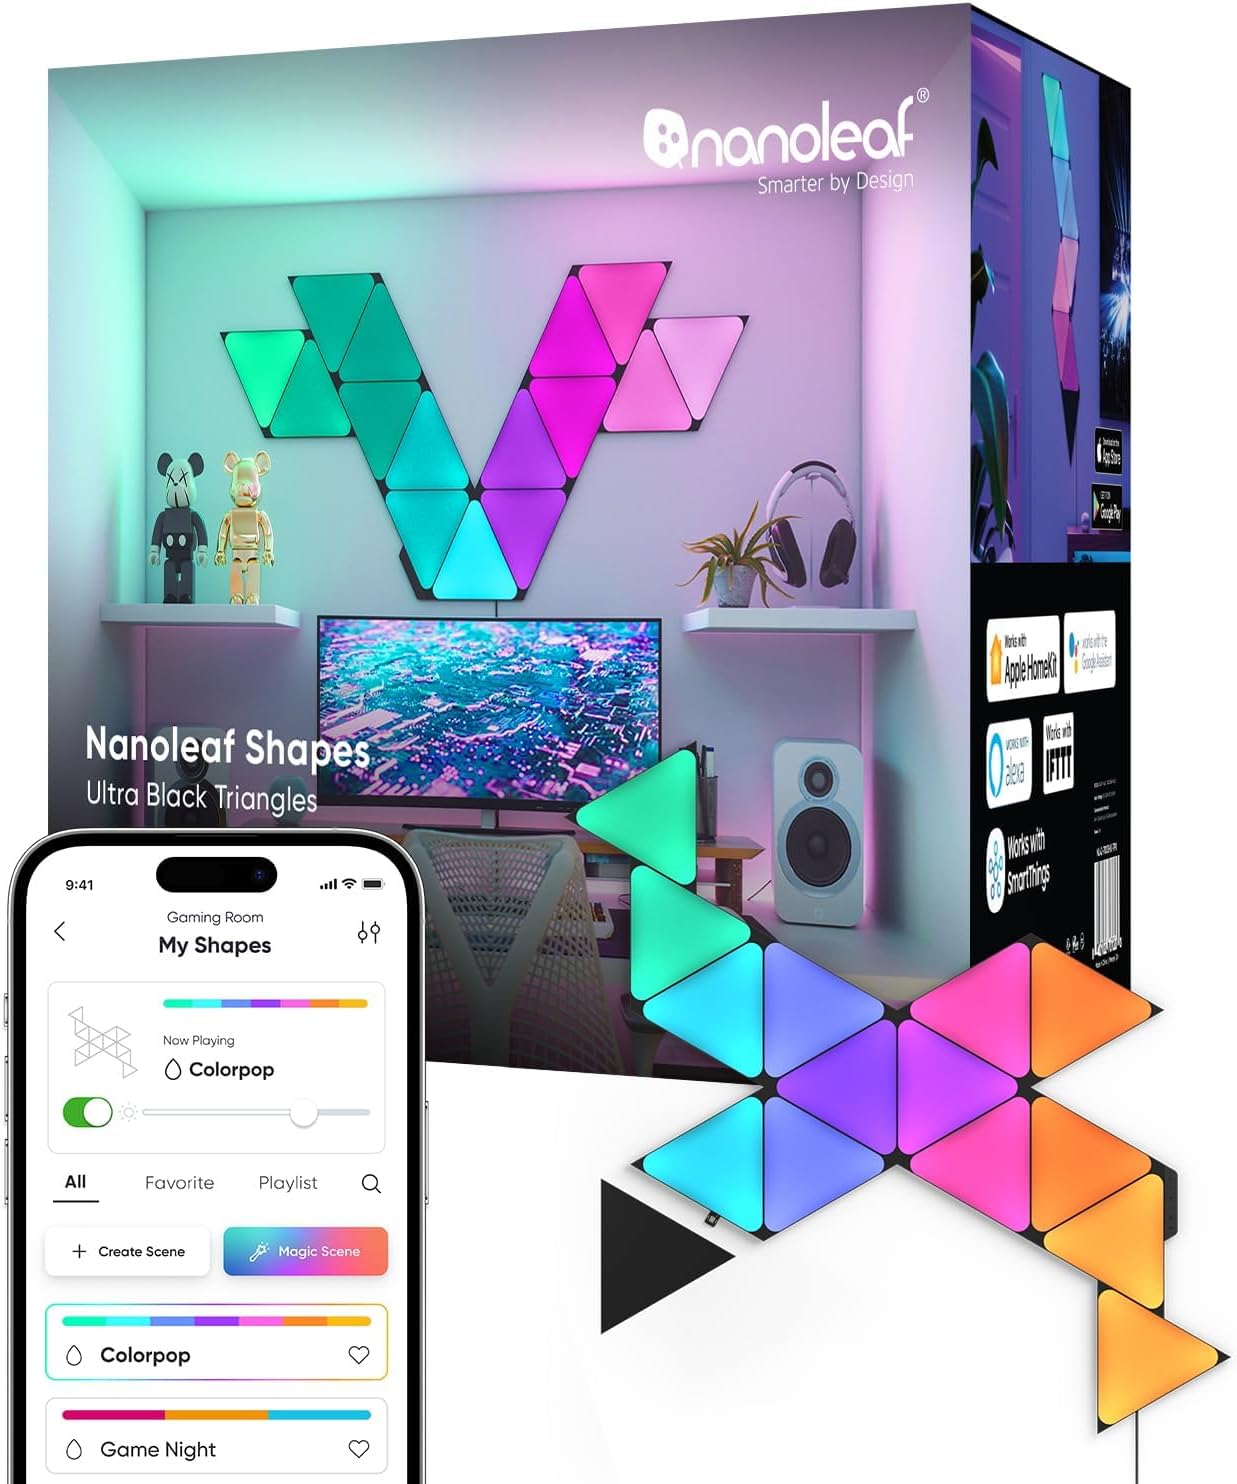
Nanoleaf Shapes WiFi and Thread Smart RGBW 16M+ Color LED...
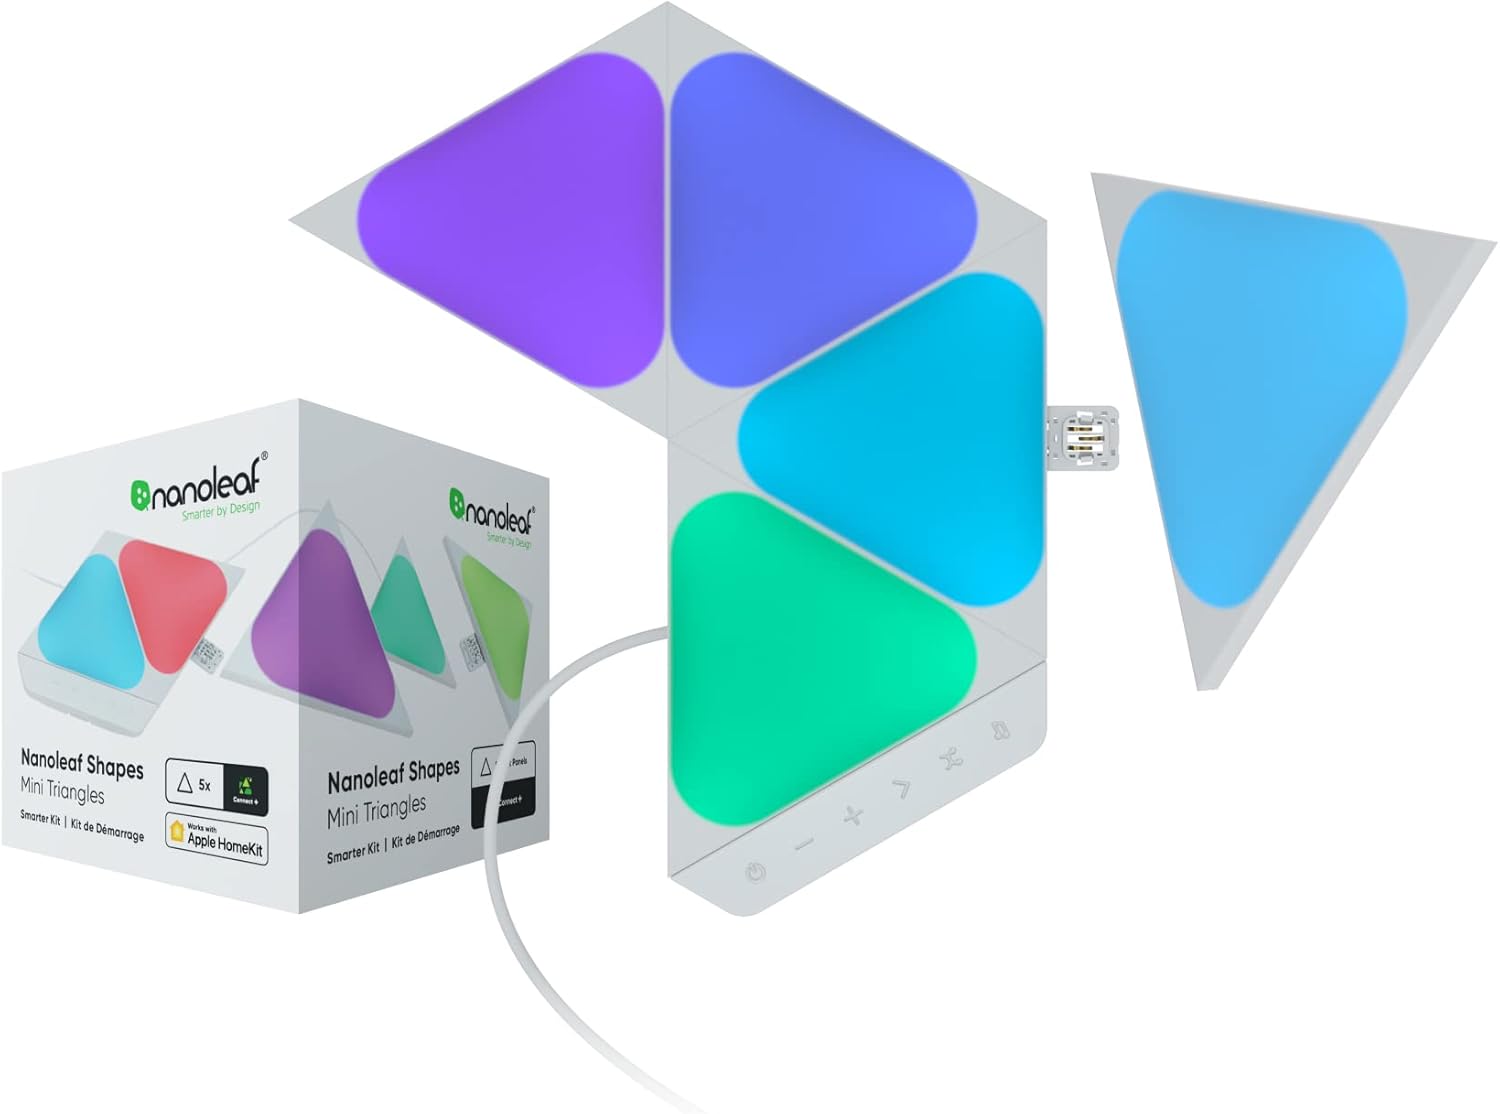
Nanoleaf Shapes WiFi and Thread Smart RGBW 16M+ Color LED...
As an Amazon Associate we earn from qualifying purchases.
Official Manufacturer Manual
Nanoleaf provides official product documentation through their online manual rather than downloadable PDF. Access setup guides, troubleshooting steps, and product specifications for your Nanoleaf Shapes.
Source: nanoleaf.me
Need More Help? Nanoleaf Support
Note: The contact information below connects you directly to Nanoleaf's official customer support team, not Trunetto. They can help with warranty claims, device replacements, and advanced technical issues.
How Does Nanoleaf Compare?
Before replacing your Nanoleaf device, see how it stacks up against alternatives in our full comparison guides.
Accessories owners commonly pair with Nanoleaf Shapes.

Amazon Smart Plug, Works with Alexa, Simple Setup, Endles...

Ring Rechargeable Quick Release Battery Pack

Kasa Smart Plug HS103P2, Smart Home Wi-Fi Outlet Works wi...
As an Amazon Associate we earn from qualifying purchases.