

How Do I Mount Nanoleaf Canvas Panels Properly?
- Wall not clean/smooth
- Mounting tape not pressed firmly
- Textured wall
Problem Description
You are mounting Nanoleaf Canvas light panels on your wall. Choose a smooth, flat wall surface — Canvas panels attach with adhesive mounting tape. Rough, textured, or freshly painted walls (under 30 days) may not hold the adhesive. Plan your layout first, then mount the control panel, and connect additional panels via linkers. This guide covers surface prep, layout, and mounting.
Why This Happens in Real Homes
Nanoleaf Canvas squares use adhesive mounting tape and snap-together linkers, and like Shapes they hold best on a clean, smooth wall with each panel pressed firmly. Canvas panels have built-in touch controls, so a solid mount also matters for reliable touch response.
Clean and dry the wall, plan the layout, and press each panel hard against the surface, seating the linkers between panels so they connect. On textured walls, use the screw-mount accessory rather than tape. Keep the controller near an outlet, and if you reposition a panel, apply fresh tape — reused adhesive is the top reason panels later sag or drop.
Symptoms
- Mounting Canvas panels
- Panels won't stick
- Adhesive failing
- Layout questions
- Linker connections
- Controller/power placement
- Panels sag or fall
- Touch after mounting
Recognize these? Here's what usually causes it.
Common Causes
- Wall not clean/smooth
- Mounting tape not pressed firmly
- Textured wall
- Linkers not fully seated
- Too many panels stressing the tape
- Controller placement
- Repositioning weakened the tape
- Humidity/temperature
Most fixes happen in the first 3 steps.
Do not attempt to open or modify the light hardware. Smart lights contain electronic components that can be damaged by moisture or physical tampering. Always power off at the wall switch before removing or repositioning a smart light.
Tools & Requirements
These tools will help you complete this fix.

Drill optional
DEWALT 20V MAX Cordless Drill and Impact Driver, Pow...

Level
9 Inch Torpedo Level Magnetic, Shock-Proof Small Lev...

Screwdriver
STREBITO 155 in 1 Electric Screwdriver Set, Small El...
As an Amazon Associate we earn from qualifying purchases.
Step-by-Step Solution
Choose a smooth, flat wall surface
The included mounting tape works on smooth painted drywall, wood, glass, and tile. It does not adhere well to textured walls, popcorn ceilings, brick, concrete, or wallpaper. If your wall has any texture, the tape will fail within days and the panels will fall. For textured surfaces, consider using screw mounts (third-party brackets) or Command strips rated for the panel weight.
Clean the wall before applying tape
Wipe the wall surface with isopropyl alcohol or a damp cloth to remove dust, oil, and any residue. Let it dry completely. Even a thin layer of dust prevents the adhesive from bonding. This is the most commonly skipped step and the most common reason panels fall off within the first week.
Use 3 pieces of mounting tape per panel
Each Canvas panel needs 3 pieces of the included double-sided mounting tape on the back mounting plate. Place one piece near the top and two near the bottom corners. Press each piece firmly for 30 seconds. Leave the end of each tape strip slightly exposed and sticking out past the edge of the panel — this tab lets you pull the tape off cleanly during removal.
Plan your layout on the floor first
Lay out your entire design on a table or floor before mounting anything. Connect the panels together with the linkers to make sure the layout works and all connections are solid. Take a photo of the layout. Then transfer it to the wall panel by panel. Rearranging panels on the wall wastes mounting tape and each removal risks pulling paint.
Remove panels safely without wall damage
To remove a Canvas panel, grip the panel with one hand and pull the exposed tape tab slowly along the wall surface (parallel to the wall, not perpendicular). Pulling straight out tears the paint. If the tape tab broke off, use dental floss to slide between the panel and the wall to cut through the adhesive. Work slowly — rushing rips paint. Nanoleaf sells replacement mounting tape for reinstallation.
Quick Solutions
Still having issues? This is usually the deeper cause below.
If this comes back after following these steps, check whether a recent app or firmware update reset a default setting — the fix works, but the setting gets reverted silently.
Group your smart lights by room in the app and assign clear names like Kitchen Ceiling and Bedroom Lamp. This makes voice commands more reliable and lets you create scenes that control multiple lights at once with a single command.
This issue almost always looks more complex than it is — the majority of cases trace back to a single setting, a stale credential, or a default that shipped wrong.
- Wall not clean/smooth
- Mounting tape not pressed firmly
- Textured wall
- Linkers not fully seated
- Too many panels stressing the tape
Before you go — try one of these (they fix most cases).
Most popular upgrades chosen by Nanoleaf Canvas owners.

Nanoleaf Lines LED Wall Lights, RGBW Smart Geometry Wall ...

Nanoleaf Essentials LED Rope Light, Smart Neon Rope Light...
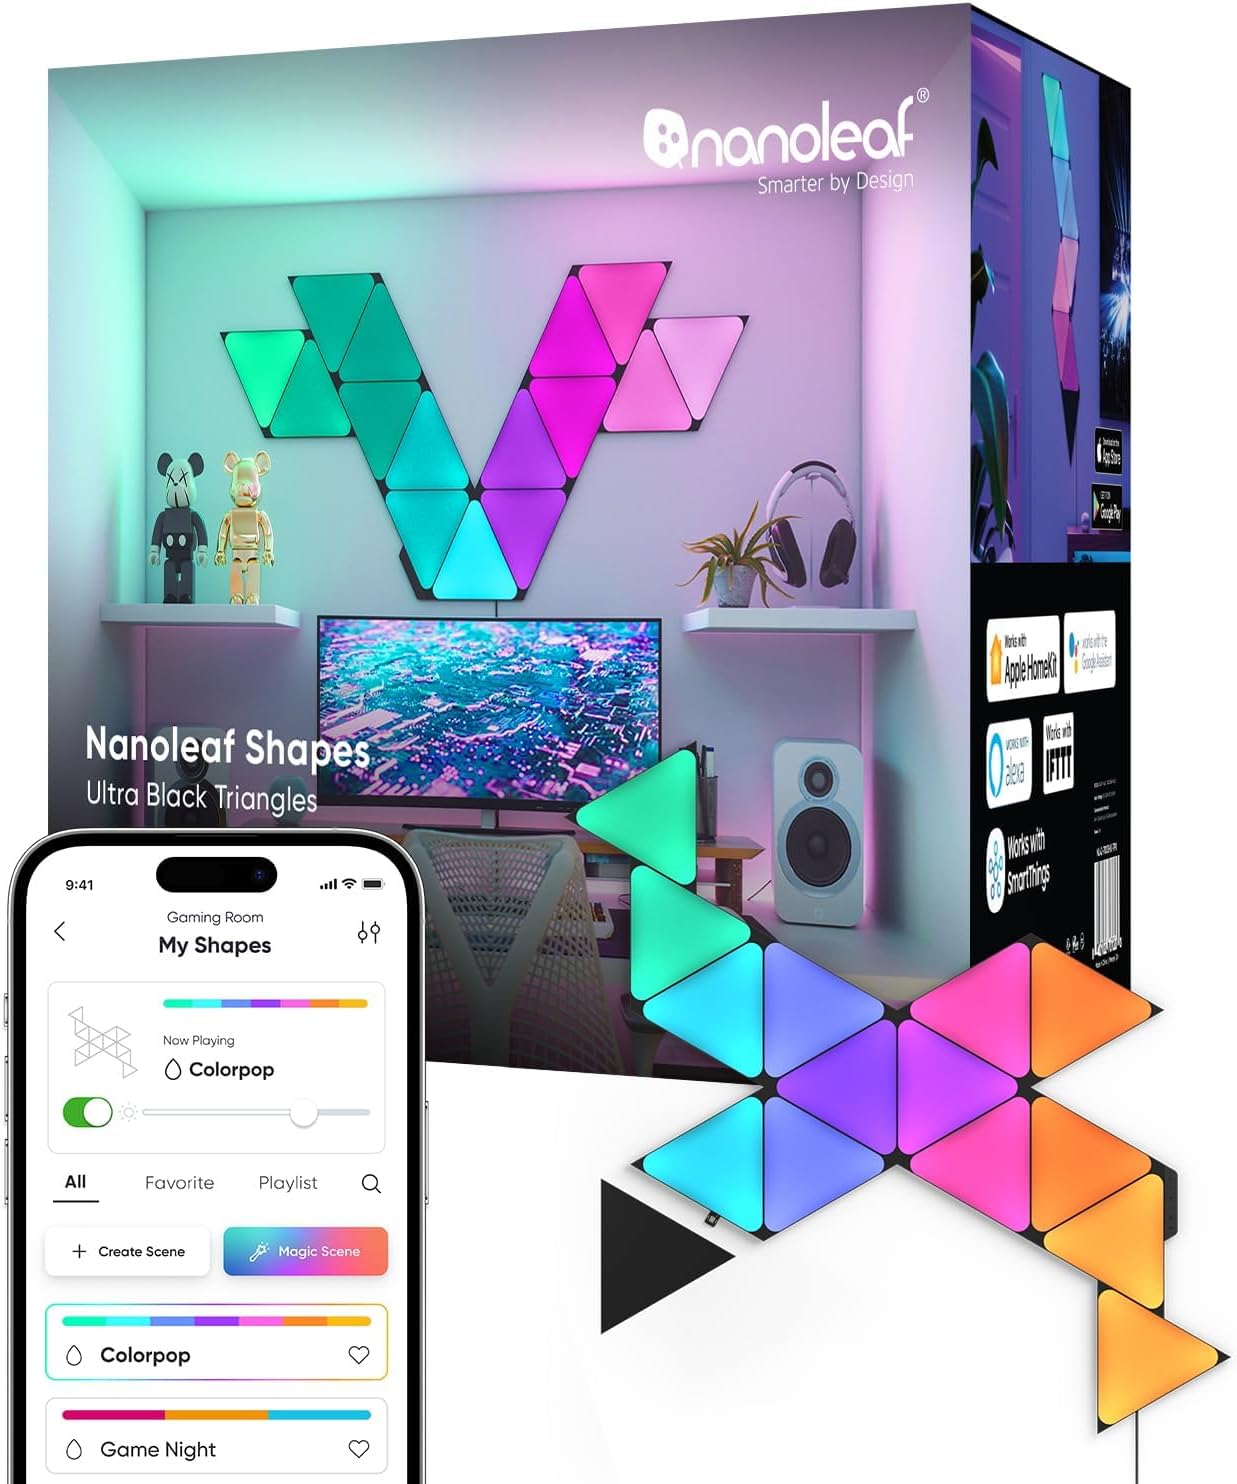
Nanoleaf Shapes WiFi and Thread Smart RGBW 16M+ Color LED...
As an Amazon Associate we earn from qualifying purchases.
Official Manufacturer Manual
Nanoleaf provides official product documentation through their online manual rather than downloadable PDF. Access setup guides, troubleshooting steps, and product specifications for your Nanoleaf Canvas.
Source: nanoleaf.me
Need More Help? Nanoleaf Support
Note: The contact information below connects you directly to Nanoleaf's official customer support team, not Trunetto. They can help with warranty claims, device replacements, and advanced technical issues.
How Does Nanoleaf Compare?
Before replacing your Nanoleaf device, see how it stacks up against alternatives in our full comparison guides.


