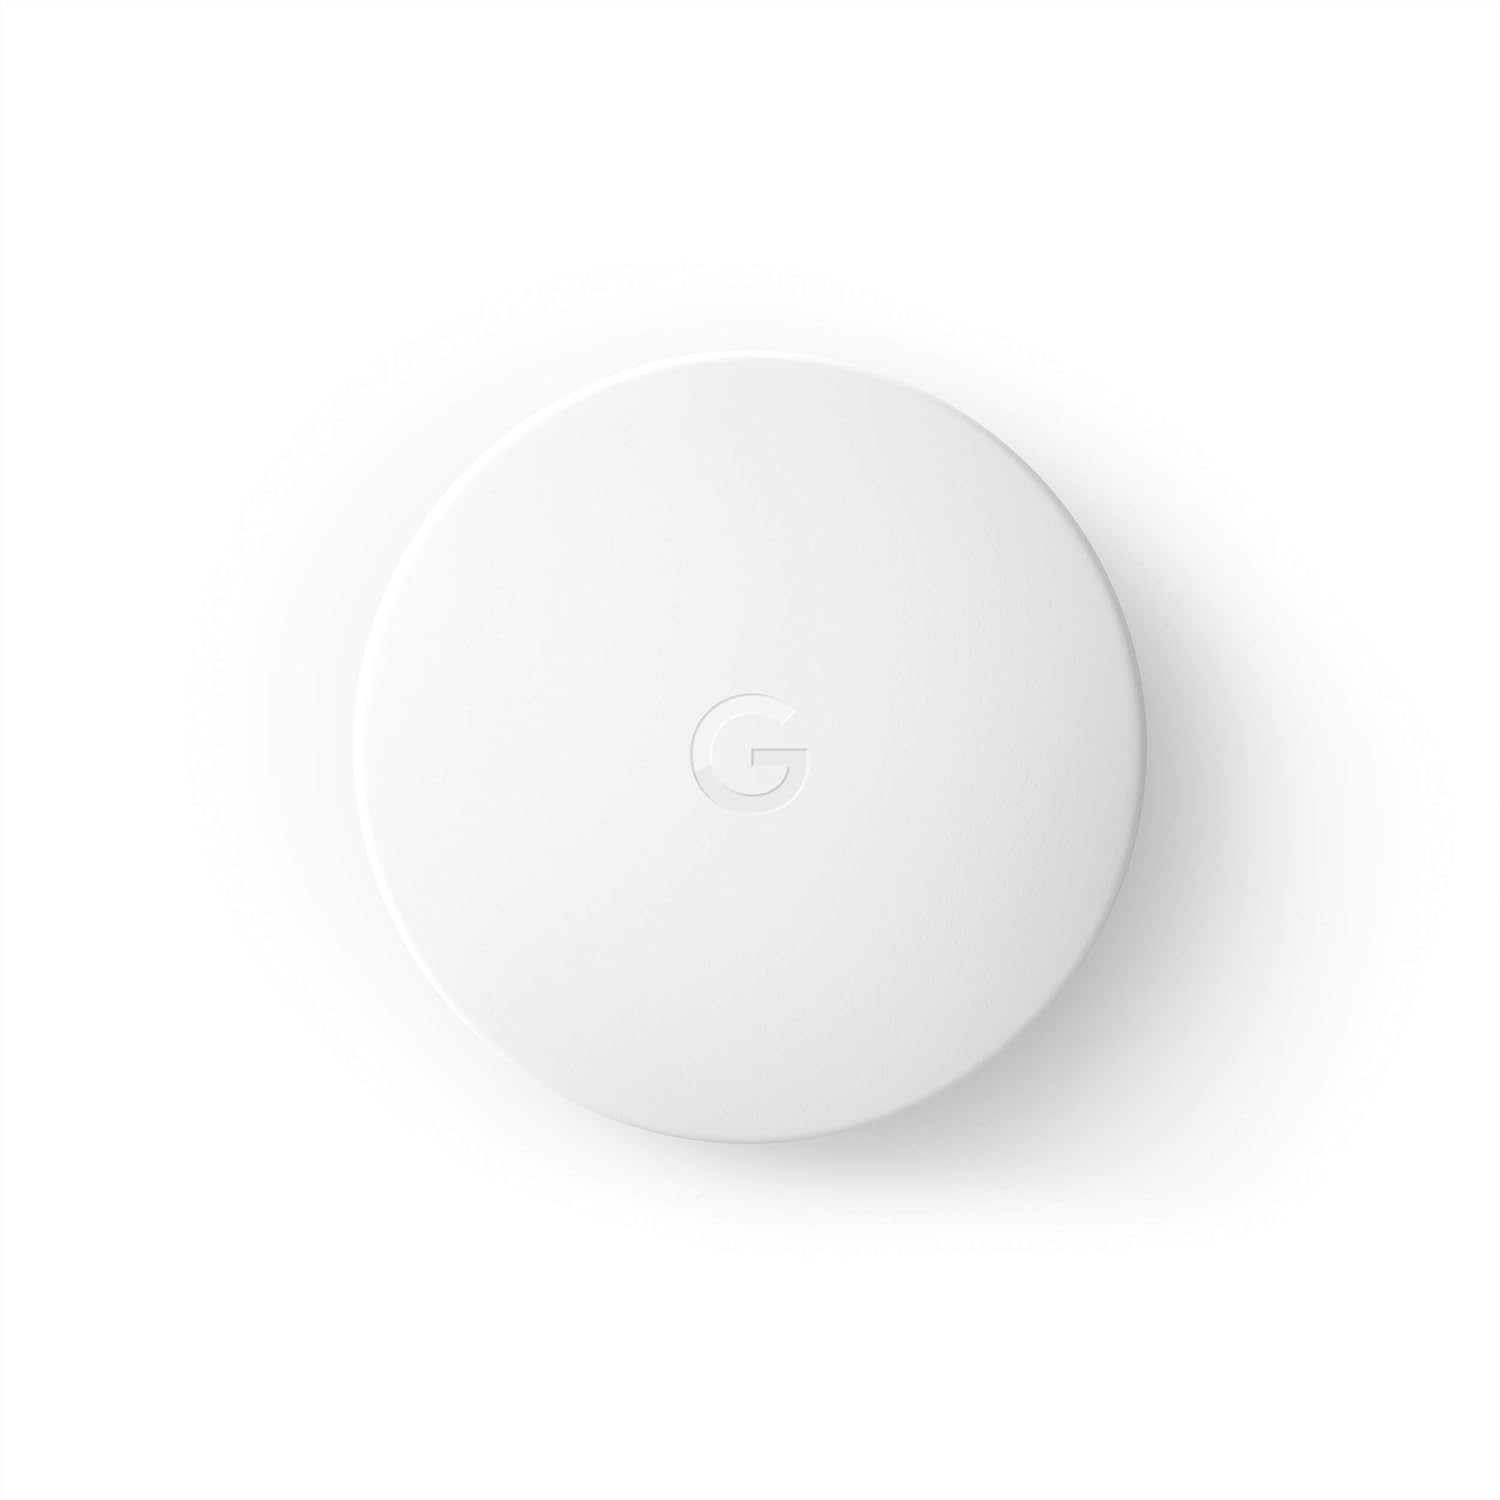
Where Should I Place My Nest Temperature Sensor?
- Sensor mounted too high where warm air collects
- Direct sunlight hitting the sensor during the day
- Placed near a supply vent, giving it heated or cooled air
Problem Description
You want to place your Nest Temperature Sensor where it will accurately represent the comfort of the room you care about — a bedroom, office, or living area that runs hotter or colder than the hallway where the thermostat lives. Poor placement makes the sensor read too warm or too cold, so the thermostat over- or under-runs the HVAC. The sensor reports the temperature at its exact spot, so height, sunlight, drafts, and distance from the thermostat all matter.
Why This Happens in Real Homes
The Nest Temperature Sensor only knows the temperature at the exact spot you stick it, so placement decides whether it helps or hurts. In real homes the classic mistakes are mounting it high on a wall where heat pools, in a patch of afternoon sun, or right beside a supply vent — each makes the reading swing and the HVAC over-correct. Distance matters too, since it links to the thermostat over short-range Bluetooth.
Start by putting it at seated or sleeping height in the middle of the room you actually use, out of sun and away from vents, then swap the coin cell if it keeps dropping offline.
Symptoms
- Room feels wrong even though the sensor reads on target
- Sensor temperature differs a lot from how the room feels
- HVAC runs too long or short-cycles when using the sensor
- Sensor reads high in afternoon sun
- Sensor reads low near a drafty window or door
- Weak connection because the sensor is too far from the thermostat
- Unsure what height to mount the sensor
- Readings swing when placed near a vent
Recognize these? Here's what usually causes it.
Common Causes
- Sensor mounted too high where warm air collects
- Direct sunlight hitting the sensor during the day
- Placed near a supply vent, giving it heated or cooled air
- Too close to a drafty window, exterior door, or appliance
- Behind furniture or a curtain blocking room air
- Too far from the thermostat, weakening the Bluetooth link
- Placed in an unoccupied or unrepresentative part of the room
- Coin-cell battery low, causing dropouts mistaken for placement
Most fixes happen in the first 3 steps.
Do not rely solely on smart sensors for life-safety alerts like smoke or carbon monoxide detection. Always maintain dedicated code-compliant smoke and CO detectors. Smart water leak sensors can alert you but cannot stop a leak so know where your water shut-off valve is located.
Tools & Requirements
These tools will help you complete this fix.

As an Amazon Associate we earn from qualifying purchases.
Step-by-Step Solution
Place the sensor at breathing height, not ceiling level
Nest Temperature Sensors should be placed at roughly 3-5 feet off the floor — the height where you sit or stand. Temperature near the ceiling can be 5-10°F warmer than at breathing height due to heat rising. If you mount the sensor high on a wall or on top of a bookshelf, it reads higher than the actual comfort level and the thermostat under-heats the room. Use the adhesive pad or screw mount included with the sensor to attach it at mid-wall height.
Keep the sensor away from heat sources and drafts
Do not place the sensor within 3 feet of a heating vent, radiator, fireplace, window, exterior door, or appliance that generates heat (oven, refrigerator motor, TV, computer). These create microclimates that are warmer or cooler than the rest of the room. A sensor near a vent reads 5-8°F higher when the heat runs, causing the thermostat to cut off too early and leave the rest of the room cold. A sensor near a drafty window reads lower, causing the thermostat to overheat the house.
Place one sensor per priority room
The Nest thermostat uses the sensor in the currently active room to set the target temperature. You do not need a sensor in every room — only in the rooms where comfort matters most. Common placements: the master bedroom (for Sleep schedule), the living room (for Home schedule), and a home office. In the Google Home app, assign each sensor to the appropriate schedule: go to Thermostat > Settings > Temperature Preferences > Sensors. Select which sensor the thermostat should follow during each comfort period.
Test sensor readings against the thermostat
After placing the sensor, wait 30 minutes for it to acclimate to the room temperature. Then compare the sensor reading (shown in the Google Home app under the thermostat sensors section) to the thermostat reading. A difference of 1-2°F is normal — rooms are different temperatures. A difference of 5°F+ suggests the sensor or the thermostat is poorly placed. If the sensor is in a naturally cooler room (north-facing, lower floor, large windows), it will always read lower than the thermostat — this is accurate, not a malfunction.
Avoid placing sensors in unused or extreme rooms
Do not place a sensor in a garage, attic, sunroom, or unheated basement and assign it to a comfort schedule. These rooms have extreme temperature swings that cause the thermostat to fight against conditions it cannot control with the main HVAC system. The thermostat will run the heater aggressively trying to warm a cold garage, overheating the rest of the house. If you want to monitor an extreme room, place the sensor but do not assign it to any comfort schedule — it will show the reading in the app without influencing the thermostat.
Quick Solutions
Still having issues? This is usually the deeper cause below.
Schedules that skip randomly are usually a daylight-saving holdover — delete and recreate the schedule to clear the corrupted entry.
Pair motion sensors with smart lights to create automatic lighting that turns on when you enter a room and off after a few minutes of no motion. This is one of the simplest and most useful smart home automations you can set up.
Thermostat issues that keep returning are often caused by stale backup-battery memory holding old settings across power cycles without the user realising.
- Sensor mounted too high where warm air collects
- Direct sunlight hitting the sensor during the day
- Placed near a supply vent, giving it heated or
- Too close to a drafty window, exterior door, or
- Behind furniture or a curtain blocking room air
Before you go — try one of these (they fix most cases).
Official Manufacturer Manual
Google Nest provides official product documentation through their online manual rather than downloadable PDF. Access setup guides, troubleshooting steps, and product specifications for your Nest Temperature Sensor.
Source: support.google.com
Need More Help? Google Nest Support
Note: The contact information below connects you directly to Google Nest's official customer support team, not Trunetto. They can help with warranty claims, device replacements, and advanced technical issues.
How Does Google Nest Compare?
Before replacing your Google Nest device, see how it stacks up against alternatives in our full comparison guides.
Accessories owners commonly pair with Nest Temperature Sensor.

Google Nest Wifi - AC2200 - Mesh WiFi System - Wifi Route...

Google Nest Wifi - Home Wi-Fi System - Wi-Fi Extender - M...

Google Nest WiFi Pro - Wi-Fi 6E - Reliable Home Wi-Fi Sys...
As an Amazon Associate we earn from qualifying purchases.