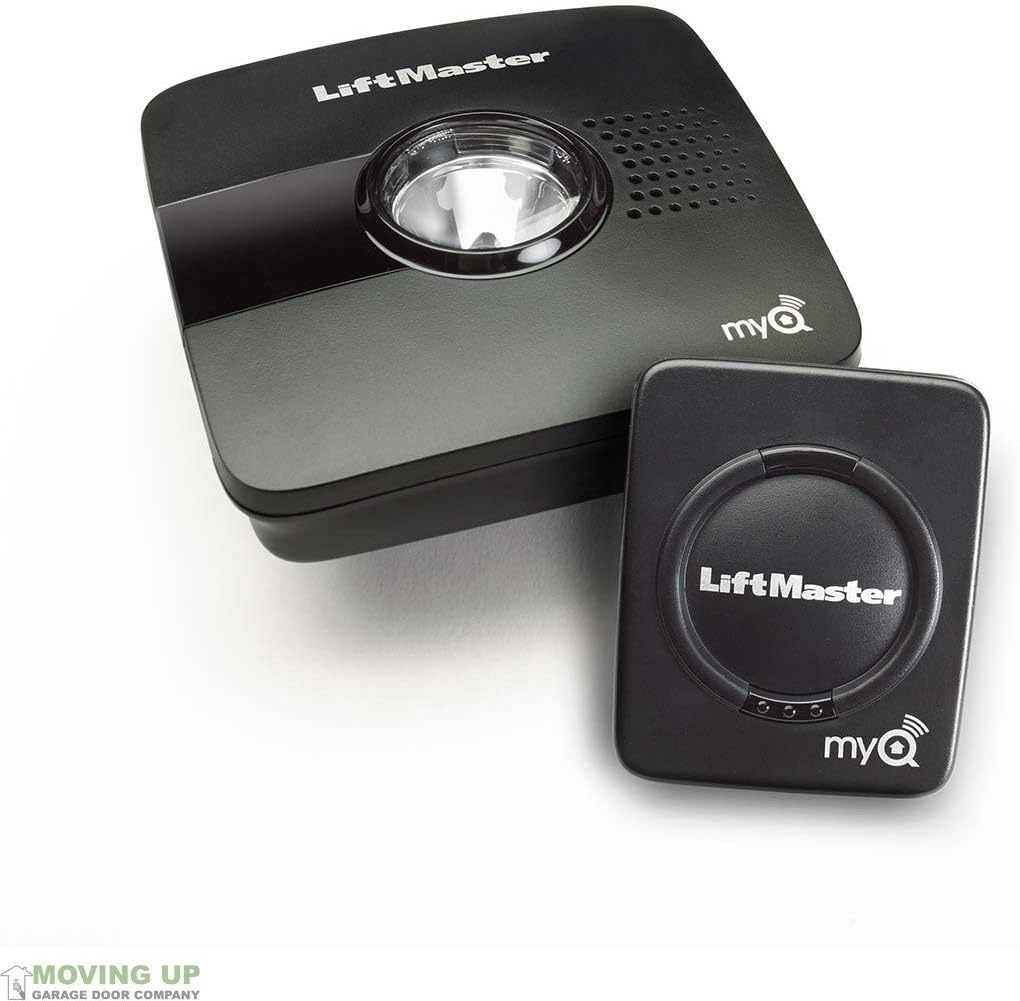
How Do I Set Up the LiftMaster 8500W Wall Mount Opener?
- Door uses extension springs, not the torsion-bar system the 8500W requires
- Coupler not fully seated on the torsion shaft or set screws loose
- Travel limits and force not yet programmed
Problem Description
You are installing a LiftMaster 8500W wall-mount garage door opener. Unlike ceiling-mount openers, the 8500W mounts on the wall beside the garage door and uses a side-mount mechanism. This guide covers location requirements, mounting the unit, and connecting it to the garage door for operation.
Why This Happens in Real Homes
The 8500W is a jackshaft (side-mount) opener that bolts to the wall beside the door and drives the torsion bar directly, so the single biggest install gate is spring type: it only works on doors with a torsion-bar spring system, not extension springs, and it needs the torsion shaft and cables in good shape because it has a built-in cable-tension monitor that faults on a slack or uneven cable. Get the coupler fully seated on the shaft with the set screws tight, then program the travel limits and force before expecting smooth operation. Two things people miss: the photo-eye safety sensors still mount at the base of the tracks like a ceiling opener, and both must show steady LEDs or the door will not close, and the myQ side is 2.4GHz-only, so pair the WiFi and the door-position sensor (pull its battery tab) once the mechanics are set. If you added the automatic deadbolt accessory, align it with the strike so it throws without binding.
Symptoms
- 8500W does not run at all after mounting
- Door position sensor not reporting status in myQ
- Opener motor runs but the door does not move
- Safety sensors will not align so the door will not close
- 8500W will not connect to 2.4GHz WiFi in the myQ app
- Automatic deadbolt accessory will not lock or unlock
- Door reverses or will not hit its travel limits after install
- Cable-tension monitor faults on a slack or uneven cable
Recognize these? Here's what usually causes it.
Common Causes
- Door uses extension springs, not the torsion-bar system the 8500W requires
- Coupler not fully seated on the torsion shaft or set screws loose
- Travel limits and force not yet programmed
- Photo-eye safety sensors at the base of the tracks not aligned or wired
- Phone or opener on 5GHz; myQ needs 2.4GHz
- Door position sensor not paired or its battery tab still in place
- Lift cables uneven or slack, tripping the cable-tension monitor
- Automatic deadbolt not aligned with the strike
Most fixes happen in the first 3 steps.
Garage doors are extremely heavy and the springs are under high tension. Never attempt to repair or adjust the door springs, cables, or tracks yourself as this can cause serious injury. Only troubleshoot the smart controller and electronic components. Call a professional for any mechanical issues.
Tools & Requirements
These tools will help you complete this fix.

Drill
DEWALT 20V MAX Cordless Drill and Impact Driver, Pow...

Level
9 Inch Torpedo Level Magnetic, Shock-Proof Small Lev...
Wrench set
199 Piece Tool Kit for Home,General Household/Auto R...
As an Amazon Associate we earn from qualifying purchases.
Step-by-Step Solution
Check mounting location requirements
The LiftMaster 8500W is a wall-mounted garage door opener — it mounts on the wall beside the door instead of on the ceiling. This frees up ceiling space and reduces noise/vibration. It requires a standard torsion spring system (the horizontal spring above the door). Side-mounted openers do not work with extension springs (the springs that run along the horizontal tracks). Check your spring type before purchasing.
Install the opener on the wall
Mount the 8500W on the wall to the left or right of the garage door, at the same height as the torsion bar. The opener's drive mechanism connects directly to the torsion bar — it rotates the bar to open and close the door. Follow the installation manual precisely for bracket placement and bolt torque. The opener must be level with the torsion bar. Incorrect alignment causes excessive wear on the drive mechanism and noisy operation.
Needed for this step
9 Inch Torpedo Level Magnetic, Shock-Proof Smal...
This helps complete the fix you are currently reading.
$6.99Connect the safety sensors
Install the photoelectric safety sensors at the bottom of the door opening, one on each side, 6 inches above the floor. The sensors must have clear line of sight across the door opening. Connect the sensor wires to the 8500W terminals. When the sensors detect an obstruction (person, pet, object) while the door is closing, the door automatically reverses. Test by placing an object in the sensor beam while closing — the door must reverse.
Program the remote controls and wall button
The 8500W comes with a wall control panel. Connect it to the opener with the included wire. To program remote controls: press the Learn button on the side of the 8500W motor unit (a small colored button — yellow, purple, or orange depending on model year), then press the button on the remote within 30 seconds. The opener stores the remote code. The 8500W supports Security+ 2.0 rolling code technology — each button press sends a unique code, preventing code theft. Program up to 8 remotes.
Set up WiFi and the myQ app
The 8500W has built-in WiFi for the myQ smart platform. In the myQ app, add the opener. Connect to your 2.4GHz WiFi. After connecting, you can open/close the garage from anywhere, receive alerts when the door opens, set schedules (auto-close at 10PM), and integrate with smart home platforms. The app also shows door status history — useful for checking if someone forgot to close the garage.
Quick Solutions
Still having issues? This is usually the deeper cause below.
If this comes back after following these steps, check whether a recent app or firmware update reset a default setting — the fix works, but the setting gets reverted silently.
["Frees up ceiling space", "Best for high ceilings", "Professional installation recommended"]
This issue almost always looks more complex than it is — the majority of cases trace back to a single setting, a stale credential, or a default that shipped wrong.
- Door uses extension springs, not the torsion-bar system the
- Coupler not fully seated on the torsion shaft or
- Travel limits and force not yet programmed
- Photo-eye safety sensors at the base of the tracks
- Phone or opener on 5GHz; myQ needs 2.4GHz
Before you go — try one of these (they fix most cases).
Most popular upgrades chosen by LiftMaster 8500W owners.

As an Amazon Associate we earn from qualifying purchases.
Official Manufacturer Manual
LiftMaster provides official product documentation through their online manual rather than downloadable PDF. Access setup guides, troubleshooting steps, and product specifications for your LiftMaster 8500W.
Source: liftmaster.com
Need More Help? LiftMaster Support
Note: The contact information below connects you directly to LiftMaster's official customer support team, not Trunetto. They can help with warranty claims, device replacements, and advanced technical issues.
Accessories owners commonly pair with LiftMaster 8500W.

LiftMaster 882LMW - ONLY Compatible with Security+ 2.0 Li...

Liftmaster myQ Smart Garage Control - Wireless Garage Hub...

LiftMaster Liftmaster 821LMC-SENSOR Additional Door Senso...
As an Amazon Associate we earn from qualifying purchases.