How to Set Up iRobot Roomba i3+ Robot Vacuum
- Unbox Roomba i3+
- Set Up Clean Base
- Install Disposal Bag
- Initial Charge
- Download iRobot HOME App
- Add Robot to App
Most users complete this in under 45 minutes
Overview
IRobot Roomba i3+ Robot Vacuum setup takes under 15 minutes for most users — if you're stuck, the steps below target the specific points where installs stall.
This guide covers the initial setup of the iRobot Roomba i3+, including Clean Base automatic dirt disposal station placement, first mapping run, and iRobot Home app configuration for scheduled cleaning, keep-out zones, and Alexa or Google Home voice control. The i3+ uses iRobot's Imprint Smart Mapping after completing initial floor mapping runs.
Why This Happens in Real Homes
The i3+ pairs with a Clean Base that empties the bin automatically. It navigates in neat rows using floor tracking rather than a top camera, and with current firmware it still builds Smart Maps over a few runs — so its map comes together across sessions rather than in one camera-based training run. It joins a 2.4GHz WiFi network.
Place and plug in the Clean Base on hard floor against a wall with clearance, seat the robot to charge, and complete pairing in the iRobot Home app on 2.4GHz, updating firmware. Then let it run several full cleans from the dock without being moved, so it can assemble its Smart Map. Once the map exists, you can name rooms and target them.
What's Included
- Setting up the i3+
- Clean Base setup
- Won't connect to WiFi
- App can't find the robot
- First mapping run
- Smart Maps questions
- Navigation questions
- Dock placement
Got your materials ready? Here's what to check first.
Before You Start
- Clean Base not placed or plugged in correctly
- Connecting to 5GHz instead of 2.4GHz WiFi
- Robot not seated to charge
- Setup incomplete in the app
- No Smart Map built yet (needs mapping runs)
- Dock crowded by walls or furniture
- Firmware not updated for Smart Maps
- Robot moved during early runs
Don't skip this step — it breaks everything if you do
Keep robot away from stairs during first clean. Ensure Clean Base is always plugged in. Use genuine iRobot disposal bags only.
Tools & Requirements
These tools will help you complete this fix.
As an Amazon Associate we earn from qualifying purchases.
Installation Steps
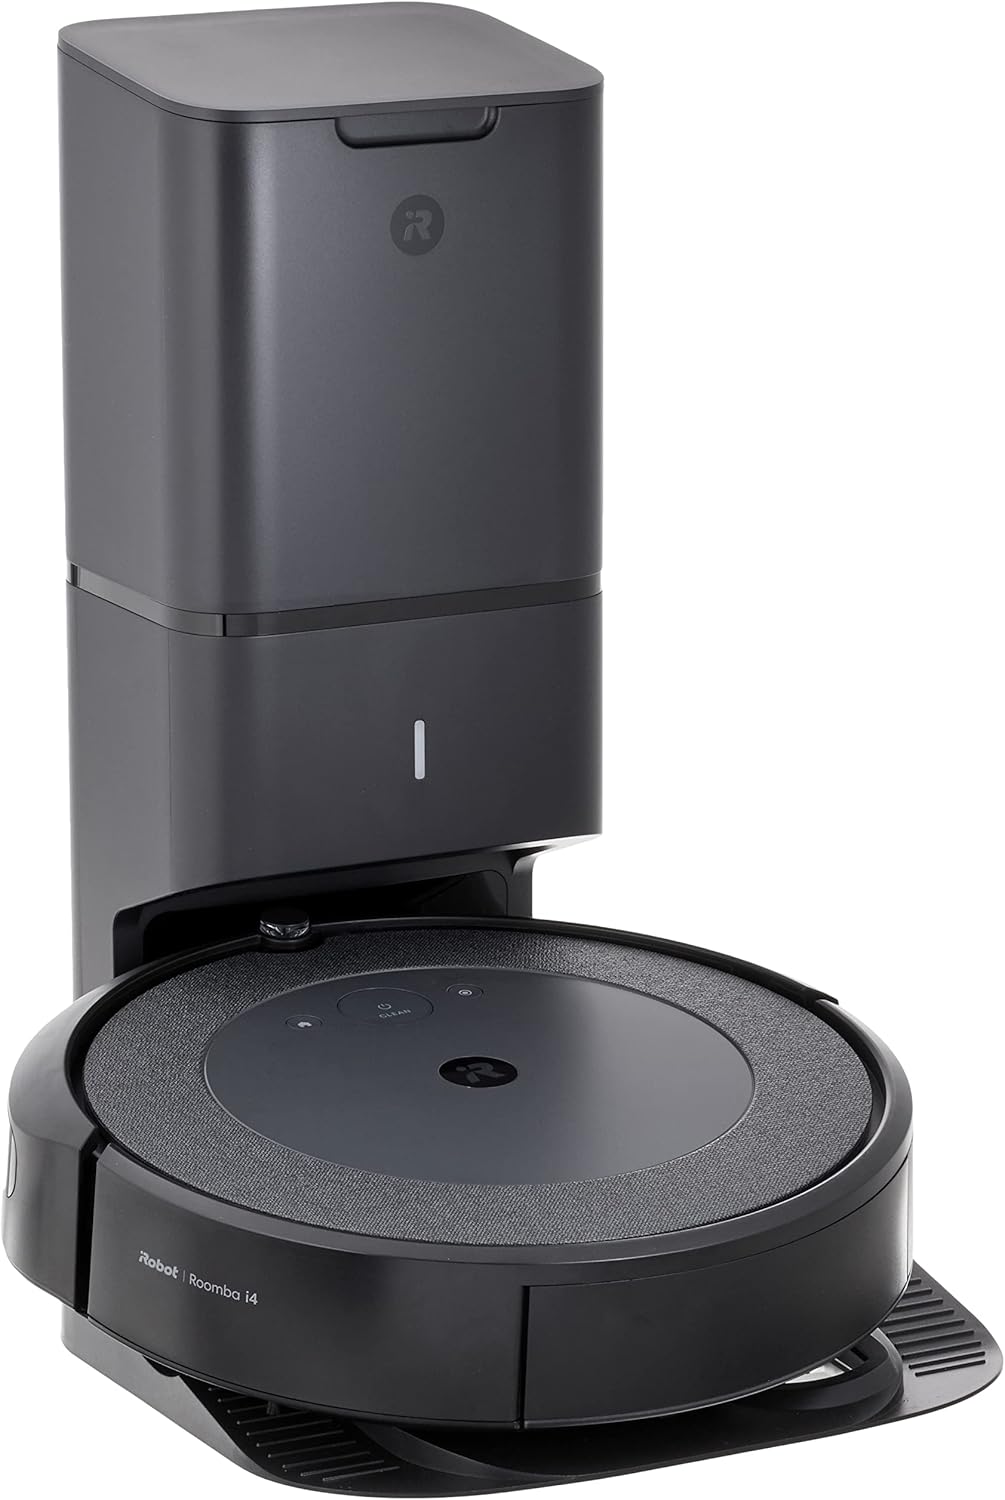
Unbox Roomba i3+
Remove Roomba and Clean Base from packaging. Remove all protective tape from robot, charging contacts, and Clean Base.
Set Up Clean Base
Place Clean Base against wall on hard, level surface. Make sure 1.5 feet clearance on sides and 4 feet in front for robot movement.

Needed for this step
9 Inch Torpedo Level Magnetic, Shock-Proof Smal...
This helps complete the fix you are currently reading.
$6.99Install Disposal Bag
Open Clean Base lid and install disposable dirt bag. Make sure bag clicks securely into place before closing lid.
Initial Charge
Place Roomba on Clean Base. Robot will charge automatically. Wait for solid green ring indicating full charge (2-3 hours first time).
Download iRobot HOME App
Download app from App Store or Google Play. Create account or sign in. Allow location permissions for best robot mapping.
Add Robot to App
Press and hold DOCK and SPOT CLEAN buttons until LED ring swirls white. Follow app prompts to connect i3+ to Wi-Fi network.
Start First Clean
Press CLEAN button or start via app. i3+ will learn your home layout during first few cleaning cycles.
Installation Tips
Still stuck? This is usually the deeper cause below.
i3+ uses smart navigation but not camera-based mapping like j7+ series. Clean Base bags last 2-3 months with normal use.
Before you go — these iRobot guides fix most remaining issues.
Most popular upgrades chosen by Roomba i3+ Robot Vacuum owners.

iRobot® Authentic Replacement Parts- Braava Jet® m Series...

iRobot® Roomba® Authentic Replacement Parts - DualClean™ ...

iRobot® Authentic Replacement Parts - Washable Mop Pads R...
As an Amazon Associate we earn from qualifying purchases.
Official Manufacturer Manual
If you need the complete manufacturer documentation for advanced setup, wiring diagrams, or detailed specifications, you can download the official manual below. The manual includes full technical instructions directly from the manufacturer and may help if your issue requires deeper troubleshooting.
Download the Official Roomba i3+ Robot Vacuum ManualSource: irobot.com
Need More Help? iRobot Support
Note: The contact information below connects you directly to iRobot's official customer support team, not Trunetto. They can help with warranty claims, device replacements, and advanced technical issues.
How Does iRobot Compare?
Before replacing your iRobot device, see how it stacks up against alternatives in our full comparison guides.