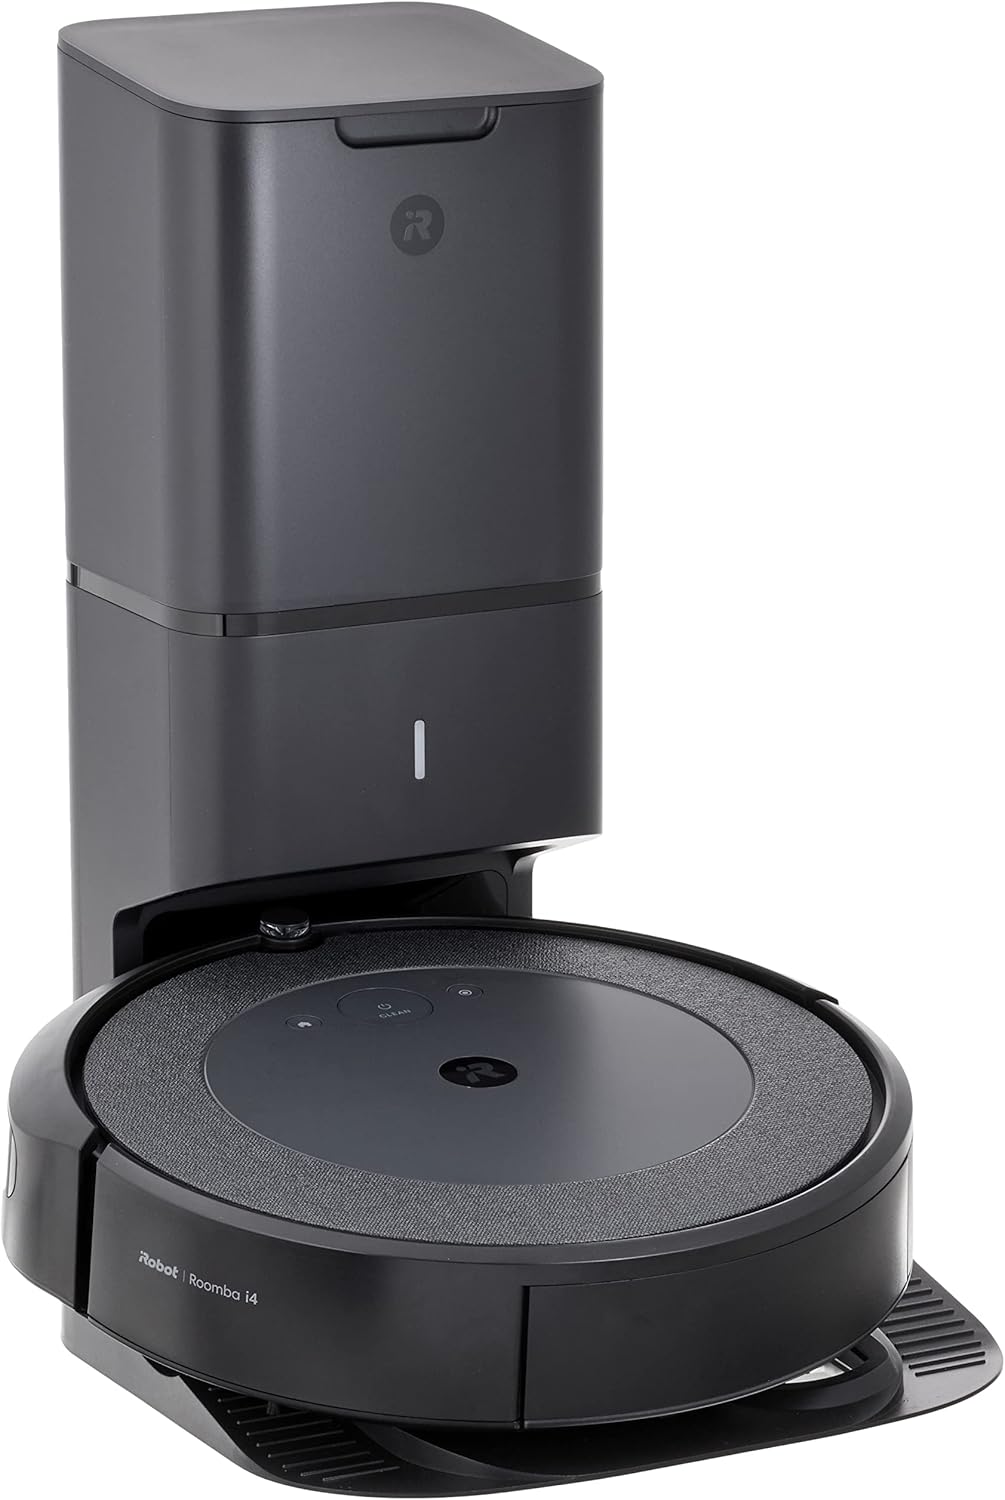
How to Set Up iRobot Roomba j7+ Robot Vacuum
- Smart Setup Preparation
- Camera Positioning Check
- Object Detection Setup
- Pet Waste Promise Setup
- Initial Learning Clean
- Object Recognition Training
Most users complete this in under 60 minutes
Overview
IRobot Roomba j7+ Robot Vacuum setup takes under 15 minutes for most users — if you're stuck, the steps below target the specific points where installs stall.
This guide covers the initial setup of the iRobot Roomba j7+, including the Clean Base automatic dirt disposal station placement, first mapping run configuration, and iRobot Home app setup for obstacle avoidance, zone cleaning, and smart home integration with Alexa and Google Home. The j7+ requires a complete mapping run before smart features activate.
Why This Happens in Real Homes
The j7+ adds a front-facing PrecisionVision camera for obstacle avoidance (cords, socks, pet waste) on top of the Clean Base auto-empty — so setup matters for both mapping and that camera, which needs adequate lighting and a clean lens to spot obstacles. It pairs over 2.4GHz WiFi.
Place and plug in the Clean Base on hard floor against a wall with clearance, seat the robot to charge, and complete pairing in the iRobot Home app on 2.4GHz, applying any firmware. Run a Mapping Run in well-lit rooms so it learns the layout, then label rooms. Once set up, it vacuums by room, dodges obstacles with the front camera, and empties itself at the base.
What's Included
- Setting up the j7+
- Clean Base setup
- PrecisionVision/obstacle avoidance
- Won't connect to WiFi
- App can't find the robot
- First mapping run
- Dock placement
- Room labeling
Got your materials ready? Here's what to check first.
Before You Start
- Clean Base not placed or plugged in correctly
- Connecting to 5GHz instead of 2.4GHz WiFi
- Robot not seated to charge
- Setup incomplete in the app
- No mapping run done yet
- Dim lighting for the front camera
- Dock crowded by walls or furniture
- Firmware update pending
Don't skip this step — it breaks everything if you do
Keep camera lens clean for best object detection. j7+ may miss objects in very low light conditions. Update app regularly for new recognition features.
Installation Steps
Smart Setup Preparation
Unbox j7+ and note front-facing camera. This enables advanced object detection and obstacle avoidance capabilities.
Camera Positioning Check
Make sure Clean Base placement allows clear camera view. j7+ uses visual navigation requiring good lighting conditions.
Object Detection Setup
During app setup, enable object detection features. j7+ can recognize cords, shoes, pet waste, and other common obstacles.
Pet Waste Promise Setup
If you have pets, enable Pet Owner Official Promise (P.O.O.P.) feature for guaranteed pet waste avoidance.
Initial Learning Clean
Start first clean in well-lit area. j7+ will photograph unknown objects and ask for identification to improve recognition.
Object Recognition Training
When j7+ encounters objects, use app to identify them. This trains the AI to recognize similar items in future.
Keep Out Zones
Set digital keep-out zones for areas with delicate items or temporary obstacles that camera might miss.
Lighting Optimization
Make sure adequate lighting for camera operation. j7+ performance depends on visual recognition capabilities.
Installation Tips
Still stuck? This is usually the deeper cause below.
j7+ learns and improves object recognition over time. Camera requires adequate lighting for optimal performance.
Before you go — these iRobot guides fix most remaining issues.
Most popular upgrades chosen by Roomba j7+ Robot Vacuum owners.

iRobot® Authentic Replacement Parts- Braava Jet® m Series...

iRobot® Roomba® Authentic Replacement Parts - DualClean™ ...

iRobot® Authentic Replacement Parts - Washable Mop Pads R...
As an Amazon Associate we earn from qualifying purchases.
Official Manufacturer Manual
If you need the complete manufacturer documentation for advanced setup, wiring diagrams, or detailed specifications, you can download the official manual below. The manual includes full technical instructions directly from the manufacturer and may help if your issue requires deeper troubleshooting.
Download the Official Roomba j7+ Robot Vacuum ManualSource: irobot.com
Need More Help? iRobot Support
Note: The contact information below connects you directly to iRobot's official customer support team, not Trunetto. They can help with warranty claims, device replacements, and advanced technical issues.
How Does iRobot Compare?
Before replacing your iRobot device, see how it stacks up against alternatives in our full comparison guides.