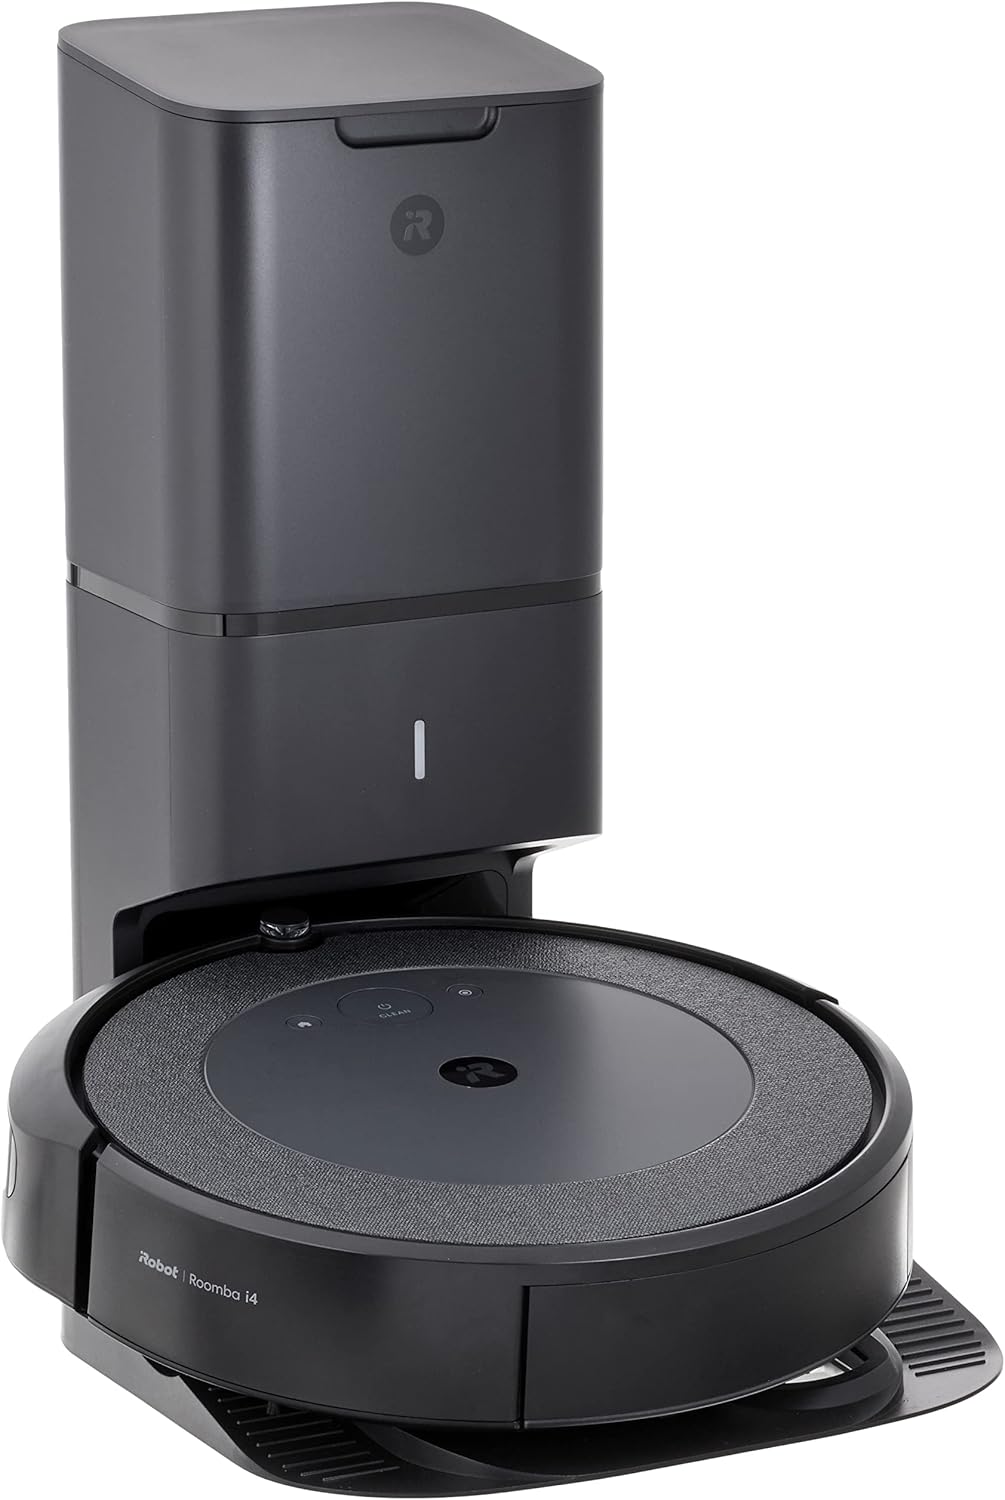
How to Set Up iRobot Roomba Robot Vacuum
- Charge the Roomba Before First Use
- Download the iRobot Home App and Create an Account
- Place the Home Base in an Open Location
- Run the First Mapping Run
- Set a Cleaning Schedule
Most users complete this in under 45 minutes
Overview
Complete setup process for your new iRobot Roomba robot vacuum. From unboxing to first cleaning, learn how to properly install the charging dock, connect to Wi-Fi, download the iRobot HOME app, and configure cleaning schedules.
Why This Happens in Real Homes
Setting up any Roomba follows the same core steps regardless of model: place and power the Home Base, charge the robot fully, and pair it to a 2.4GHz WiFi network in the iRobot Home app — the 2.4GHz requirement is the single most common stumbling block, since many phones default to 5GHz.
Plug the Home Base into a live outlet on hard floor against a wall with clearance, remove any battery pull-tabs, and let the robot charge before its first run. Complete pairing in the app on a 2.4GHz network and install any firmware. On mapping-capable models, run an initial mapping/Training Run so it learns your floor plan; simpler models just start cleaning in rows.
What's Included
- Setting up a new Roomba
- Won't connect to WiFi
- App can't find the robot
- Charging/dock questions
- First clean run
- Mapping questions
- Account/app setup
- Where to place the dock
Got your materials ready? Here's what to check first.
Before You Start
- Connecting to 5GHz instead of 2.4GHz WiFi
- Home Base not plugged in or poorly placed
- Robot not charged before the first run
- Battery pull-tabs still installed
- Setup incomplete in the app
- Dock crowded by walls or furniture
- No mapping done yet (on mapping models)
- Firmware update pending
Don't skip this step — it breaks everything if you do
Keep pets away during initial setup. Do not use extension cords with Home Base. Ensure adequate ventilation around dock.
Installation Steps
Charge the Roomba Before First Use
Remove the Roomba from the box and place it on the Home Base charging dock. Allow it to charge for a minimum of 3 hours before the first run — a fully charged battery ensures the robot can complete a full mapping run without interrupting itself to return to the dock mid-route. The indicator light turns solid when fully charged. Do not run the Roomba before its first full charge.
Download the iRobot Home App and Create an Account
Install the iRobot Home app on your iOS or Android device. Create an iRobot account using your email address. Open the app and tap Set Up a New Robot. Select your Roomba model from the list. Follow the on-screen prompts — the app will walk you through connecting your phone to the Roomba's temporary WiFi hotspot, entering your home WiFi credentials, and transferring those credentials to the robot.
Place the Home Base in an Open Location
The Home Base must be on a hard, flat floor against a wall with at least 1.5 feet of clearance on each side and 4 feet of open space in front. Keep the Home Base away from stairs and do not place it in a corner or closet. The Roomba uses infrared to find the Home Base and needs clear line of sight from multiple directions to dock reliably. Plug the dock into a wall outlet that will remain powered continuously.
Run the First Mapping Run
Tap Clean in the iRobot app to start the first cleaning run. On this first run the Roomba maps your home — this run may take longer than normal as the robot methodically moves through every accessible area. Do not interrupt or pick up the robot during this run. If the battery runs out mid-run on a large home, the Roomba will dock to recharge and then resume mapping. Allow the complete mapping run to finish before evaluating cleaning performance.
Set a Cleaning Schedule
After the first complete run, open the iRobot app and go to Schedule. Set your preferred cleaning days and times. You can configure the Roomba to clean specific rooms or the whole home on different days. If your Roomba supports Imprint Smart Mapping, you can now label rooms, create keep-out zones, and set room-specific cleaning preferences. Test the schedule by triggering a manual clean from the app and confirming the robot starts at the scheduled time.
Installation Tips
Still stuck? This is usually the deeper cause below.
Place Home Base in permanent location before first use. Ensure strong Wi-Fi signal at location. Remove obstacles before first cleaning.
Before you go — these iRobot guides fix most remaining issues.
Most popular upgrades chosen by Roomba Robot Vacuum owners.

iRobot® Authentic Replacement Parts- Braava Jet® m Series...

iRobot® Roomba® Authentic Replacement Parts - DualClean™ ...

iRobot® Authentic Replacement Parts - Washable Mop Pads R...
As an Amazon Associate we earn from qualifying purchases.
Official Manufacturer Manual
iRobot provides official product documentation through their online manual rather than downloadable PDF. Access setup guides, troubleshooting steps, and product specifications for your Roomba Robot Vacuum.
Source: homesupport.irobot.com
Need More Help? iRobot Support
Note: The contact information below connects you directly to iRobot's official customer support team, not Trunetto. They can help with warranty claims, device replacements, and advanced technical issues.
How Does iRobot Compare?
Before replacing your iRobot device, see how it stacks up against alternatives in our full comparison guides.