Why Does My Roomba Keep Saying Clean Debris Extractors and Won't Start
- Hair still wrapped in the end caps/bearings
- Extractors not fully seated
- Debris under the brush guard
Problem Description
Your Roomba displays clean debris extractors error and refuses to start cleaning. You already cleaned them but the error persists. The extractors look fine to you but the Roomba disagrees. The sensor that detects debris buildup is separate from the extractors themselves and is usually the actual problem.
Why This Happens in Real Homes
The "clean debris from extractors" error keeps a Roomba from starting until it senses the brushes can spin freely — and it commonly persists even after an obvious clean, because the real jam is hidden in the yellow bearing end caps rather than on the visible rubber.
Take both extractors fully out, remove the yellow end caps, and clear the hair wound around the bearings underneath — that hidden wrap is what usually re-triggers the error. Clean under the brush guard, reseat everything in the correct order and orientation, and latch the frame. If it still won't start with genuinely clean, freely-spinning extractors, worn extractors or a brush-motor obstruction is the cause.
Symptoms
- 'Clean debris from extractors' error
- Robot refuses to start
- Error persists after cleaning
- Won't begin a job
- Extractors look clean but still error
- Recurs immediately
- Grinding on attempted start
- Starts briefly then errors
Recognize these? Here's what usually causes it.
Common Causes
- Hair still wrapped in the end caps/bearings
- Extractors not fully seated
- Debris under the brush guard
- End caps installed backward or in the wrong order
- Something jammed in the brush motor
- Yellow bearing caps clogged
- Worn extractors
- Extractor frame not latched
Most fixes happen in the first 3 steps.
Do not use water to clean the debris sensor or extractor housing. Moisture inside the vacuum body can damage the motor and electronics.
Tools & Requirements
Step-by-Step Solution
Remove Extractors Completely
Flip Roomba and pull both rubber extractors out. Pull off the small end caps on each side of both extractors. Hair and dust compact inside these caps invisibly. Clean them thoroughly. This is the number one fix that most people miss because the extractors themselves look clean.
Clean Debris Sensor
With extractors removed look into the extractor housing cavity. There is a small optical sensor window. Wipe it with a dry cotton swab. Dust on this sensor makes the Roomba think debris is always present triggering the error even with clean extractors.
Check Bearings
Spin each extractor by hand. They should spin smoothly with no grinding or resistance. If they feel rough the bearings have hair or grit inside. Use a thin tool to clear debris from the bearing holes at each end. Replace extractors if bearings are permanently damaged.
Clear the Compartment
Wipe the entire extractor housing with a dry cloth. Check corners and edges for compacted debris. Small pebbles or dried food particles wedged in the housing prevent extractors from seating properly which triggers the error.
Reseat and Test
Reinstall both extractors making sure they click into place. The green extractor goes in the front slot and the white one in the rear. If swapped the Roomba may throw errors. Press the Clean button. If the error persists do a full reboot by holding Clean for 20 seconds.
Quick Solutions
Still having issues? This is usually the deeper cause below.
If this comes back after following these steps, check whether a recent app or firmware update reset a default setting — the fix works, but the setting gets reverted silently.
Replace Roomba extractors every 6 to 12 months depending on usage. Worn extractors cause more frequent errors and reduce cleaning performance even when they look fine.
This issue almost always looks more complex than it is — the majority of cases trace back to a single setting, a stale credential, or a default that shipped wrong.
- Hair still wrapped in the end caps/bearings
- Extractors not fully seated
- Debris under the brush guard
- End caps installed backward or in the wrong order
- Something jammed in the brush motor
Before you go — try one of these (they fix most cases).
Most popular upgrades chosen by iRobot Roomba owners.

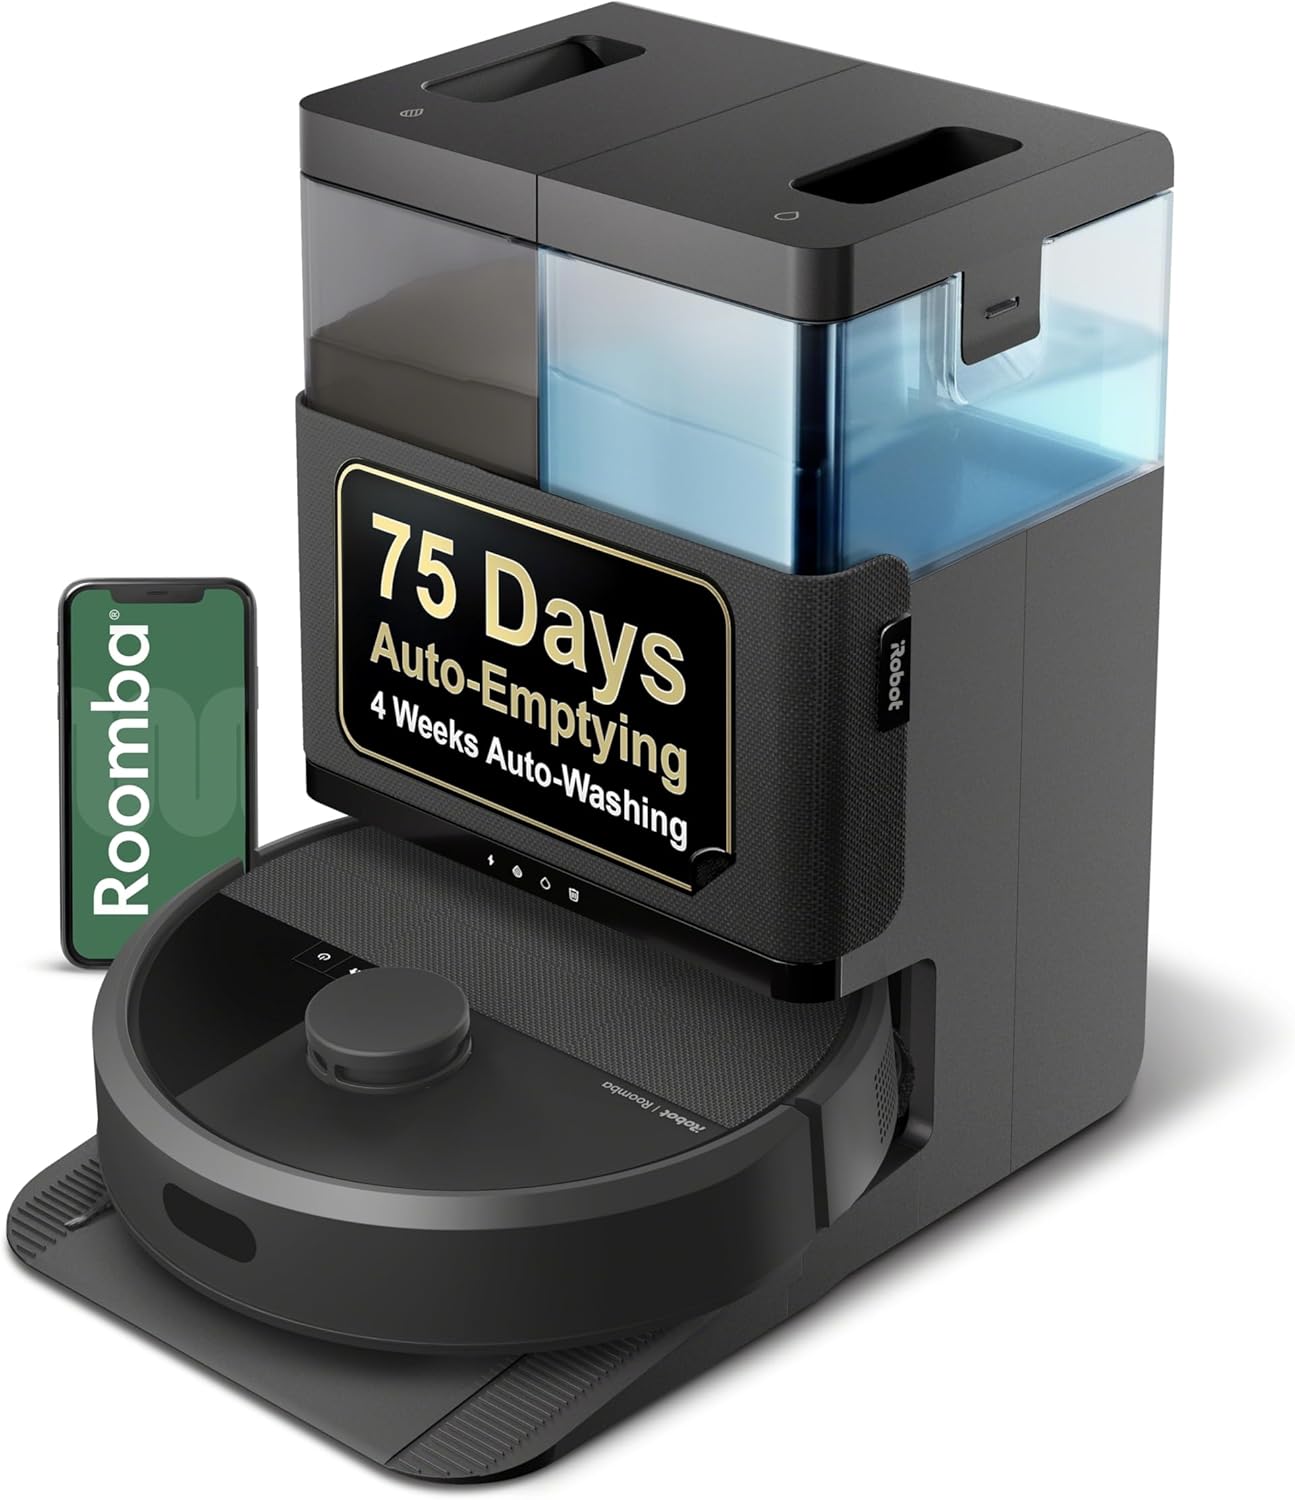
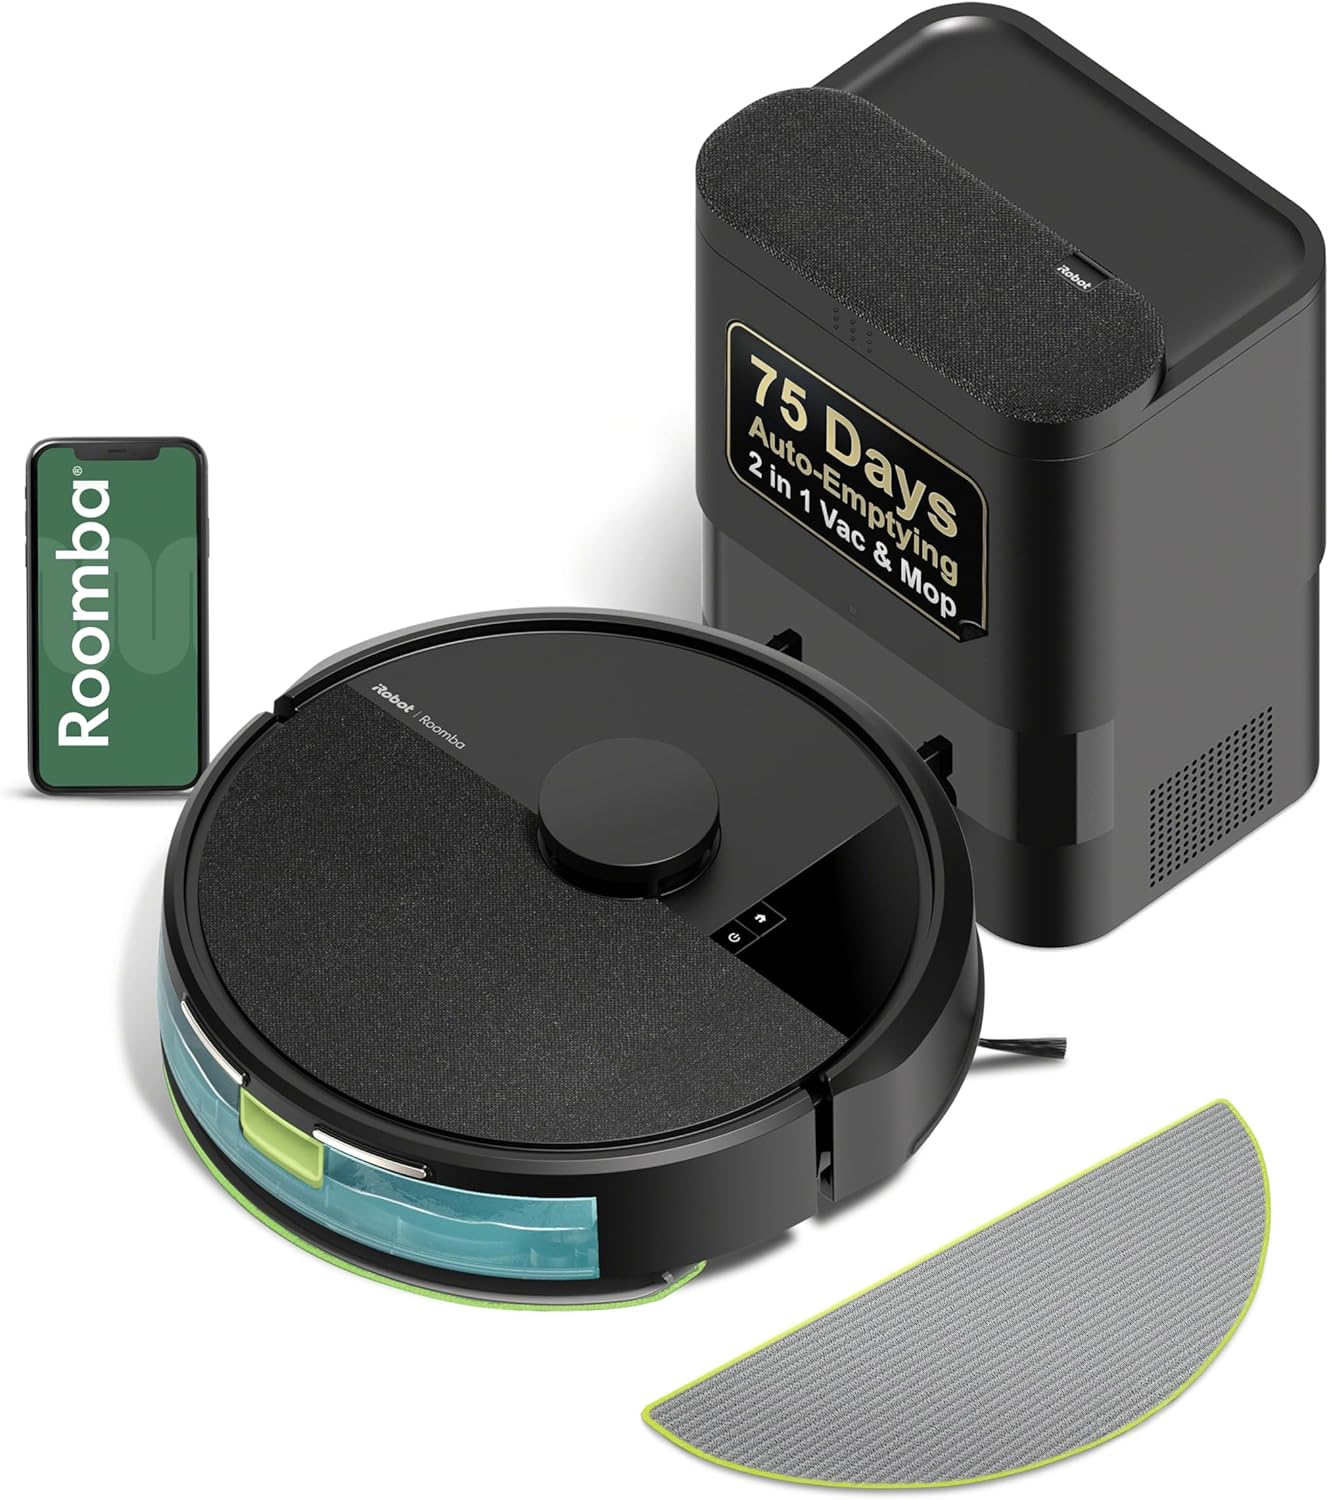
iRobot® Roomba® Authentic Replacement Parts - DualClean™ ...

iRobot® Authentic Replacement Parts - Washable Mop Pads R...
As an Amazon Associate we earn from qualifying purchases.
Official Manufacturer Manual
iRobot provides official product documentation through their online manual rather than downloadable PDF. Access setup guides, troubleshooting steps, and product specifications for your iRobot Roomba.
Source: irobot.com
Need More Help? iRobot Support
Note: The contact information below connects you directly to iRobot's official customer support team, not Trunetto. They can help with warranty claims, device replacements, and advanced technical issues.
How Does iRobot Compare?
Before replacing your iRobot device, see how it stacks up against alternatives in our full comparison guides.