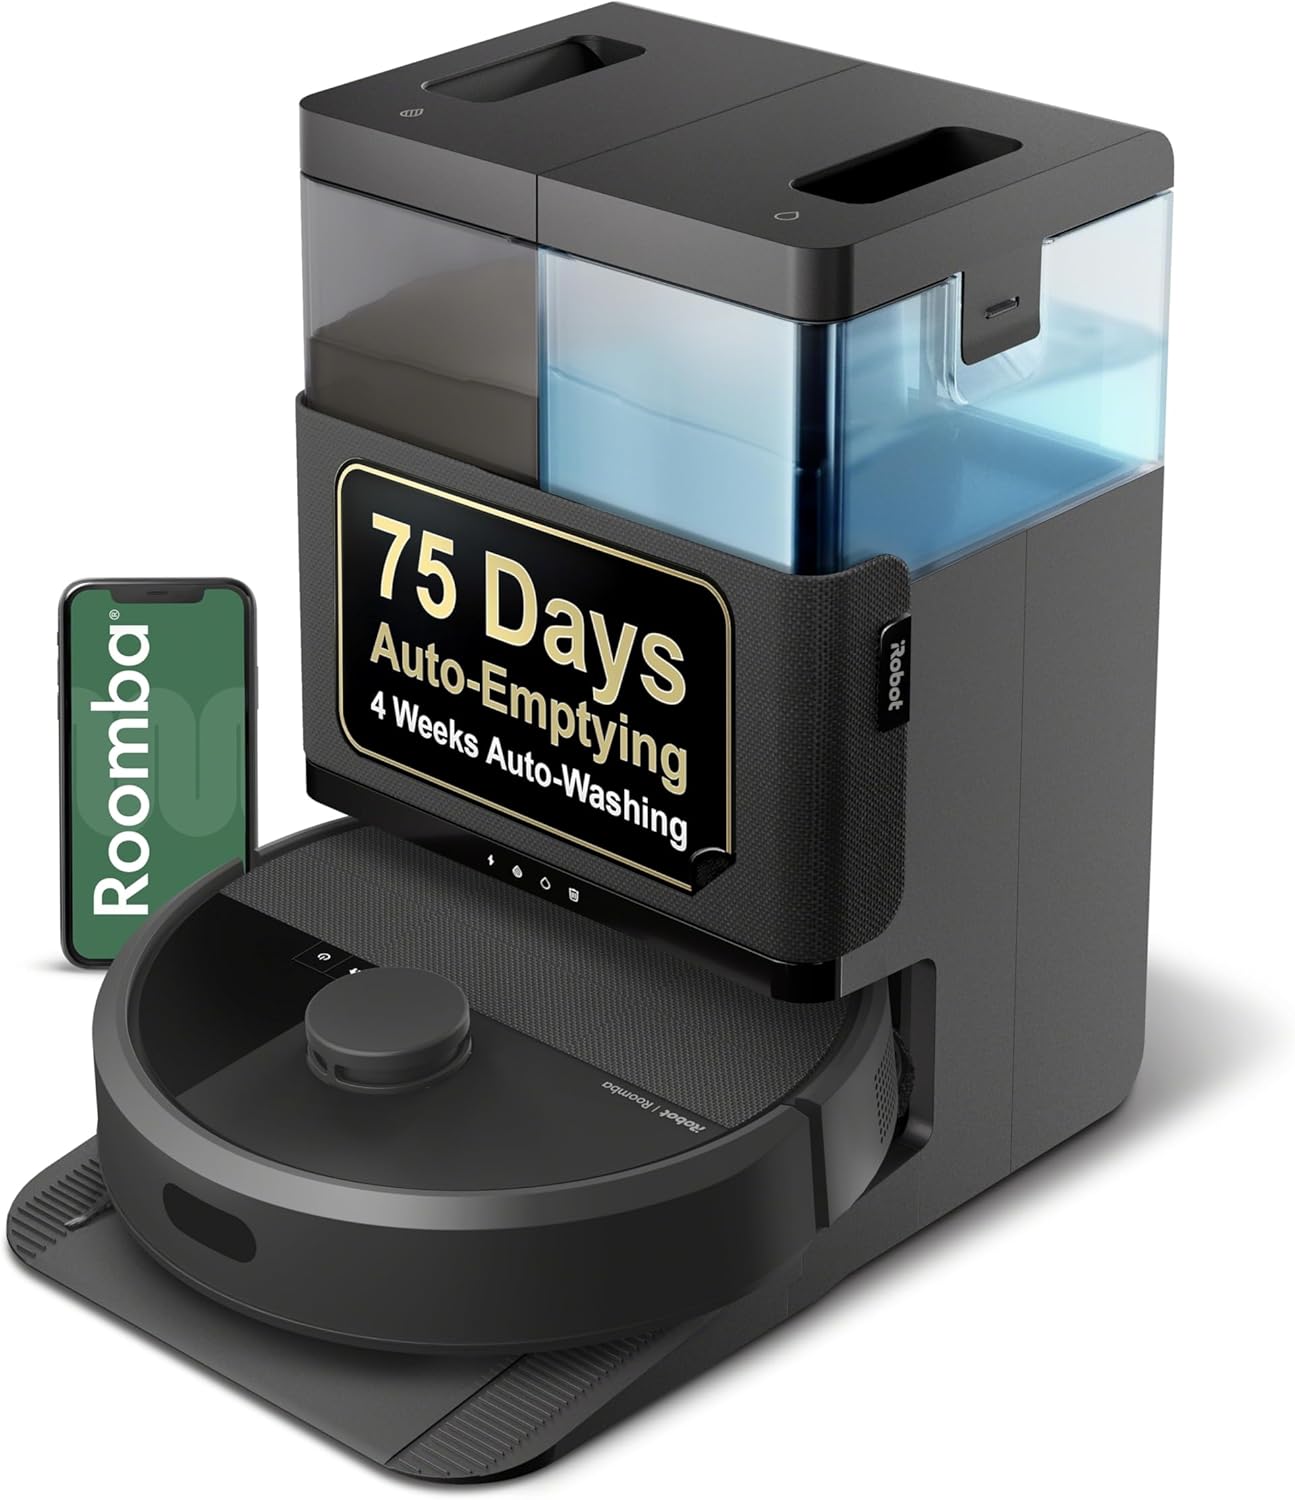
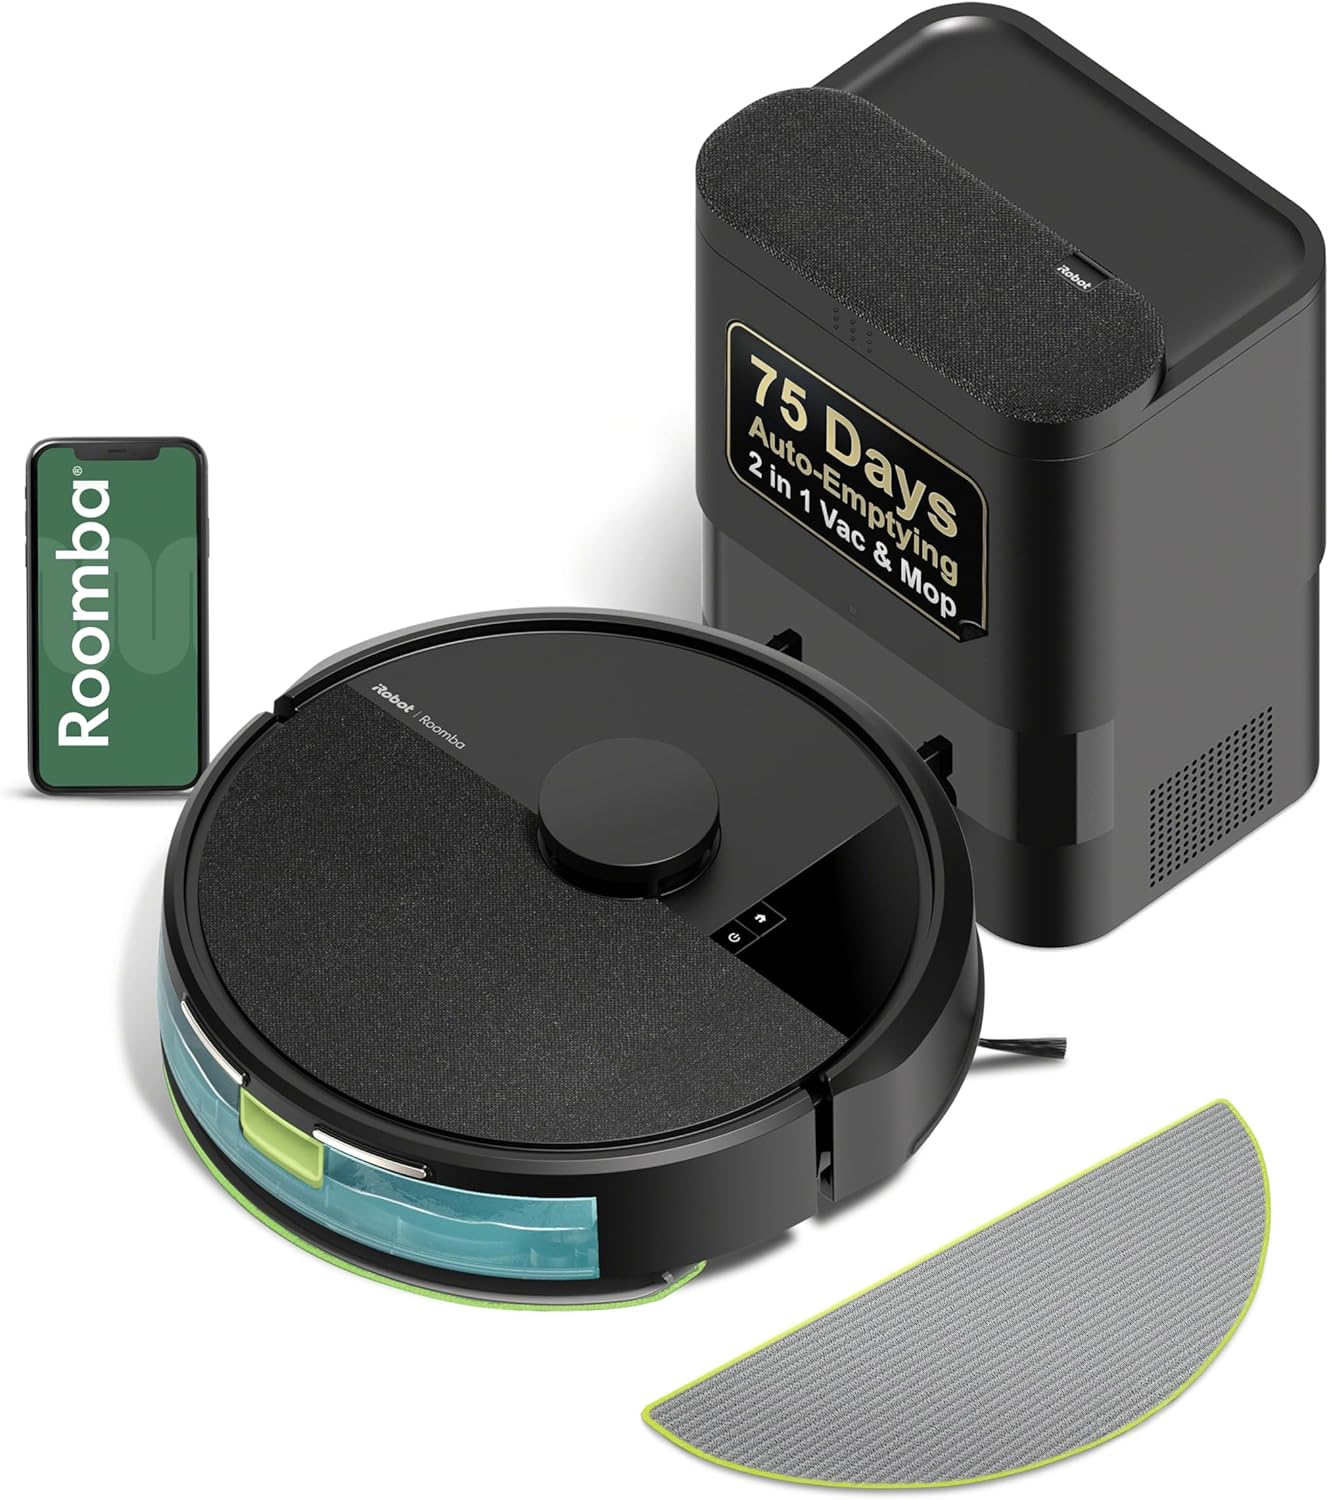
Why Won't My Roomba i7 Clean Base Empty?
- Full or improperly seated dust bag
- Clog in the i7's evac port or base tube
- Bag door/lid not closed
Problem Description
Your Roomba i7 Clean Base (auto-empty dock) is not emptying the robot's dustbin. Check the Clean Base dust bag first — open the lid on top of the Clean Base and check if the bag is full. Full bags block suction. AllergenLock bags need replacement when the indicator light turns on. This guide covers bag replacement, suction port cleaning, and troubleshooting.
Why This Happens in Real Homes
On the i7+ Clean Base, no-empty problems trace to the same short list: a full or badly seated bag, or a clog in the evacuation path between the robot's bottom port and the base. The i7's bin only empties if that airway is clear and the bag is sealed to its port.
Replace the bag and make sure it's pushed all the way onto the cardboard collar with the lid closed, then check the robot's underside evac port and the base's internal tube for hair or a debris clog. Confirm the i7 docks fully so its port aligns with the base. A power-cycle resets a full-bag sensor that's misfiring after a bag change.
Symptoms
- i7 Clean Base won't empty
- No evac cycle after docking
- Bin still full after docking
- Base runs but doesn't clear the bin
- Full-bag light on
- Partial emptying only
- Clog error
- Loud base, weak suction
Recognize these? Here's what usually causes it.
Common Causes
- Full or improperly seated dust bag
- Clog in the i7's evac port or base tube
- Bag door/lid not closed
- Hair wrapped over the robot's evac port
- Debris jammed in the base suction path
- Full-bag sensor triggered
- Robot not fully docked
- Bag port torn or unsealed
Most fixes happen in the first 3 steps.
Keep small objects, loose cables, and thin rugs with fringe off the floor before running the vacuum. These can tangle in the brush roll and damage the motor. Do not use the vacuum to pick up liquids, sharp objects, or fine construction dust as this can permanently damage internal components.
Tools & Requirements
These tools will help you complete this fix.

Dry cloth
WHOOSH! Pro 16.9 fl oz Refillable TV Screen Cleaner ...

Replacement bag if needed
LOVECO 4 Pcs Replacement Mop Pads Compatible with iR...
As an Amazon Associate we earn from qualifying purchases.
Step-by-Step Solution
Check the Clean Base dust bag
Open the Clean Base lid and check the dust bag. If the bag is full, the base cannot empty the robot. Replace the bag with a new iRobot Clean Base bag — pull the old bag out (it self-seals), insert the new one. A full bag prevents airflow and the suction motor runs but no dirt transfers. The bag typically lasts 30-60 days depending on home size and dirt level. The iRobot app sends a notification when the bag needs replacement.
Needed for this step
LOVECO 4 Pcs Replacement Mop Pads Compatible wi...
This helps complete the fix you are currently reading.
$9.99Clear the evacuation port
The evacuation port is the opening on the Clean Base where the robot docks and the suction transfers dirt. Hair, string, and large debris can clog this port. Lift the robot off the base. Look into the port with a flashlight. Use the included cleaning tool or tweezers to remove any visible clogs. Also check the matching port on the bottom of the robot (the dustbin exit) — clogs on either side prevent emptying.
Check the robot is docking correctly
The robot must be fully seated on the Clean Base for the evacuation cycle to trigger. If the robot is slightly off-center or not making full contact: the base does not activate. Check that the Clean Base is on a flat, hard surface (not thick carpet). Make sure nothing is behind the base preventing the robot from pushing all the way in. The charging contacts on the base and robot should make firm contact.
Clean the base suction motor filter
Inside the Clean Base, above the dust bag compartment, there may be a filter that protects the suction motor. If this filter is clogged with fine dust, suction power decreases and the base cannot fully empty the robot. Remove the filter (check the manual for location and removal method), tap it over a trash can to remove dust, and reinstall. Replace the filter annually for best performance.
Restart the Clean Base
Unplug the Clean Base power cord for 30 seconds. Plug it back in. Place the robot on the base. The base should initiate an evacuation cycle automatically. If it does not: start a cleaning session from the app, let the robot clean for 1 minute, then send it home. The base should empty the bin when the robot docks after a cleaning session. If the base motor runs but no dirt transfers: the clog is in the transfer path and needs physical clearing.
Quick Solutions
Still having issues? This is usually the deeper cause below.
If this comes back after following these steps, check whether a recent app or firmware update reset a default setting — the fix works, but the setting gets reverted silently.
["Bag lasts about 60 days", "Evacuation runs 10-60 seconds", "Check port for hair clogs"]
This issue almost always looks more complex than it is — the majority of cases trace back to a single setting, a stale credential, or a default that shipped wrong.
- Full or improperly seated dust bag
- Clog in the i7's evac port or base tube
- Bag door/lid not closed
- Hair wrapped over the robot's evac port
- Debris jammed in the base suction path
Before you go — try one of these (they fix most cases).
Most popular upgrades chosen by iRobot Roomba i7 owners.

iRobot® Authentic Replacement Parts- Braava Jet® m Series...

iRobot® Roomba® Authentic Replacement Parts - DualClean™ ...

iRobot® Authentic Replacement Parts - Washable Mop Pads R...
As an Amazon Associate we earn from qualifying purchases.
Official Manufacturer Manual
iRobot provides official product documentation through their online manual rather than downloadable PDF. Access setup guides, troubleshooting steps, and product specifications for your iRobot Roomba i7.
Source: homesupport.irobot.com
Need More Help? iRobot Support
Note: The contact information below connects you directly to iRobot's official customer support team, not Trunetto. They can help with warranty claims, device replacements, and advanced technical issues.
How Does iRobot Compare?
Before replacing your iRobot device, see how it stacks up against alternatives in our full comparison guides.