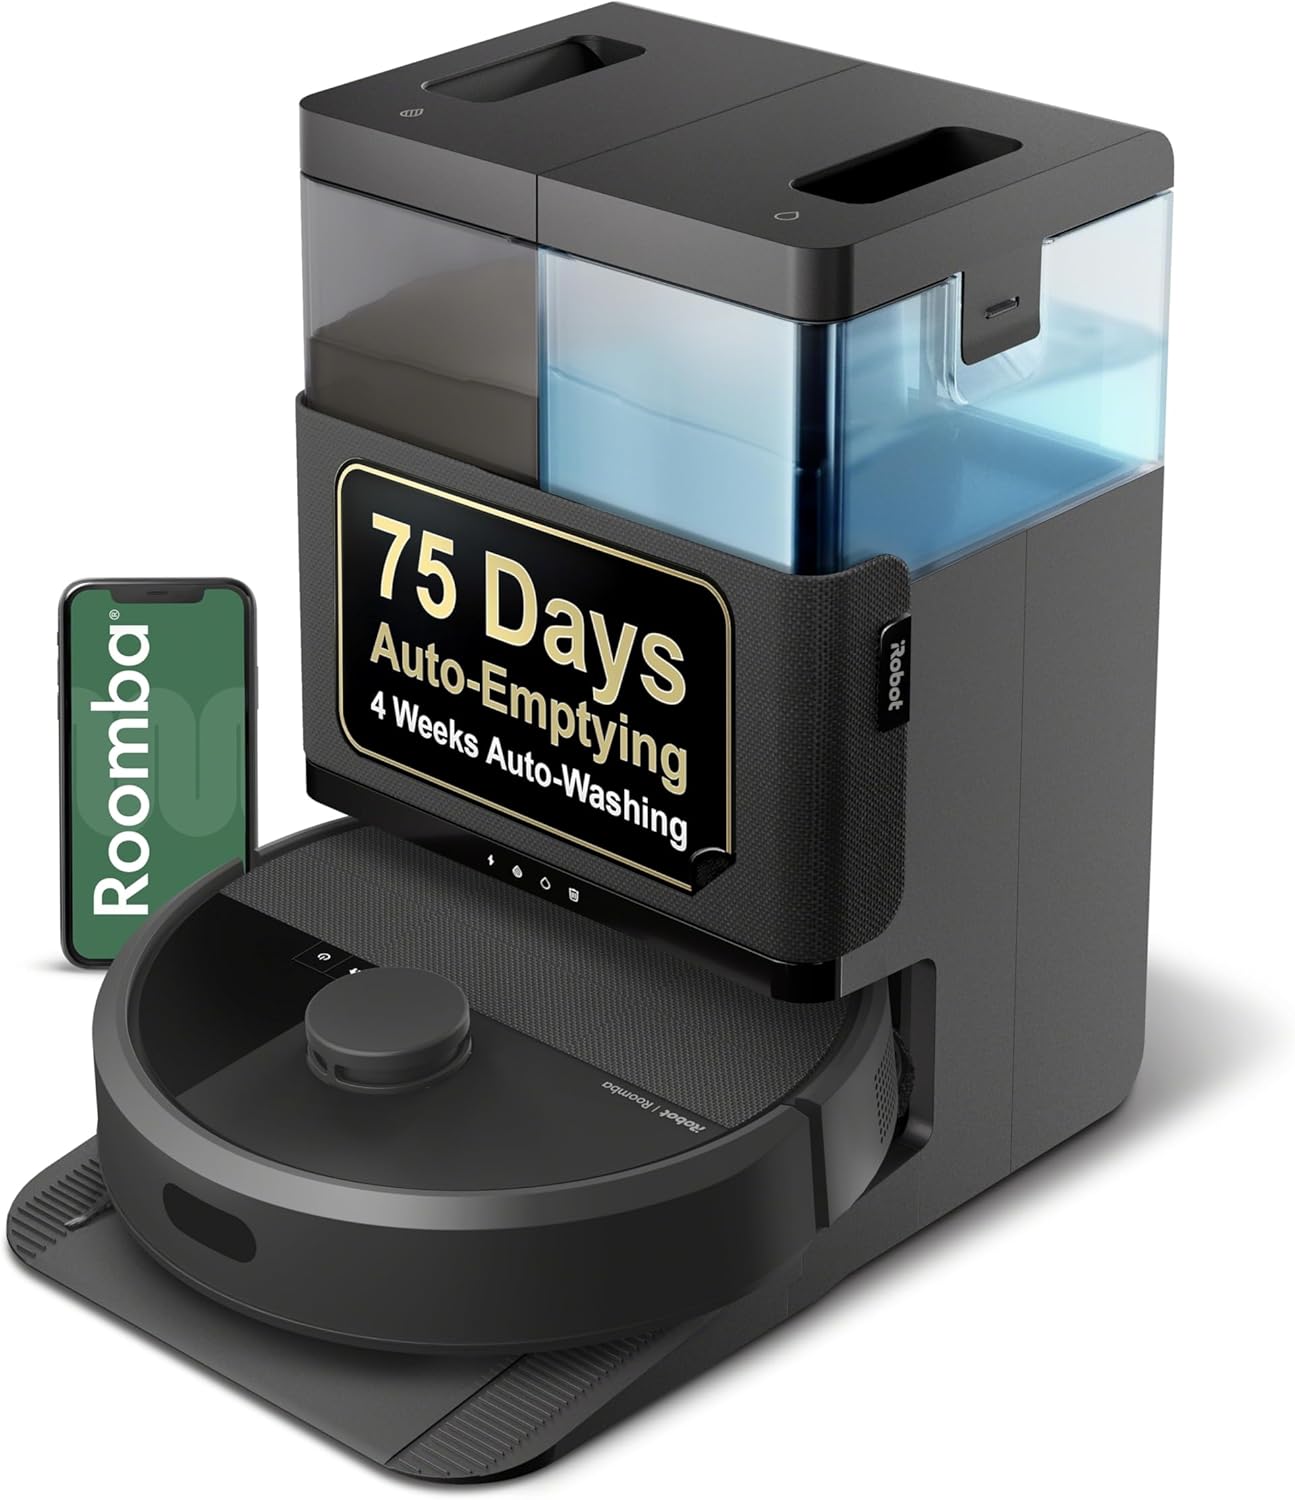
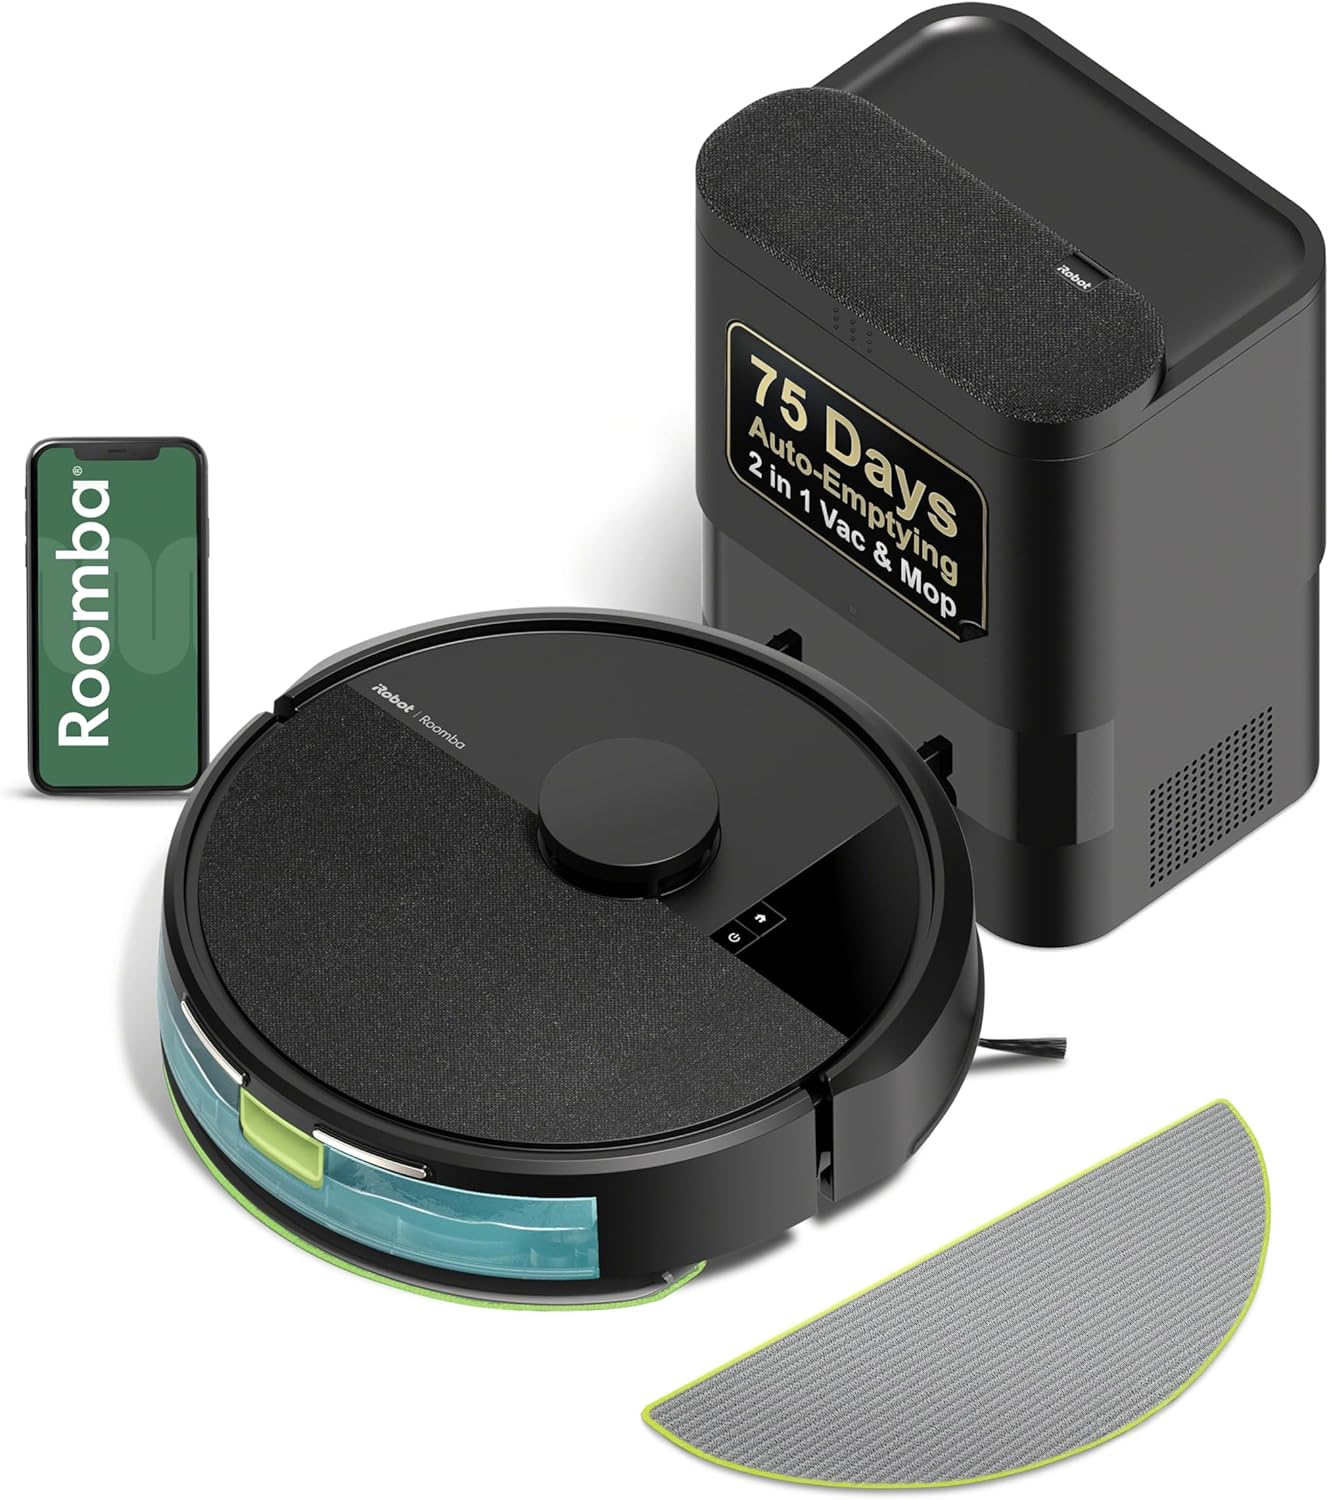
Roomba j7+ Charging Contacts Melting or Discolored
- High-resistance connection arcing at the contacts
- Dirty or corroded contacts generating heat
- Poor alignment or loose seating on the dock
Problem Description
You have noticed that the metal charging contacts on your Roomba j7 or j7+ (and/or on the Clean Base) appear discolored, burnt, melted, or have visible damage. The robot may be failing to charge, charging intermittently, or you may smell a burning odor. This is a serious safety issue.
Why This Happens in Real Homes
Melting or scorched charging contacts are a heat problem caused by a high-resistance connection — when the robot's contacts don't meet the dock's pads cleanly (dirt, corrosion, poor seating), current arcs across the tiny gap and generates enough heat to discolor or melt the plastic around them. This is worth taking seriously.
Stop using an affected dock and inspect both sets of contacts: clean off any grime or corrosion, clear debris, and make sure the robot seats squarely so the contacts press firmly together. A dock with visibly melted or pitted pads should be replaced, and only genuine iRobot docks and adapters used. If clean, well-seated contacts still overheat, contact iRobot — it's a safety issue, not just a charging one.
Symptoms
- Charging contacts discolored or melted
- Burnt smell near the dock
- Scorch marks on the contacts
- Intermittent charging
- Robot won't charge reliably
- Warm or hot contacts
- Pitting on the dock pads
- Charging stops abruptly
Recognize these? Here's what usually causes it.
Common Causes
- High-resistance connection arcing at the contacts
- Dirty or corroded contacts generating heat
- Poor alignment or loose seating on the dock
- Debris between the contact surfaces
- Damaged or worn charging pads
- Non-genuine dock or adapter
- Moisture or corrosion at the contacts
- Bent contact springs
Most fixes happen in the first 3 steps.
Do not attempt to clean, scrape, or repair the melted contacts. The unit is not safe to use. Any attempt at a DIY repair will void your warranty and could be dangerous. Wait for official replacement parts from iRobot.
Tools & Requirements
Step-by-Step Solution
Stop Using the Robot Immediately
If you see melted, burnt, or severely discolored charging contacts on your Roomba j7/j7+ or its Clean Base, stop using the device immediately. Unplug the Clean Base from the wall. Remove the robot from the dock and do not attempt to charge it. This is a potential fire hazard and must be treated seriously.
Document the Damage
Take clear photographs of the damaged charging contacts on both the robot and the Clean Base. Document the discoloration, melting, or any other visible damage. Note the date you discovered the issue and any observations (e.g., burning smell, heat, sparking). This documentation will be essential when contacting iRobot support.
Contact iRobot Support Immediately
Call or email iRobot customer support without delay. Explain that you have observed melting or damage to the charging contacts and describe the symptoms. iRobot is aware of this issue affecting some units and has a process for handling these cases. They will likely request your photos and device serial number.
Follow iRobot's Instructions
iRobot support will guide you on the next steps, which typically involve sending the affected unit back or receiving a replacement. Do not attempt to repair the contacts yourself or continue using the device in any capacity. Follow all instructions provided by iRobot's safety and support team.
Store Safely Until Resolution
While waiting for resolution from iRobot, store the affected Roomba and Clean Base in a safe location away from any flammable materials. Do not plug the dock back in. Do not attempt to charge the robot with any other charger. Keep it in a well-ventilated area, ideally on a non-flammable surface like concrete or tile.
Quick Solutions
Still having issues? This is usually the deeper cause below.
If drain continues after replacing batteries, check the event history — a stuck-open sensor or rapid polling loop burns through batteries in days.
Regularly inspect the charging contacts on your robot vacuum and dock for any signs of wear, discoloration, or debris. Clean contacts with a dry cloth during routine maintenance to prevent buildup.
This issue almost always looks more complex than it is — the majority of cases trace back to a single setting, a stale credential, or a default that shipped wrong.
- High-resistance connection arcing at the contacts
- Dirty or corroded contacts generating heat
- Poor alignment or loose seating on the dock
- Debris between the contact surfaces
- Damaged or worn charging pads
Before you go — try one of these (they fix most cases).
Most popular upgrades chosen by iRobot Roomba j7 / j7+ owners.

iRobot® Authentic Replacement Parts- Braava Jet® m Series...

iRobot® Roomba® Authentic Replacement Parts - DualClean™ ...

iRobot® Authentic Replacement Parts - Washable Mop Pads R...
As an Amazon Associate we earn from qualifying purchases.
Official Manufacturer Manual
iRobot provides official product documentation through their online manual rather than downloadable PDF. Access setup guides, troubleshooting steps, and product specifications for your iRobot Roomba j7 / j7+.
Source: homesupport.irobot.com
Need More Help? iRobot Support
Note: The contact information below connects you directly to iRobot's official customer support team, not Trunetto. They can help with warranty claims, device replacements, and advanced technical issues.
How Does iRobot Compare?
Before replacing your iRobot device, see how it stacks up against alternatives in our full comparison guides.