How to Set Up Virtual Walls on a Shark AI Robot Vacuum for Small Rooms
- Remap the Room from a Fresh Run
- Open the Map Editor
- Add the No-Go Zone
- Save and Sync to the Robot
- Run a Single-Room Verification
- If It Crosses the Wall, Update and Enlarge
Most users complete this in under 25 minutes
Overview
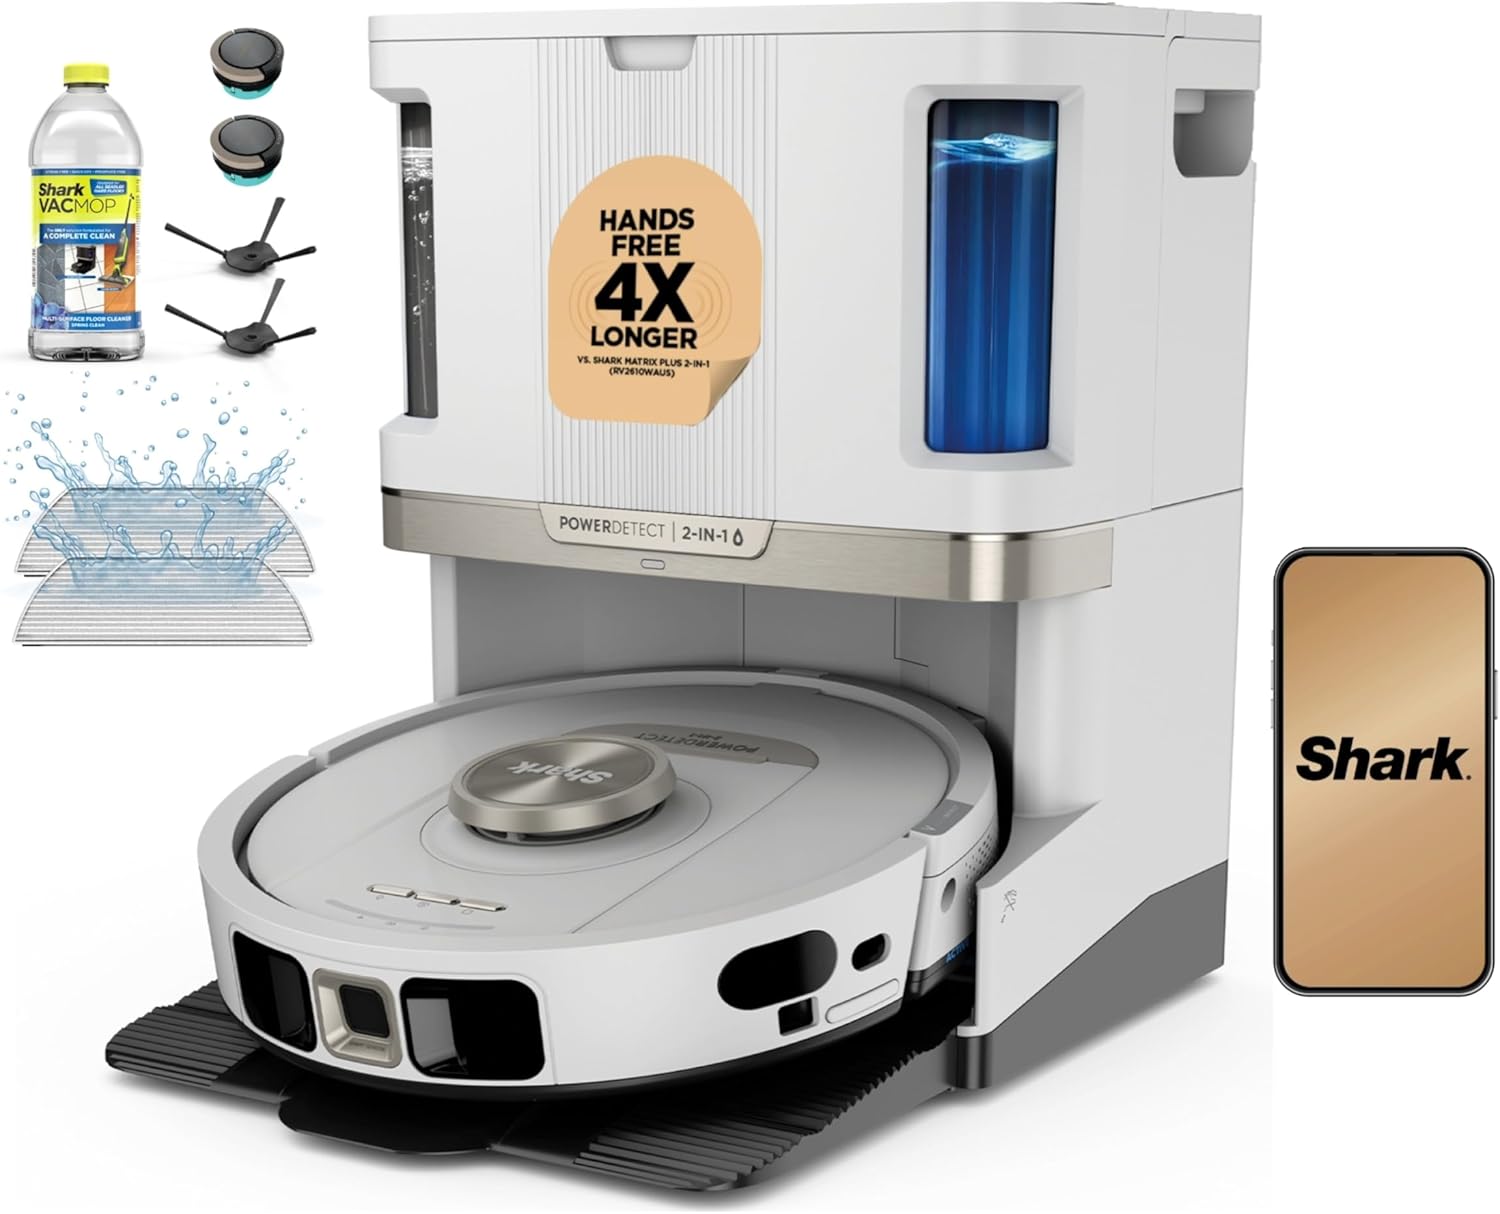
Shark AI robots use app-defined no-go zones rather than physical beacons. This guide walks through mapping a small room cleanly, drawing virtual walls that keep the robot out of chairs, nightstands, or pet areas, and verifying behavior.
Why This Happens in Real Homes
Shark's virtual walls are app-only no-go zones, with no physical strips or beacons like older robots used, so everything depends on the robot having a good map and actually loading it before it runs. The most common reason a robot ignores a wall is that the zone was drawn on a rough or incomplete map: if the robot never fully explored that corner, the app lets you place a zone in roughly the right spot but the robot's internal coordinates do not match. Run one clean mapping pass first, then draw zones fully around the obstacle with a little margin rather than a thin line across a doorway. Two other traps catch people: firmware updates can wipe saved zones, so re-check them after an update, and the robot only uses the updated map if it starts from the dock and had a chance to sync, so starting a run right after editing while it is away from base can run the old map. If a room maps as one big undivided blob, split it into named rooms so zones snap where you want them.
What's Included
- Robot still enters a room or area after a no-go zone was drawn
- Virtual wall drawn in the app does not appear on the next run
- No-go zone works in one room but the robot crosses it in another
- Robot bumps the edge of the zone repeatedly instead of turning away
- Zones disappeared after a firmware update or a remap
- Cannot draw a wall because the room is one big undivided region
- Robot cleans right up to furniture legs the zone was meant to block
- Small room maps as a fragment, so the zone snaps to the wrong spot
Got your materials ready? Here's what to check first.
Before You Start
- No-go zone set on a map the robot never fully explored (incomplete map)
- Zone drawn too loosely or not fully enclosing the obstacle
- Map edited but the change never synced back to the robot (WiFi drop mid-save)
- Firmware update reset or cleared the saved zones
- Robot started a run before the updated map finished loading
- Room not split, so the zone covers more or less area than intended
- Robot picked up or moved mid-run and lost its position on the map
- Multiple maps saved and the zone is on a different floor's map
Don't skip this step — it breaks everything if you do
Do not rely on virtual walls alone to protect fragile decor. Physical removal or relocation is safer for first-run sessions in a new room.
Tools & Requirements
Installation Steps
Remap the Room from a Fresh Run
In the SharkClean app, open your robot and go to Maps. Start a fresh mapping or Explore run of the room with the doors to it closed so the robot concentrates on that space. Virtual walls placed on a clean, accurate map hold far better than ones drawn on an old, rough map.
Open the Map Editor
When the map finishes saving, go to your robot > Maps > Edit Map. Confirm the small room is recognized as one region. If the app split it into two, use the Merge Rooms tool so the whole room is one area before you add zones.
Add the No-Go Zone
Still in Edit Map, tap Add No-Go Zone (depending on app version it may be labeled No-Go Zones or shown as a rectangle/wall tool). Drag the box tight around the obstacle, chair legs, a pet feeding station, a cluster of cables, leaving only a small buffer. Oversized zones waste cleaning area; undersized ones still let the robot bump the obstacle.
Save and Sync to the Robot
Tap Save. The robot needs to be on its dock and connected to WiFi for the edited map to sync down to it. Confirm the new no-go zone appears on the map tile; if it does not, power-cycle the robot with its side switch and reopen the app, then save again.
Run a Single-Room Verification
Send the robot to clean just that room (Rooms > select the room > Clean) and watch its path for a minute or two. Confirm it steers around the no-go zone instead of driving through it.
If It Crosses the Wall, Update and Enlarge
If the robot ignores the zone, update the robot firmware in your robot > Settings > Firmware, then go back into Edit Map and redraw the zone slightly larger. Save, re-sync, and test again. Starting each run from the dock also helps the robot localize on the correct map so the zones line up.
Installation Tips
Still stuck? This is usually the deeper cause below.
Save a snapshot of your final map after virtual walls are set. Restoring from a saved snapshot is the fastest fix if an update wipes zones.
Before you go — these Shark guides fix most remaining issues.
Most popular upgrades chosen by Shark AI Robot Vacuum owners.

As an Amazon Associate we earn from qualifying purchases.
Official Manufacturer Manual
Shark provides official product documentation through their online manual rather than downloadable PDF. Access setup guides, troubleshooting steps, and product specifications for your Shark AI Robot Vacuum.
Source: sharkclean.com
Need More Help? Shark Support
Note: The contact information below connects you directly to Shark's official customer support team, not Trunetto. They can help with warranty claims, device replacements, and advanced technical issues.
How Does Shark Compare?
Before replacing your Shark device, see how it stacks up against alternatives in our full comparison guides.
Accessories owners commonly pair with Shark AI Robot Vacuum.

Amazon Basics 20-Pack AA Alkaline High-Performance Batter...

Amazon Basics CR2032 3V Lithium Coin Cell Batteries for K...

Duracell Coppertop Double AA Batteries with Power Boost I...
As an Amazon Associate we earn from qualifying purchases.