

Why Won't My Nest Camera Pull a New IP Address After Router Change?
- Camera cached the old router IP configuration and will not request new DHCP lease
- New router uses a different subnet than the old router such as 192.168.0.x versus 192.168.1.x
- Camera firmware holds onto old DNS and gateway settings preventing communication
Problem Description
After replacing your router or changing your network configuration your Nest cameras are stuck on an old IP address and will not obtain a new DHCP lease from the new router. The cameras appear offline in the Google Home app even though other devices connect fine. This happens because Nest cameras cache their network configuration aggressively and do not release their old IP when the DHCP server changes. Reddit users report the only fix is a factory reset which is annoying because it erases all camera settings and recorded clip associations.
Why This Happens in Real Homes
A Nest camera stuck on an old IP after a router change is holding cached network settings and not requesting a new DHCP lease, especially if the new router uses a different subnet. In real homes swapping ISP routers changes 192.168.1.x to 192.168.0.x. Power-cycle the camera to force a fresh DHCP request, and if it will not take, remove and re-add it to the new network.
Symptoms
- Nest cameras show offline in Google Home app after router replacement
- Camera LED shows activity but the app cannot connect to it
- Router connected devices list does not show the Nest camera at all
- Camera had a static IP on old router and new router uses a different subnet
- Other devices connect to new router but Nest cameras will not
- Camera briefly appears on network then disappears within minutes
Recognize these? Here's what usually causes it.
Common Causes
- Camera cached the old router IP configuration and will not request new DHCP lease
- New router uses a different subnet than the old router such as 192.168.0.x versus 192.168.1.x
- Camera firmware holds onto old DNS and gateway settings preventing communication
- New router MAC address filtering is blocking the Nest camera
- Camera connected to the old 2.4GHz network name which no longer exists
- New router has WPA3 enabled which older Nest cameras do not support
Most fixes happen in the first 3 steps.
A factory reset on a Nest camera does not delete your cloud-stored video history if you have a Nest Aware subscription. However it does erase all device-level settings including activity zones, sensitivity levels, and notification schedules. Screenshot your settings before resetting.
Step-by-Step Solution
Try Matching Old Router Settings
The simplest fix is to configure your new router with the exact same WiFi SSID name and password as your old router. Also set the same subnet if possible. For example if your old router used 192.168.1.x configure the new router the same way. Nest cameras will reconnect automatically within 5 minutes without any manual intervention. This avoids factory resetting every camera.
Power Cycle the Camera
If matching the SSID did not work power cycle each camera. For wired Nest Cams unplug the power cable wait 30 seconds and plug it back in. For battery Nest Cams press and hold the button on the back for 10 seconds to restart. After rebooting the camera will attempt a fresh DHCP request from the new router. Wait 3 to 5 minutes and check the Google Home app for the camera status.
Factory Reset as Last Resort
If the camera will not reconnect a factory reset is required. For Nest Cam Indoor and Outdoor press and hold the reset button on the back for 10 seconds until the LED blinks. For Nest Cam IQ hold the reset button for 15 seconds. For the new Nest Cam Battery or Wired press and hold the button on the back until the LED pulses white. After reset the camera enters setup mode and you can add it fresh through the Google Home app.
Set Up Camera on New Network
Open the Google Home app and tap the plus icon then Set up device then New device. Select your home. The app will search for the camera. Follow the setup steps to connect the camera to your new WiFi network. The camera will download the latest firmware and begin streaming within 5 minutes. You will need to reconfigure any camera settings like activity zones and notification preferences.
Create DHCP Reservation to Prevent Future Issues
After the camera is connected log into your new router and find the camera in the connected devices list. Create a DHCP reservation or static DHCP entry for the camera MAC address. This ensures the camera always gets the same IP address even after router reboots preventing future offline issues caused by IP changes. Do this for every Nest camera on your network.
Quick Solutions
Still having issues? This is usually the deeper cause below.
Camera issues that start suddenly almost always trace back to an upload bandwidth drop — run a speed test before assuming hardware failure.
Before changing routers write down your current WiFi SSID password and router subnet. If you configure the new router identically most smart home devices including Nest cameras will reconnect automatically saving hours of manual re-setup.
Live view problems that start suddenly usually trace back to an upload speed drop — the camera itself is fine, the bandwidth path to the cloud isn't.
- Camera cached the old router IP configuration and will
- New router uses a different subnet than the old
- Camera firmware holds onto old DNS and gateway settings
- New router MAC address filtering is
- Camera connected to the old 2.4GHz network name
Before you go — try one of these (they fix most cases).
Most popular upgrades chosen by Google Nest Camera owners.

Google Nest Cam Indoor (Wired, 3rd Gen) - Security Camera...

Google Nest Cam Indoor (Wired, 3rd Gen) - Security Camera...
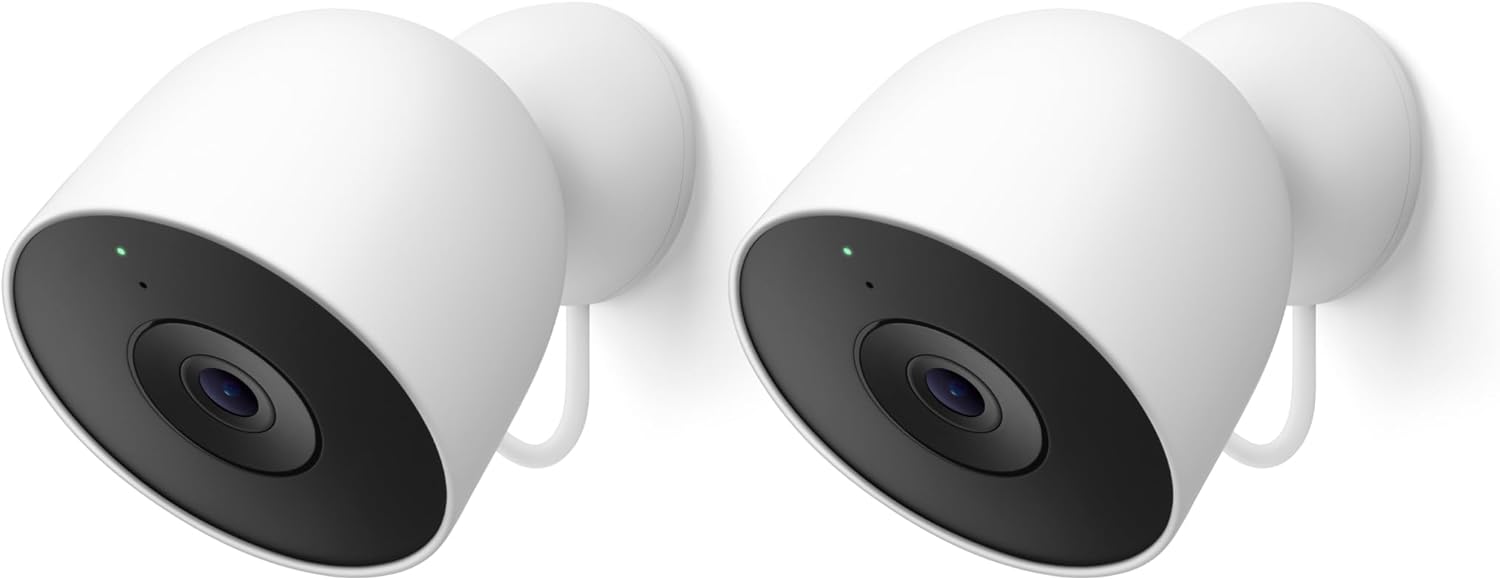
Google Nest Cam Outdoor (Wired, 2nd Gen) - 2 Pack - Secur...
As an Amazon Associate we earn from qualifying purchases.
Official Manufacturer Manual
If you need the complete manufacturer documentation for advanced setup, wiring diagrams, or detailed specifications, you can download the official manual below. The manual includes full technical instructions directly from the manufacturer and may help if your issue requires deeper troubleshooting.
Download the Official Google Nest Camera ManualSource: support.google.com
Need More Help? Google Nest Support
Note: The contact information below connects you directly to Google Nest's official customer support team, not Trunetto. They can help with warranty claims, device replacements, and advanced technical issues.
How Does Google Nest Compare?
Before replacing your Google Nest device, see how it stacks up against alternatives in our full comparison guides.
Accessories owners commonly pair with Google Nest Camera.

Google Nest Cam Outdoor or Indoor, Battery - 2nd Generati...

Google Nest Cam Outdoor or Indoor/Battery - 2nd Generatio...
As an Amazon Associate we earn from qualifying purchases.


