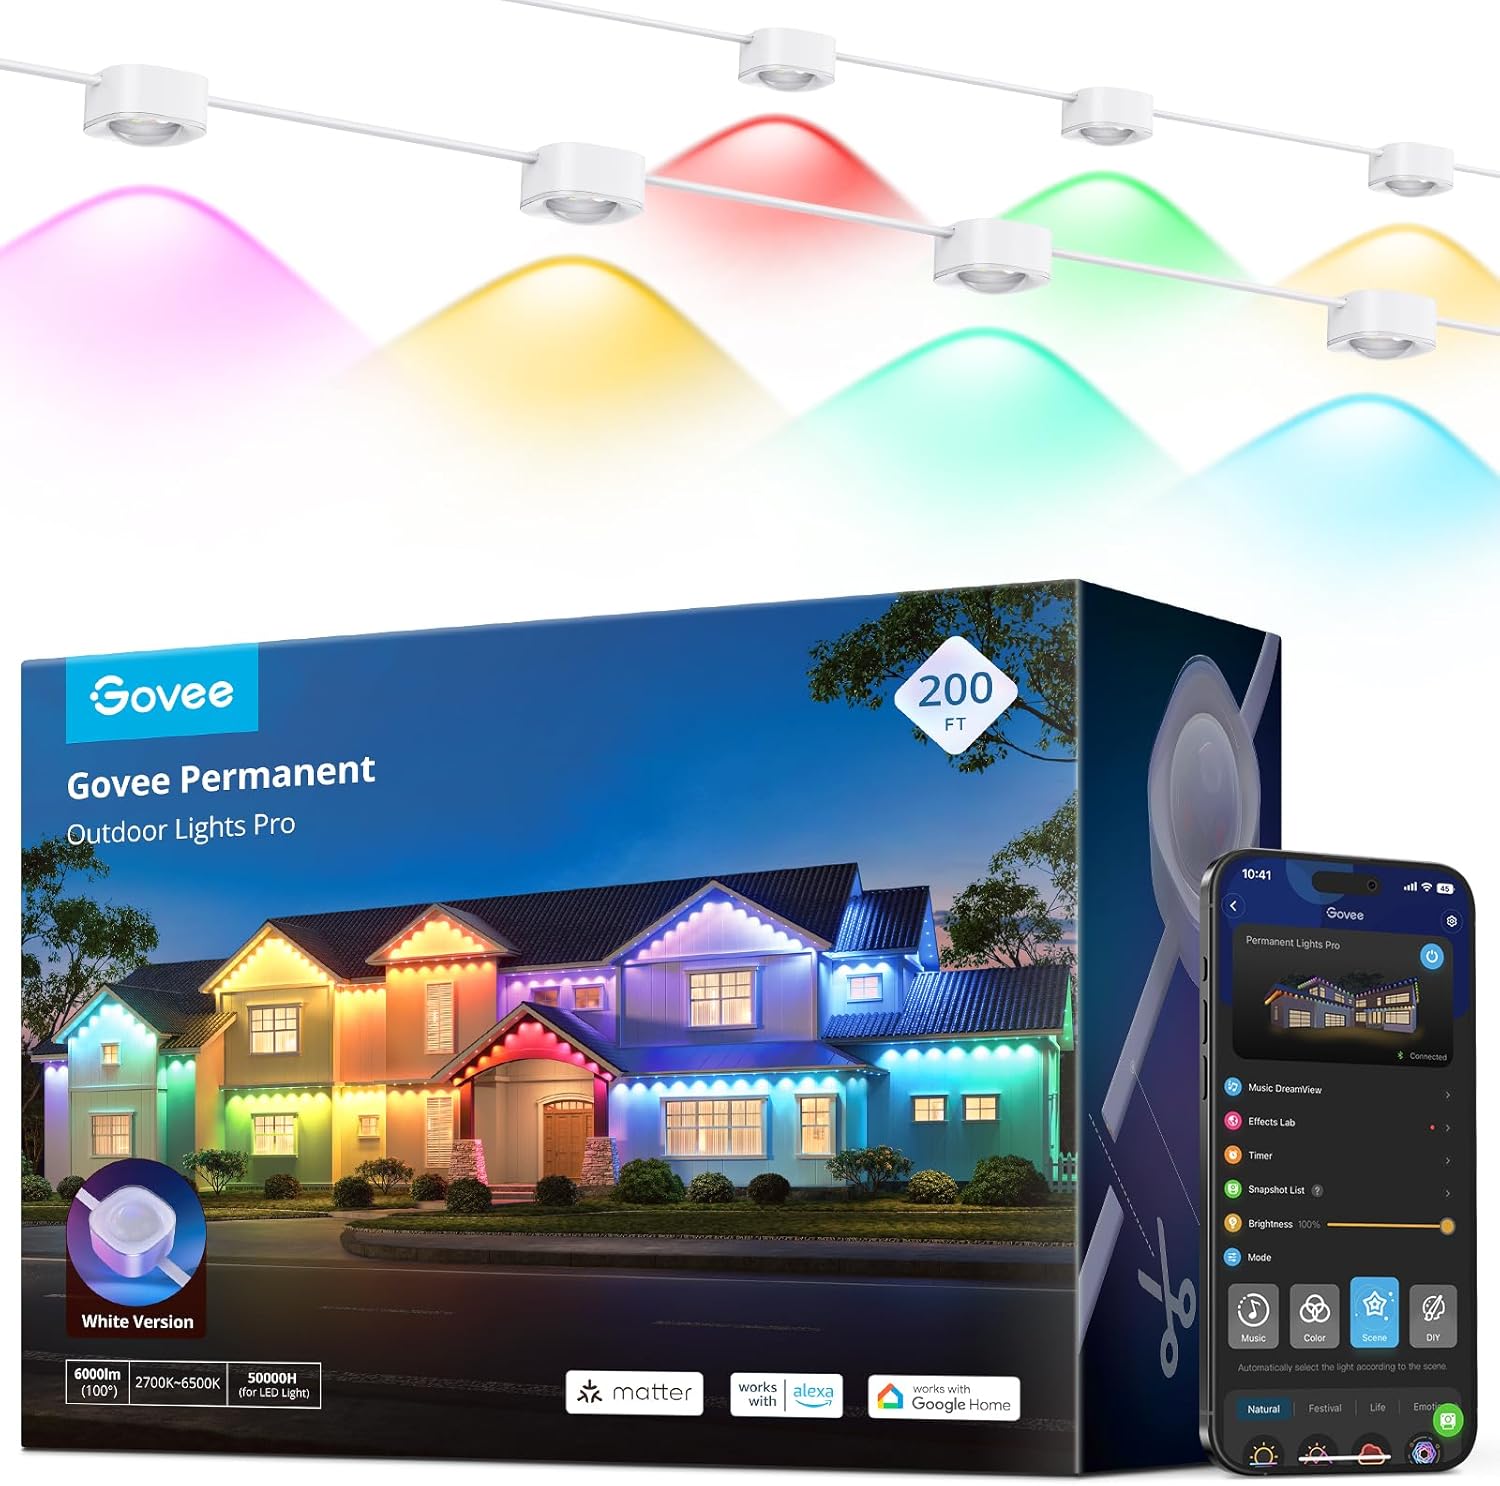
Why Won't My Govee Dreamview Set Up Properly?
- Connected to 5GHz WiFi instead of required 2.4GHz network
- Light not properly reset before pairing attempt
- Weak WiFi signal at the light location
Problem Description
Your Govee Dreamview setup is not working correctly — the TV backlight colors don't match the screen content. The camera must be positioned correctly above or below the TV, centered, and aimed directly at the screen. The camera reads the screen colors and sends them to the light strip. This guide covers camera placement, calibration, and edge visibility settings.
Why This Happens in Real Homes
Most Dreamview setup issues come down to camera calibration. Users rush through it, the corners are off, and then colors on the left side of the TV show up on the right side of the strip. The second most common issue is applying the strip in the wrong direction — counterclockwise instead of clockwise from bottom-left. For HDMI sync box users, the main gotcha is connecting it wrong in the chain so it does not receive the video signal.
Symptoms
- Light shows as offline in the app
- Light does not respond to on/off commands
- Colors appear incorrect or washed out
- Brightness controls not working
- Light flickers or turns off unexpectedly
- Voice commands through Alexa or Google fail
- Scheduled automations do not trigger
Recognize these? Here's what usually causes it.
Common Causes
- Connected to 5GHz WiFi instead of required 2.4GHz network
- Light not properly reset before pairing attempt
- Weak WiFi signal at the light location
- Hub or bridge disconnected from router
- App needs updating to latest version
- Light firmware is outdated
- Too many devices on the same network causing congestion
Most fixes happen in the first 3 steps.
Do not apply the LED strip and then try to reposition it. The adhesive is strong and pulling the strip off the TV back risks tearing the strip or damaging the LEDs. Dry-fit the strip first by holding it in position (use painters tape temporarily) to check the layout before peeling the adhesive backing.
Step-by-Step Solution
Position the camera correctly before anything else
The Govee Dreamview camera needs a clear, centered view of your entire TV screen. Mount it on top of the TV (preferred) or centered below, angled directly at the screen. The camera should see all four corners of the TV with a small margin around the edges. If the camera is off-center or at an angle, color matching will be wrong on one side. Use the calibration preview in the app to verify the camera sees the full screen.
Run the camera calibration in the Govee Home app
Open the Govee Home app, select your Dreamview device, go to Settings, and run Camera Calibration. The app will show a test pattern on your TV — align the green corners in the app with the corners of your TV screen. Take your time here; even a small misalignment causes the LED colors to be off. If the test pattern does not appear on your TV, make sure the HDMI sync box is connected inline between your source and TV.
Apply the LED strip in the correct direction
Start applying the LED strip from the bottom-left corner of the TV back, moving clockwise: bottom-left up the left side, across the top, down the right side, and along the bottom to where you started. The Govee app assumes this layout. If you go counter-clockwise or start from a different corner, the color zones will be reversed. Check the quick-start card that came with your kit for the exact diagram for your model.
Set the correct TV size in the app
In the device settings, select your exact TV size (55 inch, 65 inch, 75 inch, etc.). This tells the system how many LED zones to use and how to map camera regions to strip sections. If you select the wrong size, the ambient colors will bleed across zones or miss edges. Also confirm whether you have the strip on 3 sides (top + sides) or 4 sides (full perimeter) — the app needs this to map correctly.
Connect the HDMI sync box inline with your source
If you have the HDMI Sync Box version, connect it between your streaming device or console and your TV: Source HDMI Out → Sync Box HDMI In → Sync Box HDMI Out → TV HDMI In. The sync box must pass through the video signal to analyze colors. If you connect it as a splitter or on a secondary output, it will not receive the video feed. Make sure your TV input is set to the HDMI port connected to the sync box output.
Adjust the video mode settings for your content
In the app, try different Video modes: Movie mode works best for films with dark scenes, Game mode has lower latency for gaming, and Music mode ignores the screen and reacts to audio. If colors look washed out or laggy, switch modes. Also adjust brightness — the default is often too bright for dark rooms, which makes the ambient effect look harsh instead of immersive. Start at 60-70 percent brightness.
Fix common issues — delay, wrong colors, or no response
If there is a noticeable delay between on-screen action and LED response, enable Game Mode in the app for the lowest latency. If colors are wrong on one side, re-run camera calibration. If the LEDs do not respond to screen content at all, make sure you are in Video mode (not Color or Scene mode). For HDMI sync box users, check that the sync box firmware is up to date in the app under Device Settings > Firmware.
Quick Solutions
Device not found
- Reset the device and re-add it.
- Keep the phone close during pairing.
Bluetooth disabled
- Enable Bluetooth and Location services.
Wi-Fi mismatch
- Use the same Wi-Fi network for all devices.
- Avoid guest networks.
Firmware outdated
- Update firmware for the sync center and lights.
Lights not syncing
- Re-run DreamView calibration.
- Confirm the correct DreamView scene is active.
Too many devices
- Remove unused devices and add fewer at a time.
Still having issues? This is usually the deeper cause below.
If this comes back after following these steps, check whether a recent app or firmware update reset a default setting — the fix works, but the setting gets reverted silently.
The camera calibration step is the most important part of the whole setup. Spend extra time aligning the corners precisely — even 5mm off in the app causes visible color mismatches. If ambient lighting in your room washes out the calibration preview, darken the room during setup. After calibration, test with a colorful scene (an animated movie works well) to verify the zones match.
This issue almost always looks more complex than it is — the majority of cases trace back to a single setting, a stale credential, or a default that shipped wrong.
- Connected to 5GHz WiFi instead of required 2.4GHz network
- Light not properly reset before pairing attempt
- Weak WiFi signal at the light location
- Hub or bridge disconnected from router
- App needs updating to latest version
Before you go — try one of these (they fix most cases).
Most popular upgrades chosen by Govee Dreamview owners.

As an Amazon Associate we earn from qualifying purchases.
Official Manufacturer Manual
Govee provides official product documentation through their online manual rather than downloadable PDF. Access setup guides, troubleshooting steps, and product specifications for your Govee Dreamview.
Source: govee.com
Need More Help? Govee Support
Note: The contact information below connects you directly to Govee's official customer support team, not Trunetto. They can help with warranty claims, device replacements, and advanced technical issues.
How Does Govee Compare?
Before replacing your Govee device, see how it stacks up against alternatives in our full comparison guides.
Accessories owners commonly pair with Govee Dreamview.
As an Amazon Associate we earn from qualifying purchases.
Guide Improvements
- Updated June 16, 2026
Added camera calibration walkthrough, LED strip direction guide, HDMI sync box connection order, and video mode optimization.
What changed:- Added detailed camera calibration walkthrough
- Added LED strip direction and starting position guide
- Added HDMI sync box connection order
- Added video mode selection for different content types
- Added real-world context about calibration importance
Source: Trunetto editorial update