Why Did My Govee Outdoor LED Strip Stop Working After Rain?
- Water entered through cut ends or connections
- IP rating not sufficient for installation location
- Controller or power supply not weatherproofed
Problem Description
Your Govee outdoor LED strip worked fine until it rained and now sections do not light up or the whole strip is dead. The product is rated for outdoor use but water seems to have damaged it. You installed it outside as intended but weather killed it within months. This is a common complaint with outdoor LED strips.
Why This Happens in Real Homes
An outdoor LED strip that died after rain had water get in — through cut ends, connectors, or exceeding its IP rating. Water intrusion shorts or corrodes the strip and control box.
Start by disconnecting power and drying everything out, then inspect cut ends and connectors, which are the weak points — they must be sealed (with the supplied end caps/glue) for outdoor use. Confirm the strip's IP rating suits its exposure; a strip rated for splashes won't survive submersion or driving rain into an unsealed cut.
Symptoms
- Sections of strip no longer light up after rain
- Entire strip dead after getting wet
- Strip flickers when damp then fails
- Some colors work but others do not
- Controller still works but strip is dark
- Strip worked for months then failed after storm
Recognize these? Here's what usually causes it.
Common Causes
- Water entered through cut ends or connections
- IP rating not sufficient for installation location
- Controller or power supply not weatherproofed
- Adhesive failed allowing water behind strip
- Silicone coating cracked from UV exposure
- Installed in area with standing water or direct spray
Most fixes happen in the first 3 steps.
Water damage to LED strips is usually not covered by warranty. Take weatherproofing seriously during installation to avoid replacement costs.
Tools & Requirements
These tools will help you complete this fix.
As an Amazon Associate we earn from qualifying purchases.
Step-by-Step Solution
Understand IP Ratings
Check your strip IP rating. IP65 resists jets of water but not submersion. IP67 survives brief submersion. IP68 handles continuous submersion. If your strip is IP65 and installed where water pools it will fail. Match IP rating to your specific installation needs.
Seal Cut Ends and Connections
If you cut the strip to length the cut end is exposed internally. Apply waterproof silicone sealant over any cut ends. Cover all connector joints with waterproof tape then silicone. Water enters through these weak points and travels inside the strip destroying LEDs along the way.

Needed for this step
Super Lube O-Ring Silicone Lubricant - Waterpro...
This helps complete the fix you are currently reading.
$12.49Protect Controller and Power Supply
The controller box and power adapter are often not as waterproof as the strip itself. Move these components indoors or into a weatherproof enclosure. Run only the LED strip outside with cables entering through sealed holes. Most failures occur at the controller not the strip itself.
Make sure Proper Drainage
Install strips where water flows away not toward the LEDs. Avoid horizontal surfaces where water pools. Vertical or angled installation lets water drain. If installing under eaves or rooflines position strip where rain cannot directly hit it.
Add Protective Housing
Aluminum channels with diffuser covers add physical protection and improve waterproofing. The channel shields the strip from direct water exposure. Silicone the ends of the channel to prevent water entry. This significantly extends outdoor strip lifespan.
Quick Solutions
Still having issues? This is usually the deeper cause below.
If this comes back after following these steps, check whether a recent app or firmware update reset a default setting — the fix works, but the setting gets reverted silently.
Even waterproof rated strips benefit from additional protection outdoors. Think of IP rating as minimum protection not guaranteed invincibility.
Battery-related failures are almost always flagged too late — the device degrades silently for days before the app catches up to what's actually happening.
- Water entered through cut ends or connections
- IP rating not sufficient for installation location
- Controller or power supply not weatherproofed
- Adhesive failed allowing water behind strip
- Silicone coating cracked from UV exposure
Before you go — try one of these (they fix most cases).
Most popular upgrades chosen by Govee Outdoor LED Strip owners.
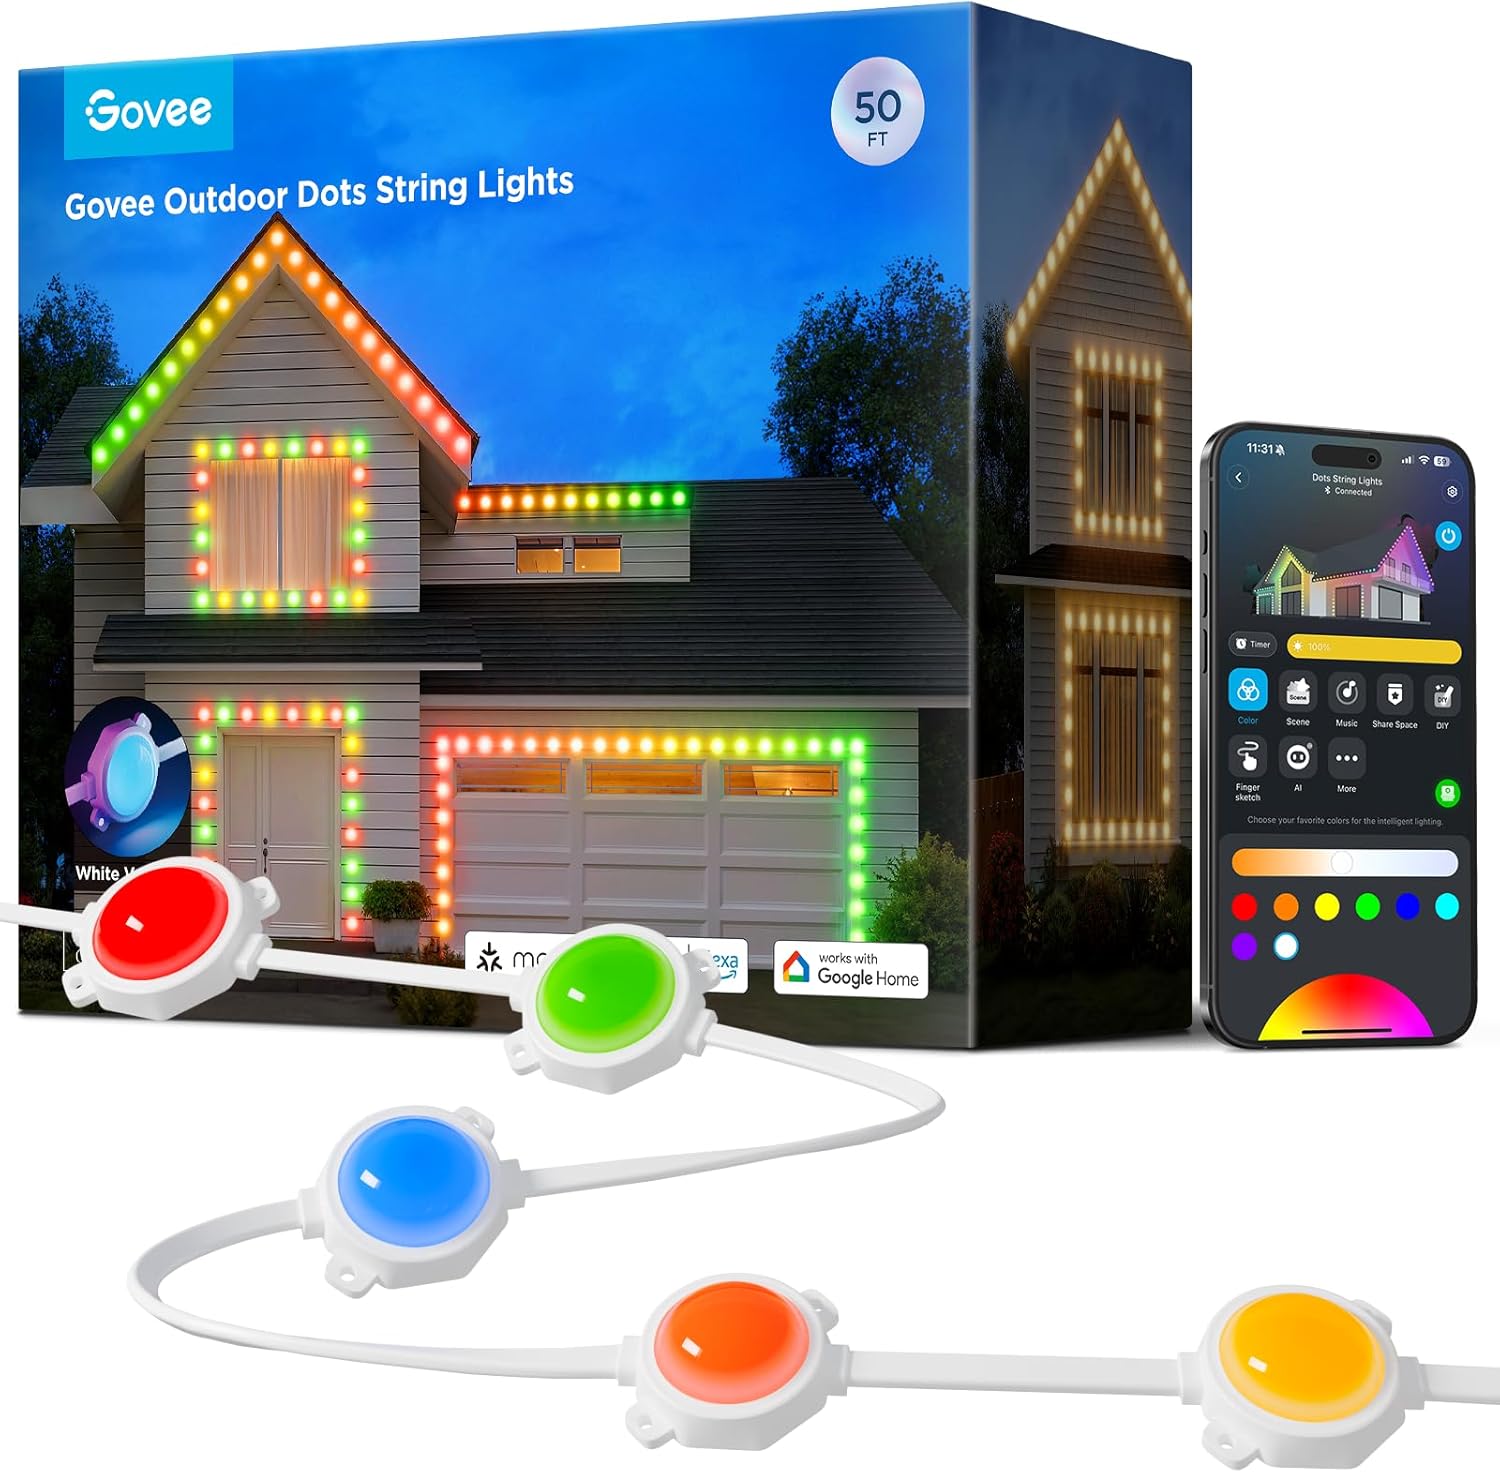
Govee Outdoor LED Strip Lights, 45 RGBIC LED Lights 50FT ...

Govee Outdoor LED Strip Lights, 45 RGBIC LED Lights 100FT...

Govee Outdoor LED Strip Lights, 32.8ft Smart Outdoor Ligh...
As an Amazon Associate we earn from qualifying purchases.
Official Manufacturer Manual
Govee provides official product documentation through their online manual rather than downloadable PDF. Access setup guides, troubleshooting steps, and product specifications for your Govee Outdoor LED Strip.
Source: govee.com
Need More Help? Govee Support
Note: The contact information below connects you directly to Govee's official customer support team, not Trunetto. They can help with warranty claims, device replacements, and advanced technical issues.
How Does Govee Compare?
Before replacing your Govee device, see how it stacks up against alternatives in our full comparison guides.
Accessories owners commonly pair with Govee Outdoor LED Strip.
As an Amazon Associate we earn from qualifying purchases.