

How Do I Wire a Leviton Multi-Way Switch?
- Smart switch not placed at the line (hot) location
- Standard 3-way used as a companion
- Two smart switches used instead of one + companions
Problem Description
You want to wire a Leviton smart switch in a multi-way (3-way or 4-way) circuit so one light is controlled from two or more locations. Leviton multi-way uses a single addressable smart switch installed at the line (hot) location, paired with one or more matching Leviton companions (coordinating remotes) at the other locations — not two smart switches, and not standard mechanical 3-way switches. Wired companions communicate over the traveler wire; Leviton's no-neutral line uses wire-free battery companions instead. This guide covers identifying the line location, wiring the smart switch and companions, and completing setup.
Why This Happens in Real Homes
Wiring a Leviton smart switch for multi-way control follows one rule that trips up most DIY installs: there is only ever one smart switch, and it lives at the box with the line (hot) feed. Every other location gets a matching Leviton companion (coordinating remote), which looks like a switch but simply tells the smart switch what to do. Two smart switches, or a standard mechanical 3-way as the companion, will not work.
Identify the line location first (the box where the incoming hot lands), install the smart switch there with its neutral connected and line/load correct, then wire each companion. Wired companions communicate with the smart switch over the existing traveler wire, so that traveler must land on the specified terminal per Leviton's diagram; for 4-way, you add more companions on the same signaling scheme. Leviton's no-neutral line handles extra locations differently — with wire-free battery companions (DAWDC/DAWSC) that need no traveler at all. Match the smart switch to the line, use the right companions, and control works from every location.
Symptoms
- Wiring a multi-way smart switch
- Not sure which box gets the smart switch
- Companion won't control the light
- Works from one location only
- Which companion model to use
- 4-way setup questions
- Traveler wiring unclear
- Wrong-state between locations
Recognize these? Here's what usually causes it.
Common Causes
- Smart switch not placed at the line (hot) location
- Standard 3-way used as a companion
- Two smart switches used instead of one + companions
- Traveler not landed correctly on the companion
- Neutral not connected at the smart switch
- Wrong companion model for the device
- Line/load reversed
- No-neutral setup missing wire-free companions
Most fixes happen in the first 3 steps.
Do not attempt to open or modify the light hardware. Smart lights contain electronic components that can be damaged by moisture or physical tampering. Always power off at the wall switch before removing or repositioning a smart light.
Tools & Requirements
These tools will help you complete this fix.

Screwdriver
STREBITO 155 in 1 Electric Screwdriver Set, Small El...

Voltage tester
Klein Tools 80196 Digital Multimeter Kit with Case, ...
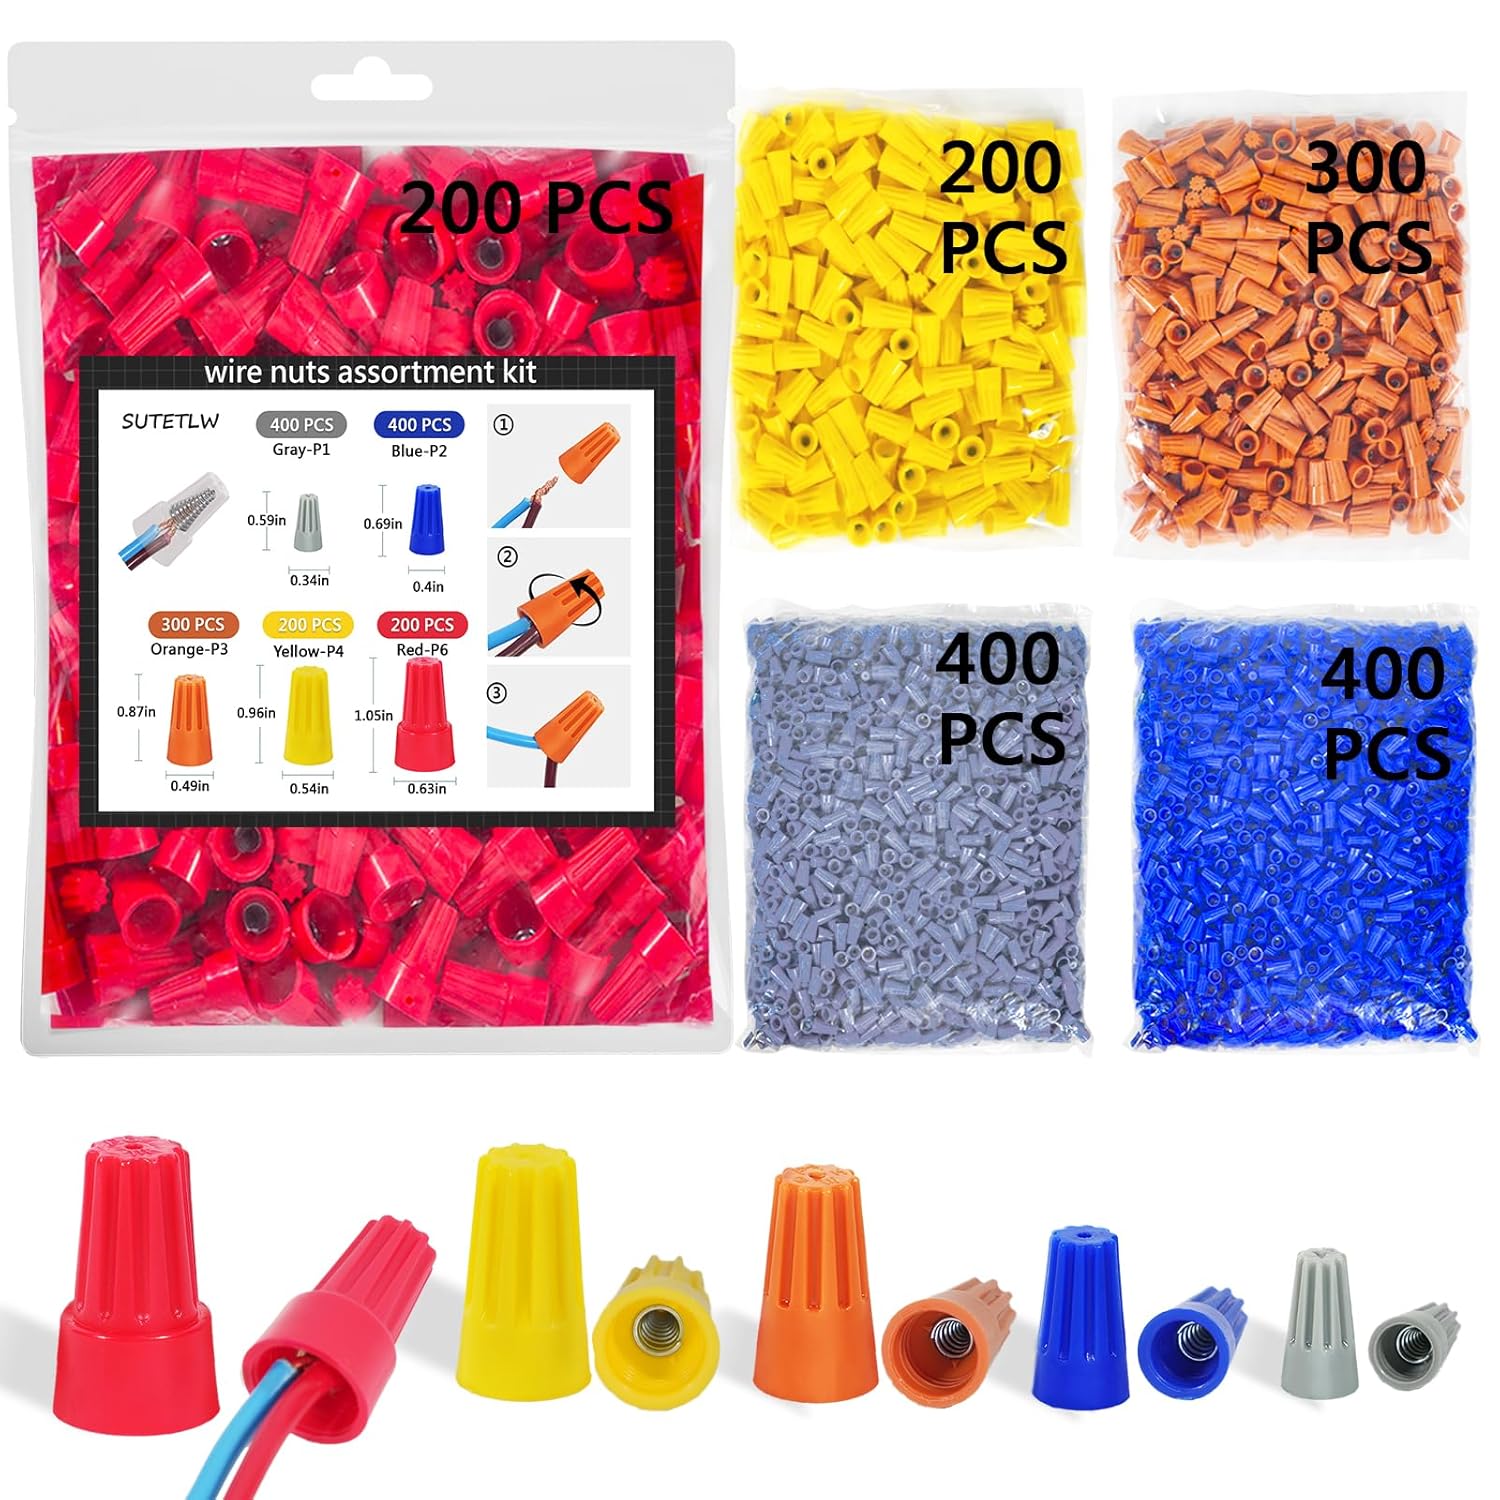
Wire labels
Wire Nuts Assortment Kit 1500 PCS Insulating Insert ...
As an Amazon Associate we earn from qualifying purchases.
Step-by-Step Solution
Understand how Leviton handles 3-way and 4-way circuits
Leviton smart switches do not wire like traditional 3-way switches. Instead of using traveler wires between switch locations, the Leviton smart switch goes at one location with the hot and load wires, and a Leviton matching remote (DD0SR) goes at the second location. The remote communicates with the main switch wirelessly — no travelers needed between them.
Needed for this step
Wire Nuts Assortment Kit 1500 PCS Insulating In...
This helps complete the fix you are currently reading.
$29.99Identify the hot box and the load box
Turn the breaker on. Using a non-contact voltage tester, find which switch box has the always-hot wire (the one that shows voltage regardless of switch position). The Leviton smart switch must be installed in this box. The other box gets the matching remote. Getting this backwards means the smart switch has no power source.
Needed for this step
Klein Tools 80196 Digital Multimeter Kit with C...
This helps complete the fix you are currently reading.
$46.15Wire the smart switch in the hot box
Breaker off. Connect the Leviton smart switch: green to ground, white to neutral bundle, black to the hot wire (from the breaker), and red to the load wire (going to the fixture). Cap any unused traveler wires with wire nuts. The switch does not use the traveler wires for 3-way communication — that happens wirelessly through the remote.
Install the matching remote at the second location
The Leviton DD0SR matching remote installs at the other switch location. It needs hot, neutral, and ground — no load connection. Wire it according to the included diagram. The remote pairs with the main switch automatically when they are on the same circuit. If pairing does not happen automatically, press and hold the remote for 7 seconds to force pairing.
For 4-way setups, add additional remotes
If you have a 4-way circuit (three switch locations for one light), install the smart switch at the hot box and matching remotes at the other two locations. Each remote pairs with the main switch independently. You can control the light from all three locations, and all of them sync through the smart switch. The remotes do not appear as separate devices in the My Leviton app — only the main switch does.
Quick Solutions
Still having issues? This is usually the deeper cause below.
If this comes back after following these steps, check whether a recent app or firmware update reset a default setting — the fix works, but the setting gets reverted silently.
["Multi-way requires specific companion", "Neutral required at main switch location"]
This issue almost always looks more complex than it is — the majority of cases trace back to a single setting, a stale credential, or a default that shipped wrong.
- Smart switch not placed at the line (hot) location
- Standard 3-way used as a companion
- Two smart switches used instead of one + companions
- Traveler not landed correctly on the companion
- Neutral not connected at the smart switch
Before you go — try one of these (they fix most cases).
Official Manufacturer Manual
Leviton provides official product documentation through their online manual rather than downloadable PDF. Access setup guides, troubleshooting steps, and product specifications for your Leviton Decora Smart.
Source: leviton.com
Need More Help? Leviton Support
Note: The contact information below connects you directly to Leviton's official customer support team, not Trunetto. They can help with warranty claims, device replacements, and advanced technical issues.
Accessories owners commonly pair with Leviton Decora Smart.

Leviton Decora Smart Wi-Fi 600W Universal LED/Incandescen...

Leviton Decora Smart Switch Companion for Multi-Location ...

Leviton Decora Smart Switch Companion for Multi-Location ...
As an Amazon Associate we earn from qualifying purchases.


