

How Do I Install the MyQ Smart Garage Hub?
- Hub mounted too far from the opener
- Wrong pairing method for the opener (learn button vs wired)
- Door sensor mounted wrong or not on the top panel
Problem Description
You're installing the myQ Smart Garage Hub to add app and voice control to your existing opener. Installation involves mounting the hub near the opener, powering it, pairing it to the opener (wireless learn button or wired method), placing the door sensor on the top panel, and connecting to 2.4GHz WiFi. This guide covers the sequence and the steps people get stuck on.
Why This Happens in Real Homes
Installing a myQ Smart Garage Hub follows a clear sequence, and doing it in order avoids the common snags. Mount the hub near the opener where it has a clear signal path, power it, then pair it to your opener - using the wireless learn-button method for openers that have a learn button (Security+ 2.0 uses the yellow button) or the wired door-control-terminal method for older openers without one. Getting the pairing method right for your opener's technology is the step most people stall on; if it won't learn, it's usually the wrong method or the learn-button window timing out.
The two other pieces are the door sensor and WiFi. The sensor mounts on the top panel of the garage door so it sits vertical when the door is closed and tilts flat when it opens - that's how myQ knows the door's position, and it needs a fresh CR2032 (or CR2) battery. Then connect the hub to your 2.4GHz WiFi in the myQ app (the hub is 2.4GHz-only), and because garages are weak-signal spots, a mesh node nearby makes the difference between reliable and flaky. Confirm opener compatibility up front (most openers after 1993 work), and once the hub is paired, the sensor is reporting, and WiFi is connected, you have full app and voice control - while the wall button and remotes keep working as before.
Symptoms
- Not sure where to mount the hub
- Hub won't pair with the opener
- Door sensor won't report position
- Hub won't join WiFi
- Door doesn't move after setup
- Sensor status wrong after install
- Compatibility uncertain
- Setup stalls in the myQ app
Recognize these? Here's what usually causes it.
Common Causes
- Hub mounted too far from the opener
- Wrong pairing method for the opener (learn button vs wired)
- Door sensor mounted wrong or not on the top panel
- Hub on 5GHz / band-steered network (needs 2.4GHz)
- Weak 2.4GHz signal at the garage
- Learn-button window timed out during pairing
- Sensor battery dead or not seated
- Opener not compatible (pre-1993/no learn button issues)
Most fixes happen in the first 3 steps.
Garage doors are extremely heavy and the springs are under high tension. Never attempt to repair or adjust the door springs, cables, or tracks yourself as this can cause serious injury. Only troubleshoot the smart controller and electronic components. Call a professional for any mechanical issues.
Tools & Requirements
These tools will help you complete this fix.

As an Amazon Associate we earn from qualifying purchases.
Step-by-Step Solution
Gather the included components
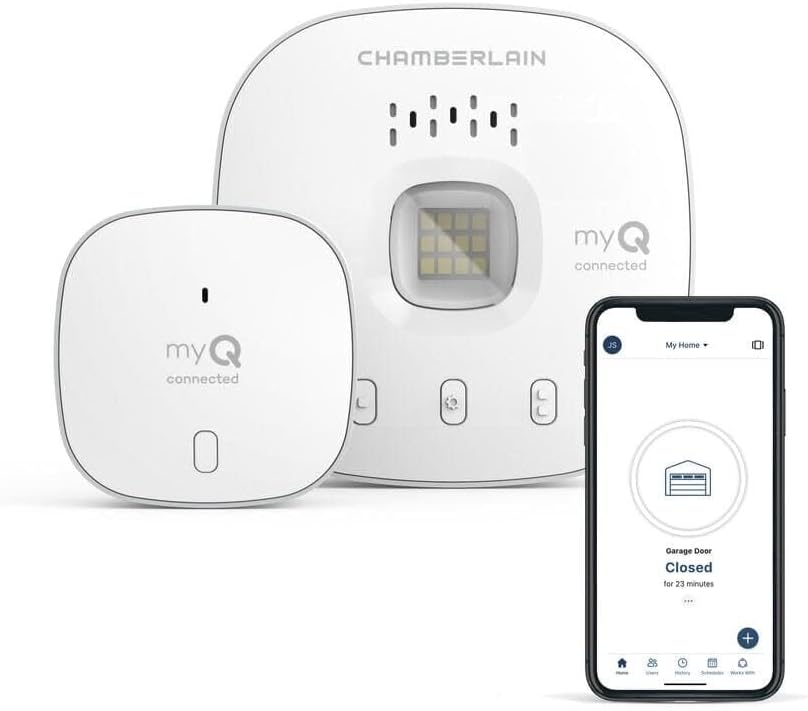
The myQ Smart Garage Hub (model myQ-G0401) includes: the hub unit, a door sensor (tilt sensor), two wires with connector clips, mounting screws, and a power adapter. You also need your home WiFi password and a smartphone with the myQ app installed.
Connect the hub to the garage door opener
Locate the wall button terminals on your garage door opener motor unit (usually on the back, labeled with wall button symbols). Attach the two wires from the hub to these terminals using the included clips — one wire to each terminal. The polarity does not matter. If the wall button wires are already on the terminals, add the hub wires to the same terminals (both wall button and hub wires connect to the same two points).
Mount the hub and sensor
Mount the hub on the ceiling or wall near the opener, within reach of the power adapter cord. Plug in the power adapter — the hub LED turns on. Mount the door sensor on the top panel of the garage door using the included adhesive or screws. The sensor label should face the ceiling. Center it on the panel. The sensor communicates wirelessly with the hub — no wires between them.
Set up the hub in the myQ app
Download the myQ app. Create a myQ account. Tap + > Add Device > Smart Garage Hub. The app guides you through: scan the hub QR code (on the sticker), connect to the hub temporary WiFi, transfer your home WiFi credentials, and pair the door sensor. After setup, the hub LED turns solid blue (connected to WiFi and myQ cloud). The garage door appears in the app with Open/Close controls and status.
Test the system
In the myQ app, tap the garage door icon to open the door. The hub sends the signal to the opener, and the door should open. Check that the sensor reports the correct status (Open). Close the door from the app. Verify the status shows Closed. Set up notifications (Settings > Notifications) to get alerts when the door opens, closes, or is left open. The system is now operational — you can control and monitor your garage door from anywhere.
Quick Solutions
Still having issues? This is usually the deeper cause below.
If the hub reconnects then drops every few minutes, check for an IP conflict — two devices sharing the same DHCP address fight each other continuously.
["Works with most openers 1993 and newer", "Door sensor detects open/close state"]
Hub disconnections that cycle repeatedly are almost always IP conflicts — two devices fighting over the same DHCP lease after a router restart.
- Hub mounted too far from the opener
- Wrong pairing method for the opener (learn button vs
- Door sensor mounted wrong or not on the top
- Hub on 5GHz / band-steered network (needs 2.4GHz)
- Weak 2.4GHz signal at the garage
Before you go — try one of these (they fix most cases).
Most popular upgrades chosen by MyQ Smart Garage Hub owners.
As an Amazon Associate we earn from qualifying purchases.
Official Manufacturer Manual
MyQ provides official product documentation through their online manual rather than downloadable PDF. Access setup guides, troubleshooting steps, and product specifications for your MyQ Smart Garage Hub.
Source: support.chamberlaingroup.com
Need More Help? MyQ Support
Note: The contact information below connects you directly to MyQ's official customer support team, not Trunetto. They can help with warranty claims, device replacements, and advanced technical issues.
Accessories owners commonly pair with MyQ Smart Garage Hub.

As an Amazon Associate we earn from qualifying purchases.
