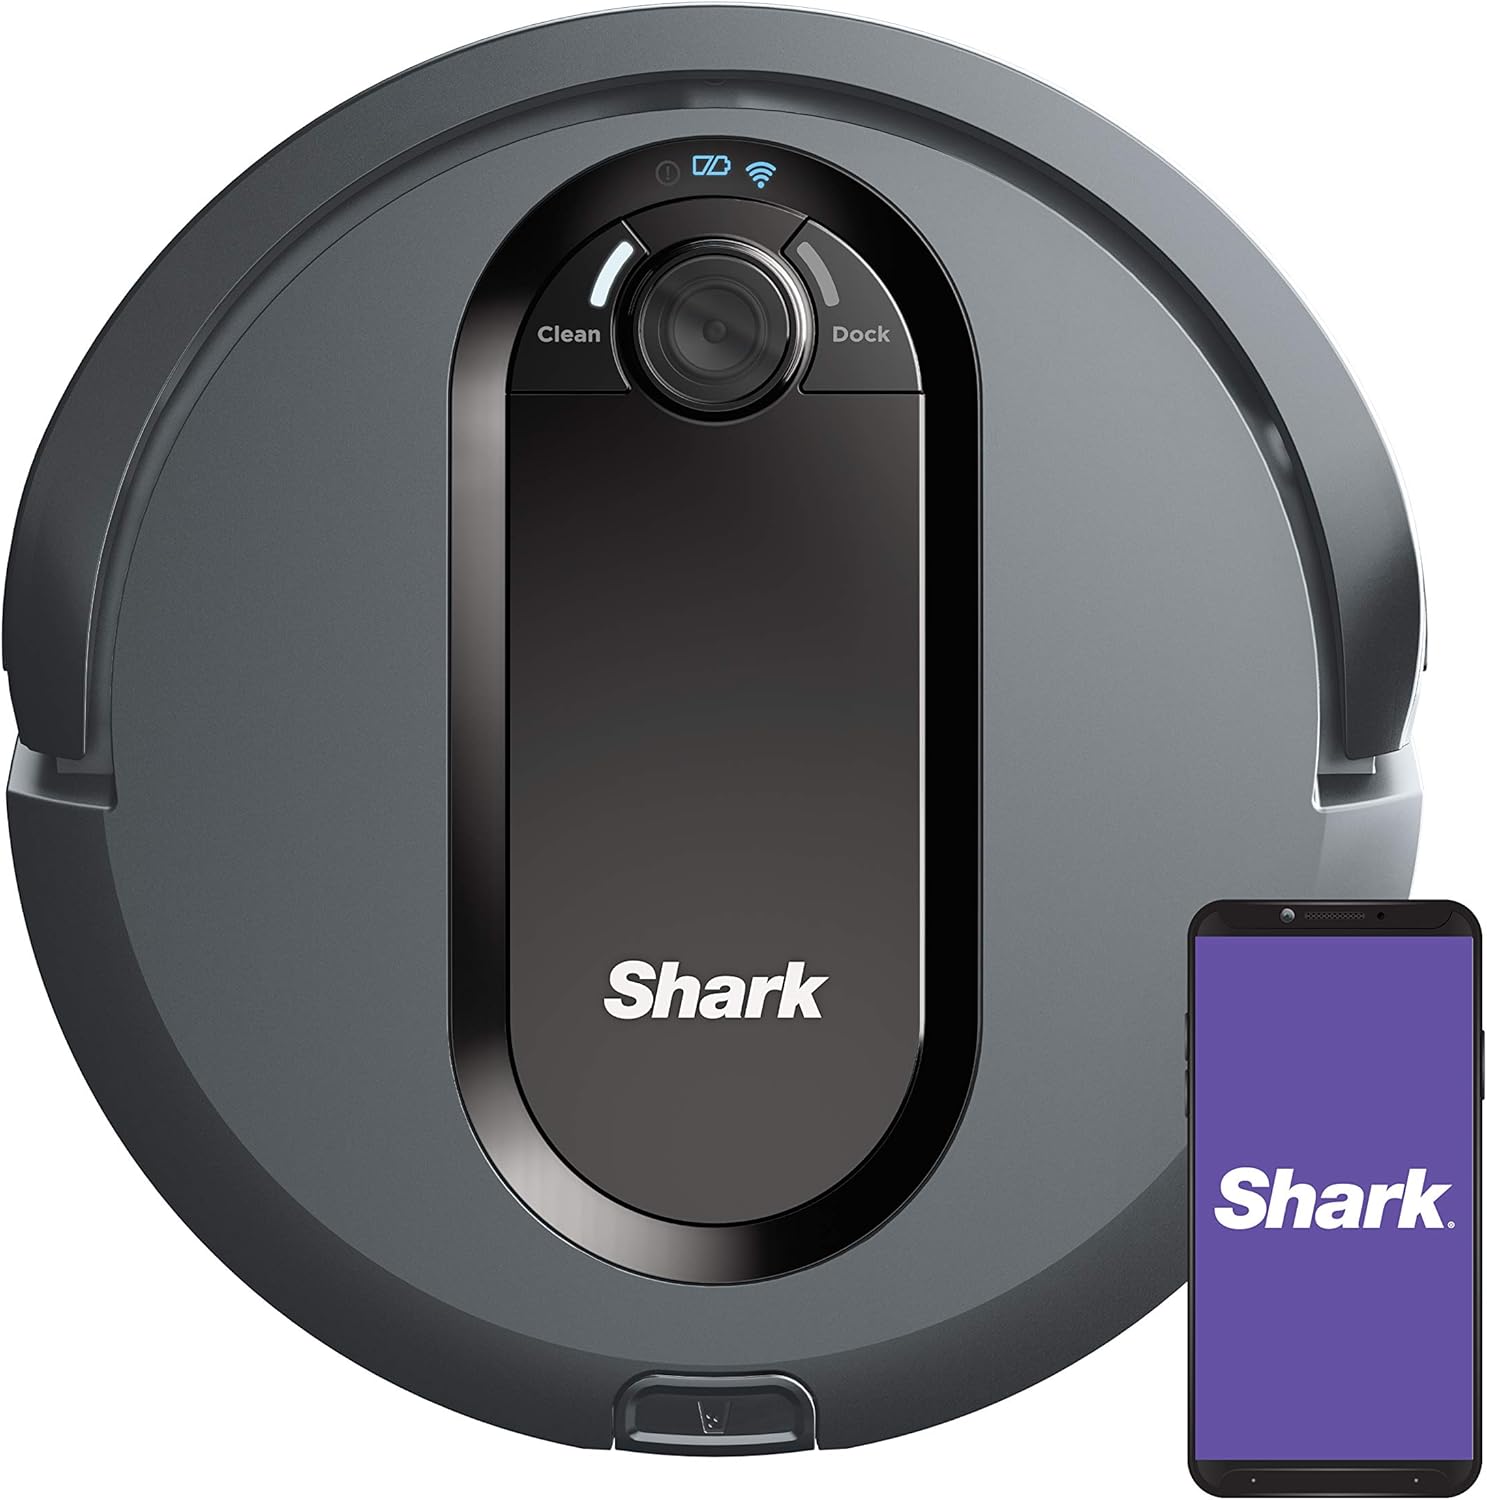
How Do I Clean the Shark IQ Robot Self-Empty XL Base?
- Clog in the suction channel between the robot's port and the base
- Base bin overfull and packed, so new debris has nowhere to go
- Base filter loaded with fine dust, choking airflow
Problem Description
You need to clean and maintain the Shark IQ Robot Self-Empty XL base (RV1001AE). The base is bagless: after each run the robot empties into a large dust bin in the base that holds roughly 30 to 45 days of debris, so there are no bags to buy, you just empty the bin. Over time the suction channel between the robot and the base clogs, and the base filter loads with fine dust. This guide covers emptying the bin, clearing the channel, and cleaning the filter.
Why This Happens in Real Homes
The Shark IQ XL base is bagless, which trips up a lot of owners who go looking for replacement bags, since there are not any. The base has a large dust bin you empty by hand, roughly every 30 to 45 days and sooner in a pet home, plus a filter that catches the fine stuff. When the self-empty feature stops pulling debris out of the robot, the problem is almost always airflow somewhere in that path: the base bin is packed solid, the base filter is choked with fine dust, or the short suction channel between the robot's port and the base has a clog. Work the whole path: empty the bin, clean the filter and let it dry completely before refitting (a damp filter kills suction and smells musty), and flip the robot to clear hair from its own underside empty port, which is easy to miss. If the base never even starts its cycle, the robot is not fully docked, so wipe the charging contacts on both sides and reseat it so the evac port lines up and seals.
Symptoms
- Base runs but debris stays in the robot's dustbin
- Loud suction or whistling from the base with little pickup
- Fine dust blowing out of the base during the empty cycle
- Base bin fills far faster than expected
- Suction feels weak at both the robot and the base
- Robot docks but the empty cycle never starts
- Debris scattered around the base after emptying
- Musty smell from the base between empties
Recognize these? Here's what usually causes it.
Common Causes
- Clog in the suction channel between the robot's port and the base
- Base bin overfull and packed, so new debris has nowhere to go
- Base filter loaded with fine dust, choking airflow
- Robot not fully docked, so the evac port does not seal to the base
- Hair or debris caught in the robot's own empty port on the underside
- Charging contacts dirty, so the robot never confirms docking
- Filter or bin not reseated after cleaning, leaking suction
- Damp or oversized debris jamming the channel
Most fixes happen in the first 3 steps.
Keep small objects, loose cables, and thin rugs with fringe off the floor before running the vacuum. These can tangle in the brush roll and damage the motor. Do not use the vacuum to pick up liquids, sharp objects, or fine construction dust as this can permanently damage internal components.
Tools & Requirements
Step-by-Step Solution
Empty and replace the dust bag
The Shark IQ Robot self-empty XL base uses a disposable dust bag that holds approximately 30-45 days of dirt. Open the top lid and check the bag level. When full, remove the bag — twist the collar to seal it before disposal. Insert a new Shark self-empty bag. Using the base without a bag is not recommended — dust blows back into the room. Purchase official Shark replacement bags for proper fit.
Clean the transfer tube
The transfer tube connects the robot's dustbin to the base. Over time, hair, string, and large debris can clog this tube. Lift the robot off the base. Look into the opening on the base where the robot docks. Use the included cleaning tool (or a straightened coat hanger with tape-wrapped end) to clear any visible debris. Also check the robot's dustbin exit port for clogs. A clogged tube results in the robot's bin not emptying even when the base runs its suction cycle.
Clean the base suction motor filter
Some self-empty bases have a small filter near the motor. Check the base manual for its location. Remove the filter and tap out accumulated dust. If washable, rinse under running water and let dry completely (24 hours) before reinstalling. A dirty filter reduces suction power, preventing the base from fully emptying the robot's dustbin.
Clean the charging contacts
The charging contacts on both the base and the robot's underside can accumulate dust, hair, and oxidation. Wipe the metal contacts on the base with a dry cloth. Wipe the corresponding contacts on the bottom of the robot. Dirty contacts prevent charging (the robot returns to the base but the battery does not increase) and can prevent the auto-empty cycle from triggering (some bases only empty when the robot is properly docked and recognized).
Wipe down the base exterior
The self-empty base collects dust around its exterior, especially near the docking opening and air exhaust vent. Wipe the exterior weekly with a dry or slightly damp cloth. Check the exhaust vent for dust buildup — a blocked exhaust reduces airflow and makes the base motor work harder and louder. Keeping the base clean and well-maintained extends the motor life and keeps the emptying cycle quiet and efficient.
Quick Solutions
Still having issues? This is usually the deeper cause below.
If the robot returns to the dock mid-clean, moved furniture may have invalidated its map — a fresh floor scan resolves the majority of navigation failures.
Run your robot vacuum on a schedule 3 to 4 times per week to prevent dirt buildup rather than waiting for floors to look dirty. Consistent light cleaning is more effective and quieter than occasional deep cleaning sessions.
This issue almost always looks more complex than it is — the majority of cases trace back to a single setting, a stale credential, or a default that shipped wrong.
- Clog in the suction channel between the robot's port
- Base bin overfull and packed, so new debris has
- Base filter loaded with fine dust, choking airflow
- Robot not fully docked, so the evac port does
- Hair or debris caught in the robot's own empty
Before you go — try one of these (they fix most cases).
Most popular upgrades chosen by Shark IQ Robot owners.

As an Amazon Associate we earn from qualifying purchases.
Official Manufacturer Manual
Shark provides official product documentation through their online manual rather than downloadable PDF. Access setup guides, troubleshooting steps, and product specifications for your Shark IQ Robot.
Source: sharkclean.com
Need More Help? Shark Support
Note: The contact information below connects you directly to Shark's official customer support team, not Trunetto. They can help with warranty claims, device replacements, and advanced technical issues.
How Does Shark Compare?
Before replacing your Shark device, see how it stacks up against alternatives in our full comparison guides.
Accessories owners commonly pair with Shark IQ Robot.

Amazon Basics 20-Pack AA Alkaline High-Performance Batter...

Amazon Basics CR2032 3V Lithium Coin Cell Batteries for K...

Duracell Coppertop Double AA Batteries with Power Boost I...
As an Amazon Associate we earn from qualifying purchases.