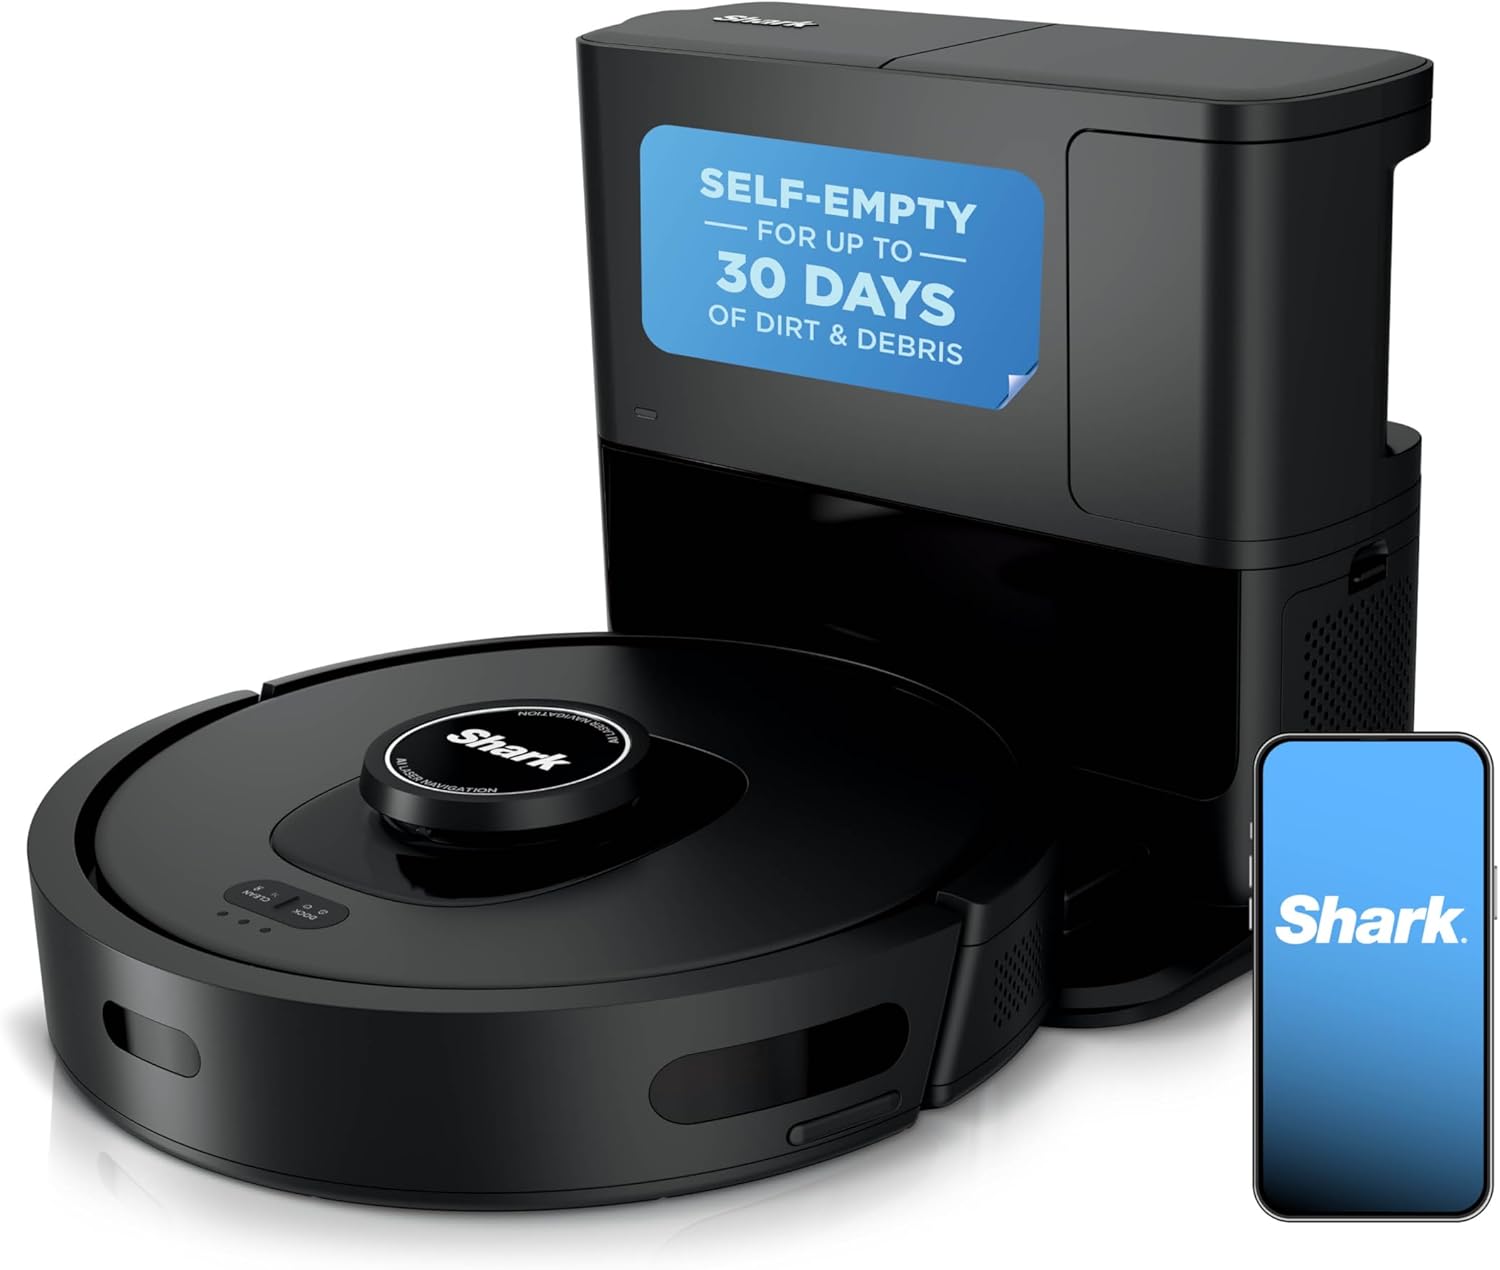
What Does Shark Robot Vacuum Error 9 Mean and How Do I Fix It?
- Dust bin not clicked in fully
- Dust on the bin detection contacts
- Bin inserted crooked or not flush
Problem Description
The SharkClean app shows Error 9 (dust bin not installed). Shark can't detect its dust bin, usually because it isn't pushed in until it clicks, the detection contacts are dusty, or the bin is seated crooked.
Why This Happens in Real Homes
Error 9 is Shark refusing to run because it can't detect its dust bin. The robot verifies the bin is fully seated before it will start, so the error usually shows up right after emptying, when the bin gets pushed back in but not all the way until it clicks. A filter sitting proud inside the bin is the sneaky second cause - it props the bin up just enough that the robot reads it as missing.
Reseat the filters flat, push the bin in until it clicks, and wipe the small detection contacts on the bin and bay. A quick reboot clears the occasional glitch after emptying. If a clean, correctly seated bin still isn't detected, the detection switch has failed and needs Shark service.
Symptoms
- SharkClean app shows Error 9
- Voice says to reinstall the dust bin
- Robot won't start a clean
- Error 9 right after emptying the bin
- Bin fitted but not detected
- Bin sits loose or crooked
- Error persists after emptying at the base
- Robot won't leave the dock
Recognize these? Here's what usually causes it.
Common Causes
- Dust bin not clicked in fully
- Dust on the bin detection contacts
- Bin inserted crooked or not flush
- A filter not seated pushing the bin out
- Debris behind the bin bay
- Bent bin tab or latch
- Damaged detection switch
- Firmware glitch after emptying
Most fixes happen in the first 3 steps.
If a correct, fully-seated bin with flush filters still shows Error 9, the detection switch has failed - contact Shark.
Tools & Requirements
These are for the steps in this guide, prioritized by fit, rating, availability, and current value.
As an Amazon Associate we earn from qualifying purchases.
Step-by-Step Solution
Understand the Error
Error 9 means Shark can't sense its dust bin in place, so it won't run. The robot checks that the bin is fully seated before cleaning, and the error most often appears right after you empty the bin and don't push it fully back in.
Remove and Inspect the Bin
Lift the dust bin out of the top of the robot. Look at the bin and the bay it seats into, checking for debris or a bent tab that could stop it seating flush.
Reseat the Filters First
Open the bin and make sure the foam and felt filters are seated flat and fully pushed in. A filter sitting proud props the bin up so it can't seat, which reads as no bin installed.
Push It in Until It Clicks
Slide the dust bin straight back into its bay and press firmly until you hear and feel it click. A bin that is even slightly proud of its slot won't be detected.
Still stuck? Ask Trunetto about this exact issue.
Clean the Detection Contacts
Wipe the small metal contacts or sensor tab on the bin and the matching point inside the bay with a dry cloth. Dust here stops the robot recognizing the bin is present.

Needed for this step
BELLEMOND「Samurai Cloth」Japanese Microfiber Cle...
This helps complete the fix you are currently reading.
$19.99Check the Bin Bay
Shine a light into the empty bay and clear any stray debris or a piece of packaging behind it that keeps the bin from seating flush.
Reboot the Robot
Turn the power switch on the side edge of the robot off and back on, or restart from the app, to clear a detection glitch that sometimes appears right after emptying.
When to Escalate
If a clean, correctly seated bin with flush filters still shows Error 9, the bin detection switch has likely failed. Contact Shark support for service.
Quick Solutions
Still having issues? This is usually the deeper cause below.
If the robot returns to the dock mid-clean, moved furniture may have invalidated its map — a fresh floor scan resolves the majority of navigation failures.
Decision point
If the fix does not hold, check the matching replacement before another reset cycle.
This is the most relevant replacement path for this Shark Robot Vacuum guide. Use it only if the steps above failed, the issue returns, or the part cost is too close to replacing the device.
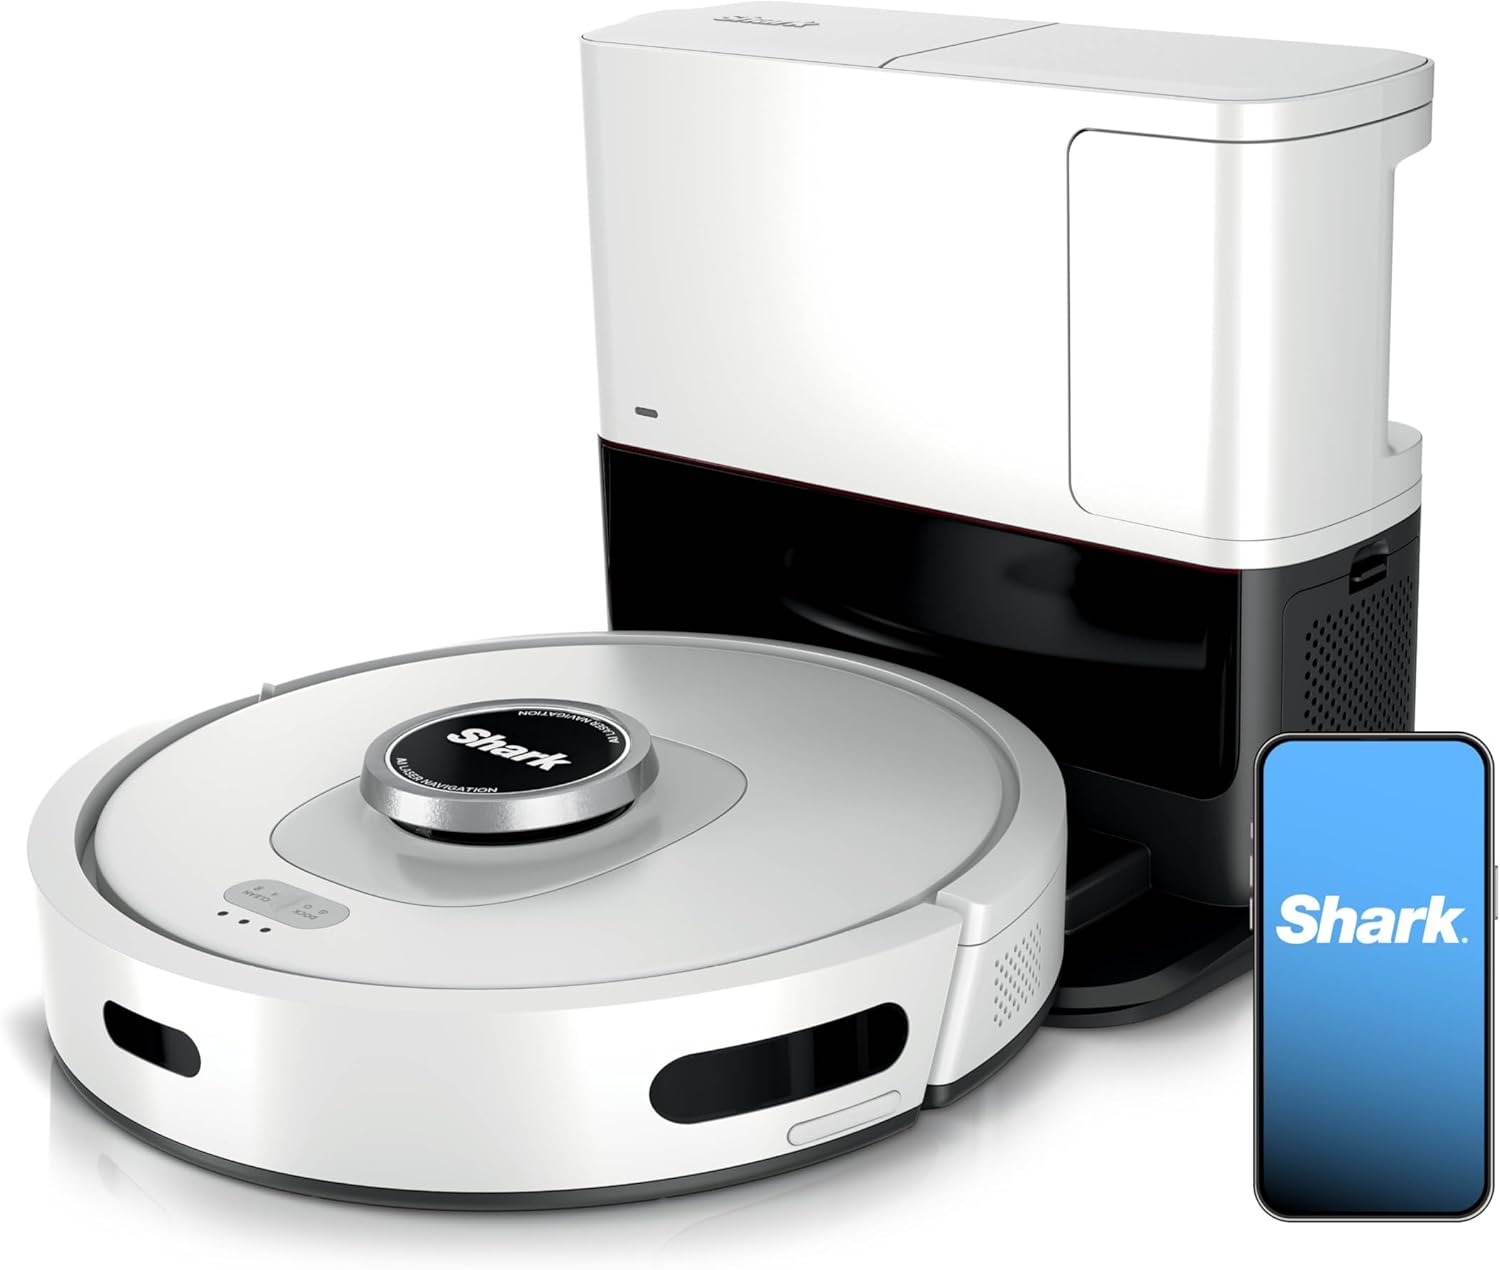
Prime · in stock · standard · 8.3k reviews
Check Replacement PriceDo you work with smart-home systems?
Create a Trunetto business profile, list the brands and services you support, and make it easier for customers to find your business.
List Your BusinessError 9 right after emptying is almost always a filter left proud inside the bin - reseat the filters flat, then click the bin fully home.
Robot vacuums that 'stop working' are usually fighting a corrupted map from moved furniture — a fresh floor scan fixes the majority of reported failures.
- Dust bin not clicked in fully
- Dust on the bin detection contacts
- Bin inserted crooked or not flush
- A filter not seated pushing the bin out
- Debris behind the bin bay
Before you go — try one of these (they fix most cases).
Most popular upgrades chosen by Shark Robot Vacuum owners.
As an Amazon Associate we earn from qualifying purchases.
Official Manufacturer Manual
Shark provides official product documentation through their online manual rather than downloadable PDF. Access setup guides, troubleshooting steps, and product specifications for your Shark Robot Vacuum.
Source: sharkclean.com
Need More Help? Shark Support
Note: The contact information below connects you directly to Shark's official customer support team, not Trunetto. They can help with warranty claims, device replacements, and advanced technical issues.
How Does Shark Compare?
Before replacing your Shark device, see how it stacks up against alternatives in our full comparison guides.
Compatible accessories that support the setup in this guide, not random checkout recommendations.

As an Amazon Associate we earn from qualifying purchases.